It was a very windy and rainy day in Bristol today. Unable to go for a photowalk for fear of being washed away, I loitered under the canopy at the front of the office and watched people go past. This picture was the best I managed before wimping out and going inside again after five minutes.
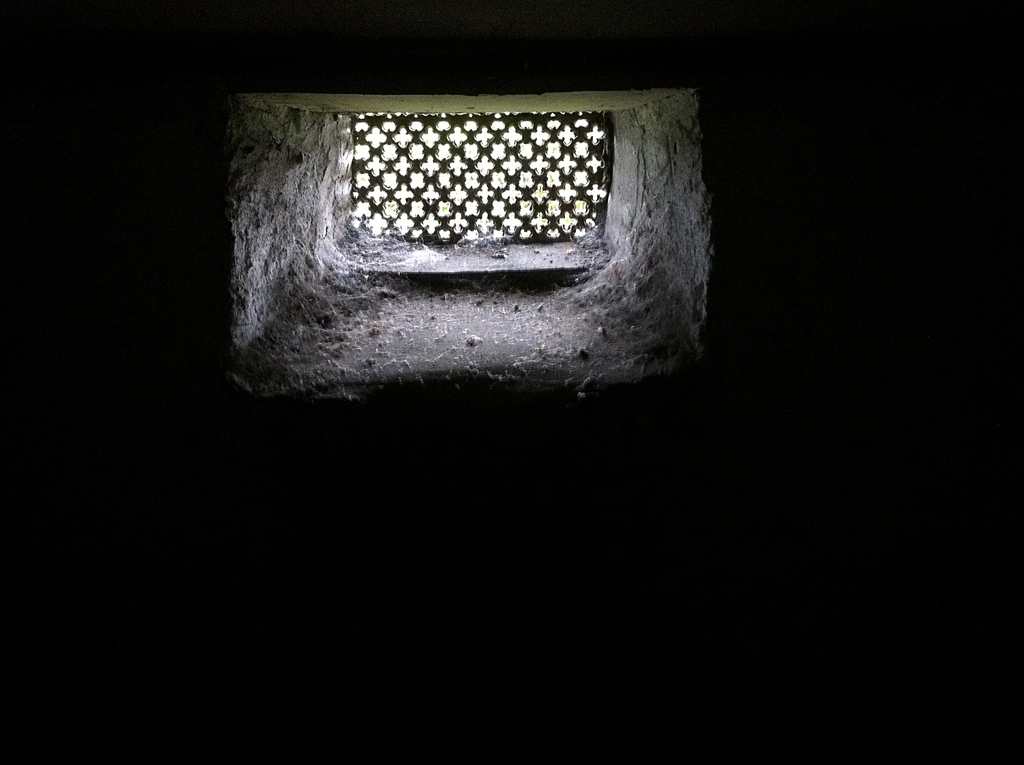
This week at work found me scrabbling around in the cellar underneath a Victorian townhouse in Bristol. I was down there to install some networking gear, although I also took a couple of pictures that I was pleased with.
The cellar itself was about the same height as the top of my head, but there were pipes and joists hanging low – I had to stoop. The floor was made of the soil the building stood upon – it hadn’t been finished with concrete. The light bulb wasn’t working and the only source of light was a small grille. It was very atmospheric.
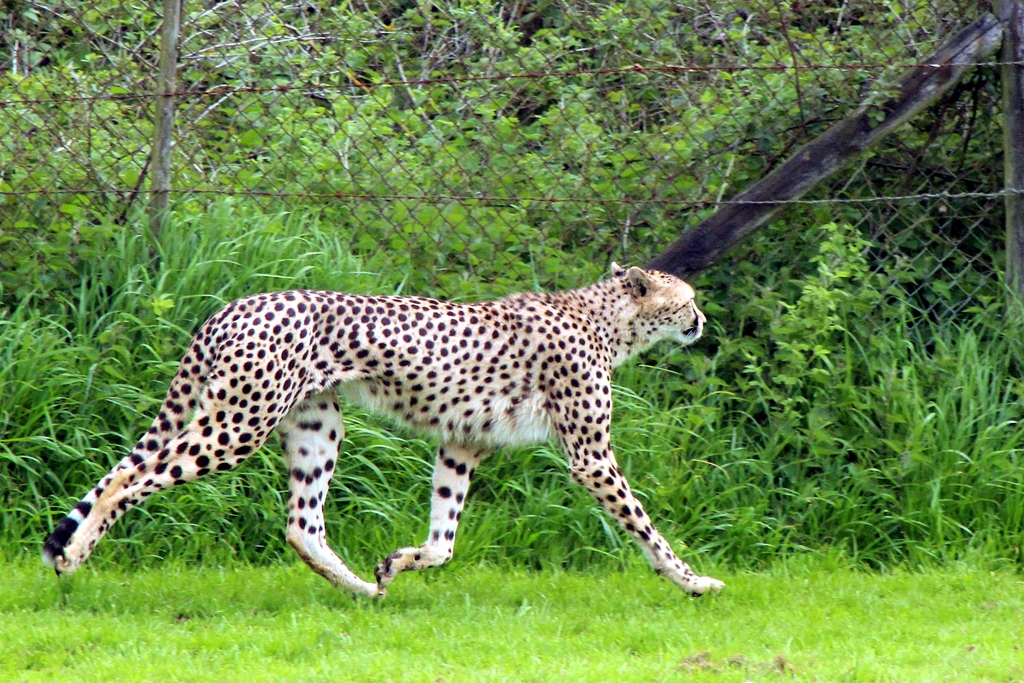
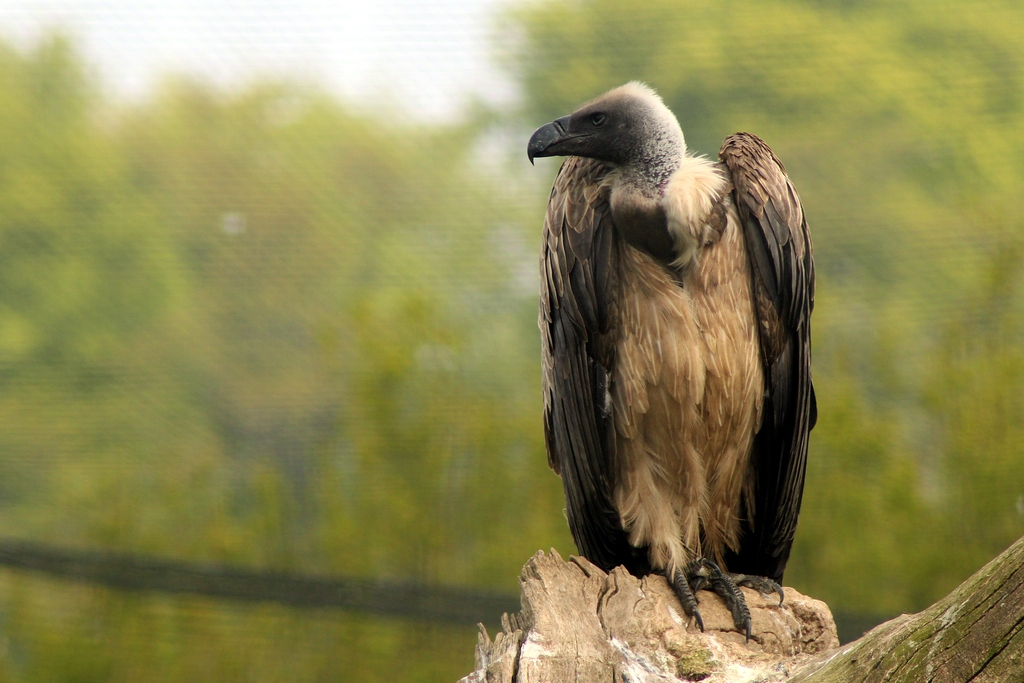
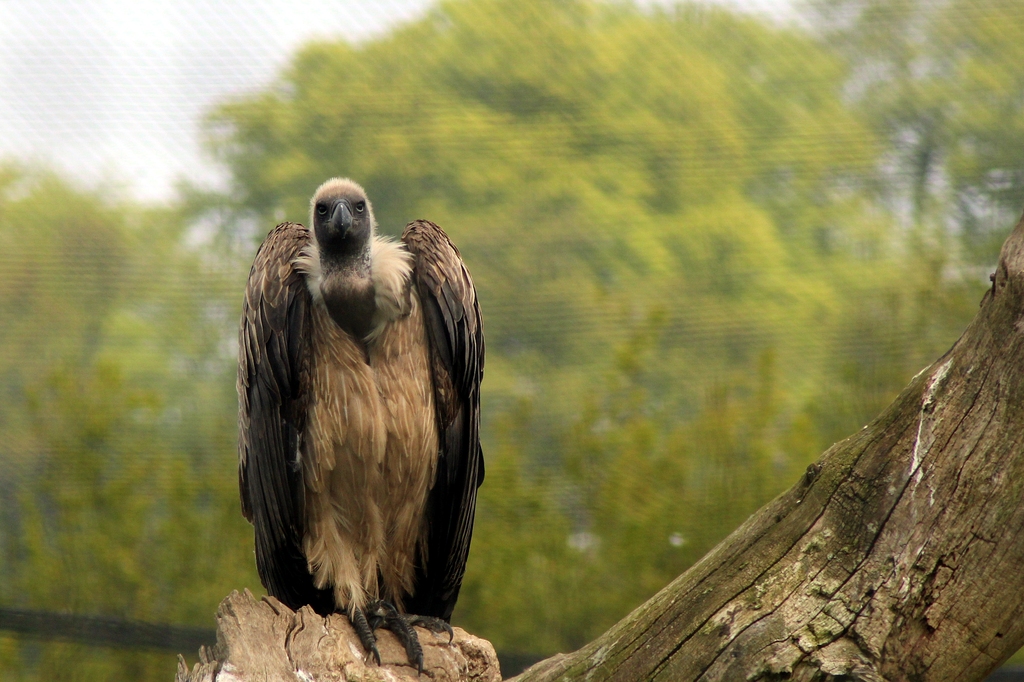
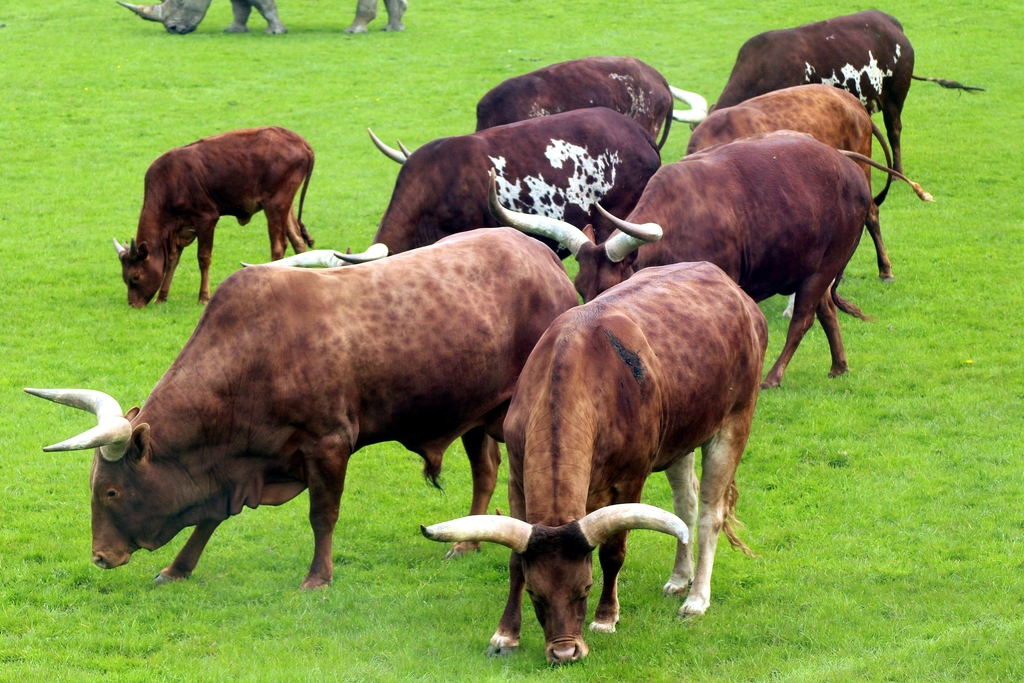
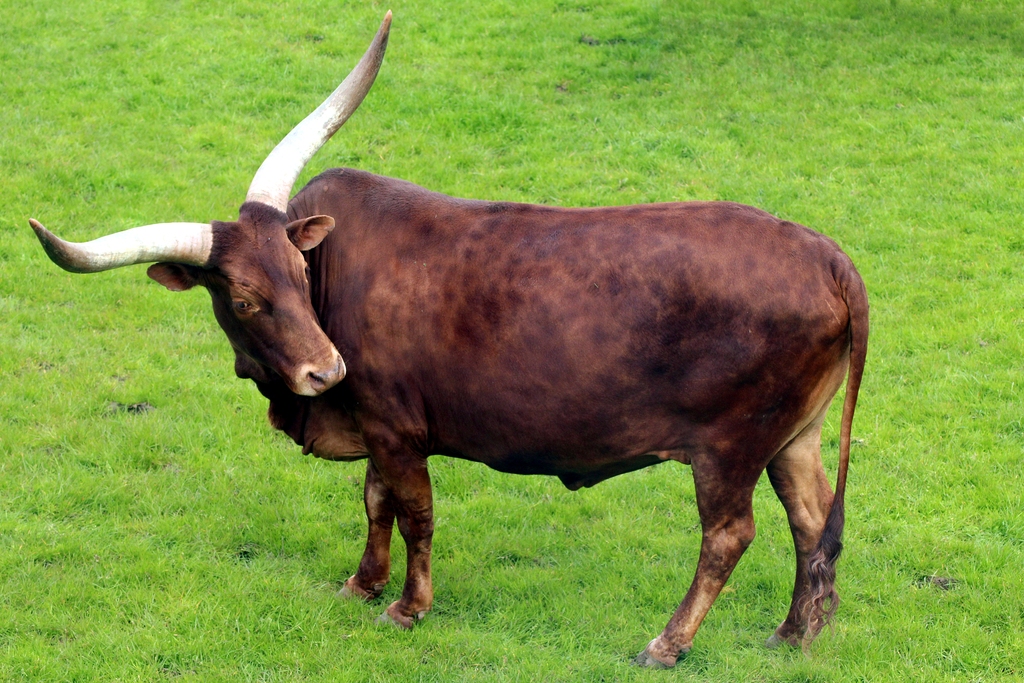
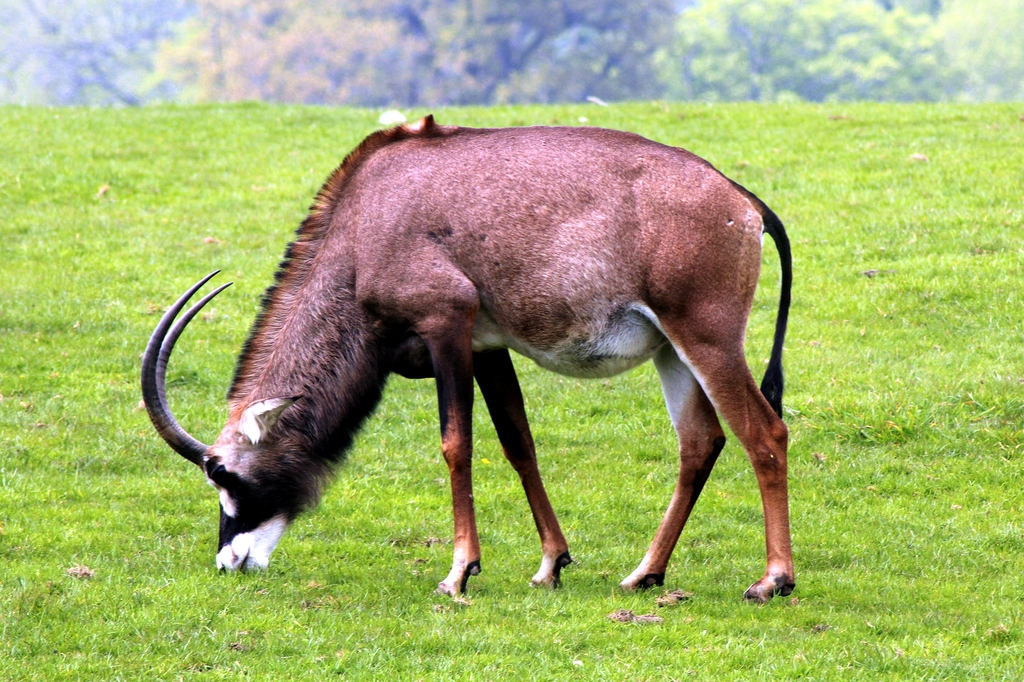
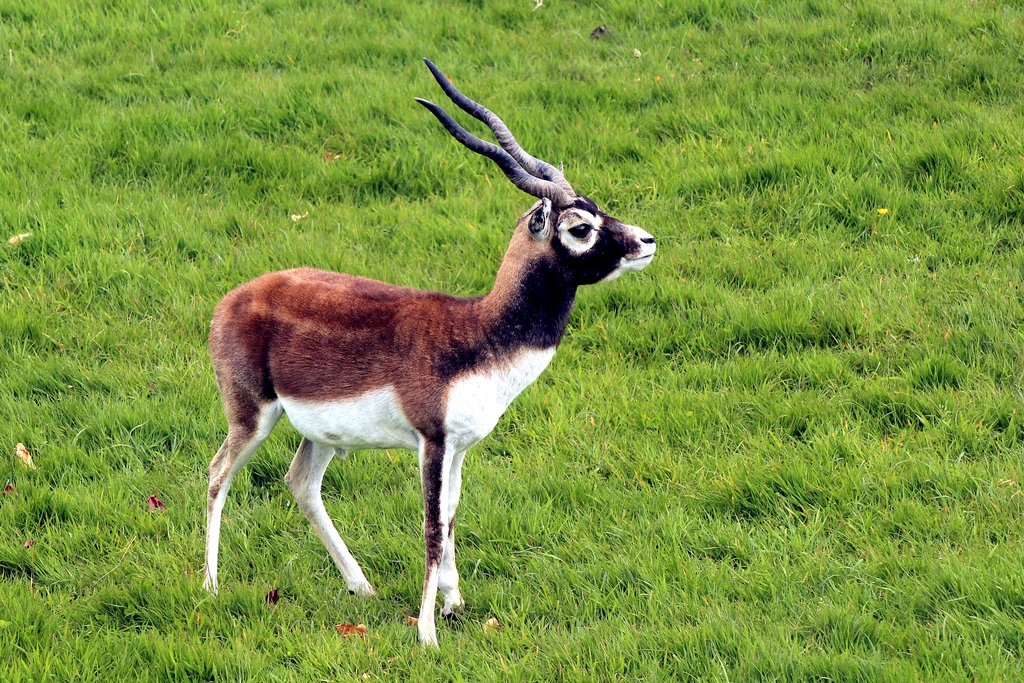
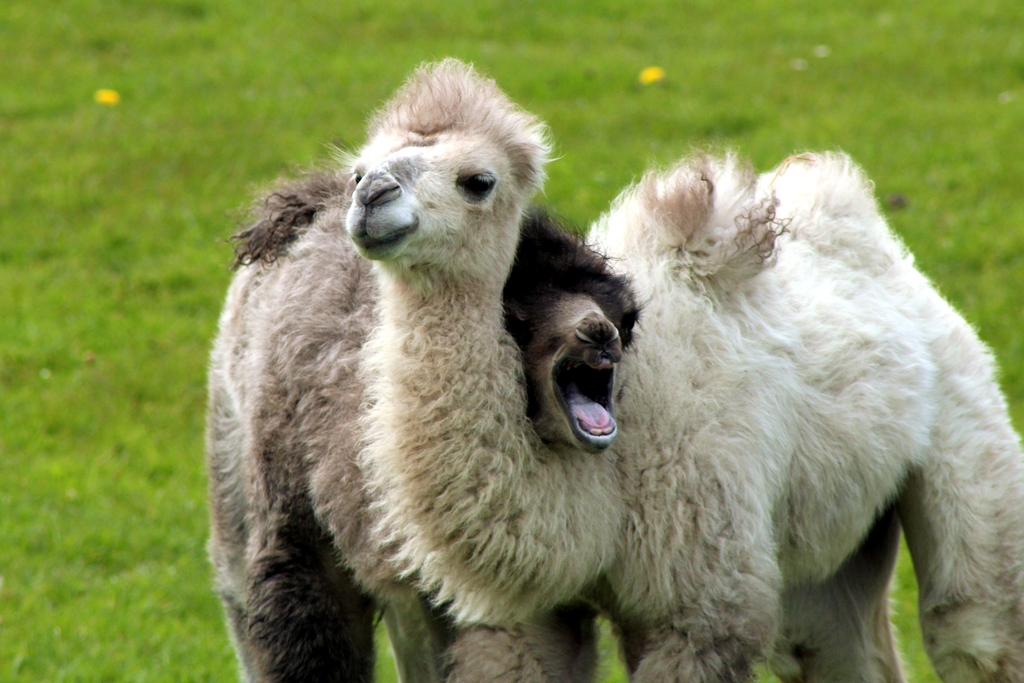
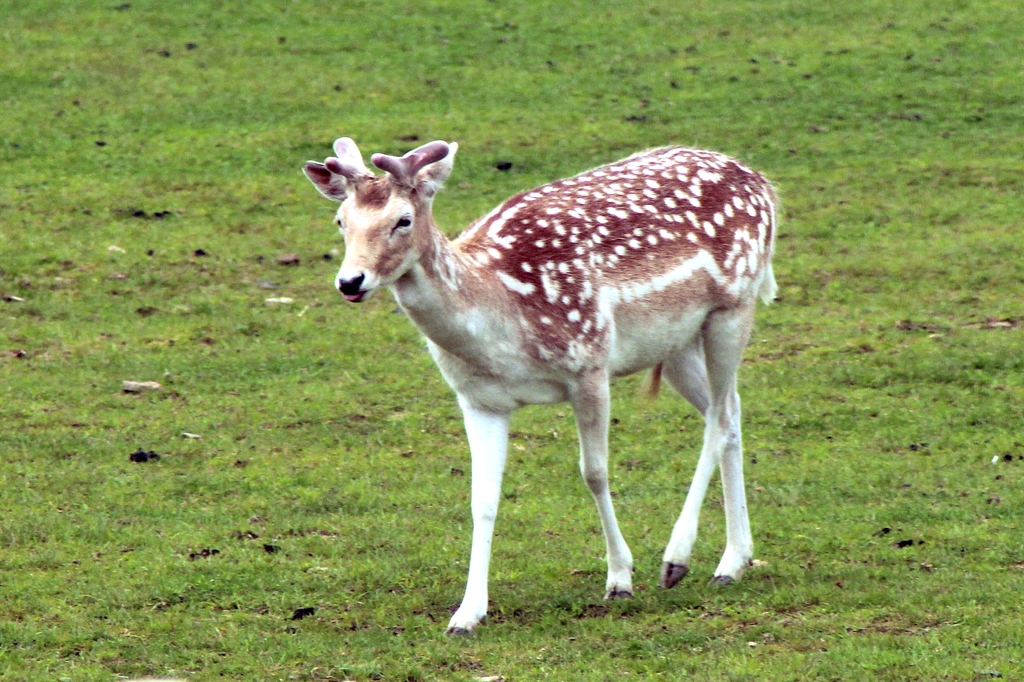
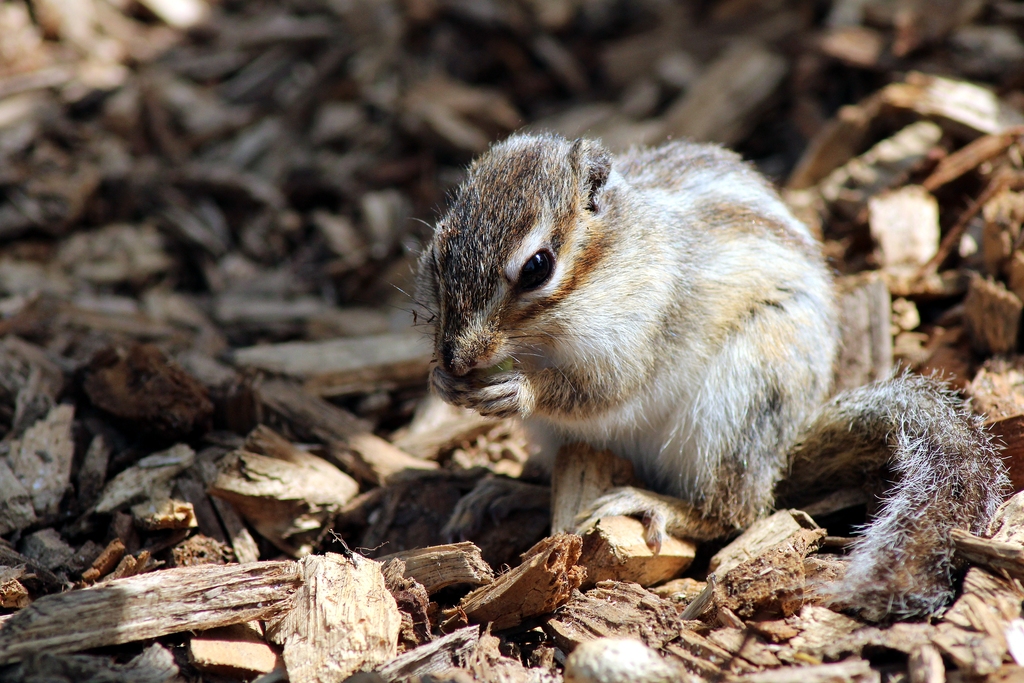
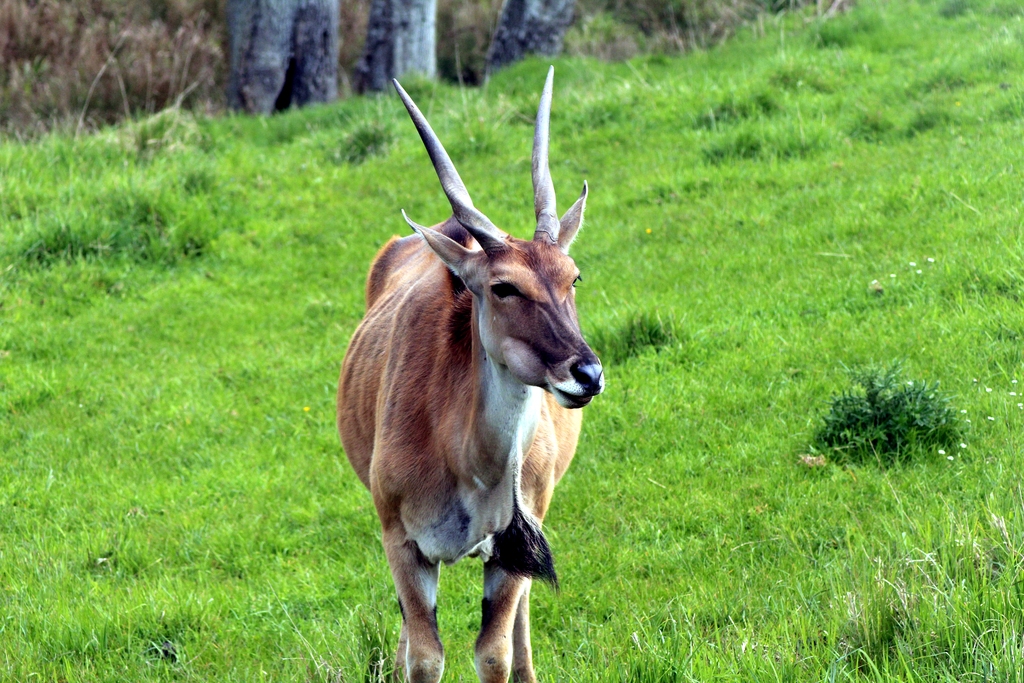
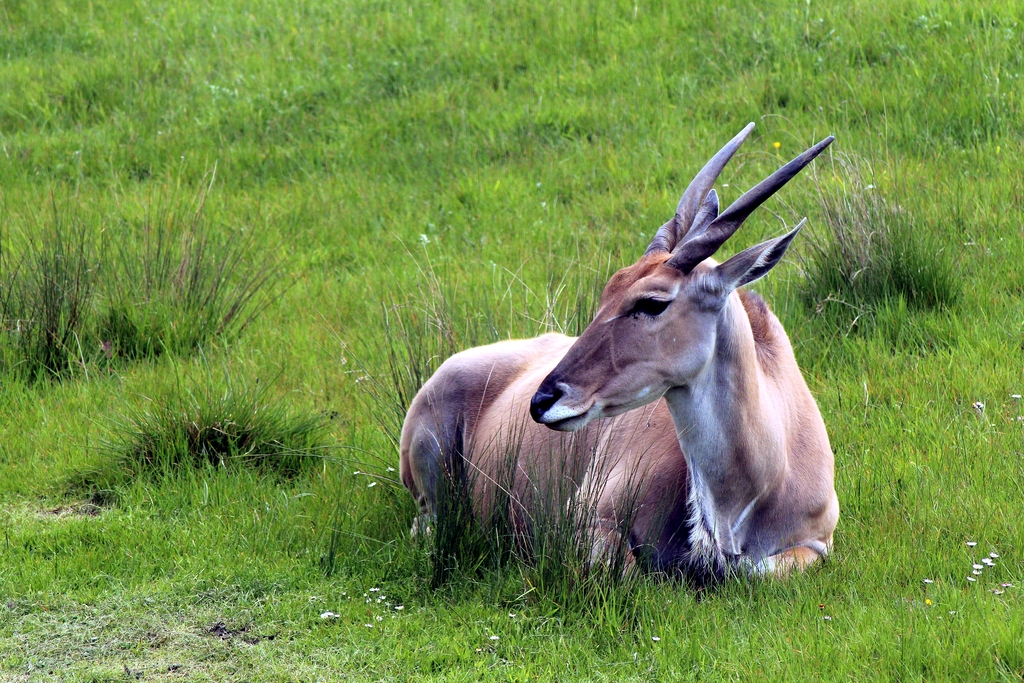
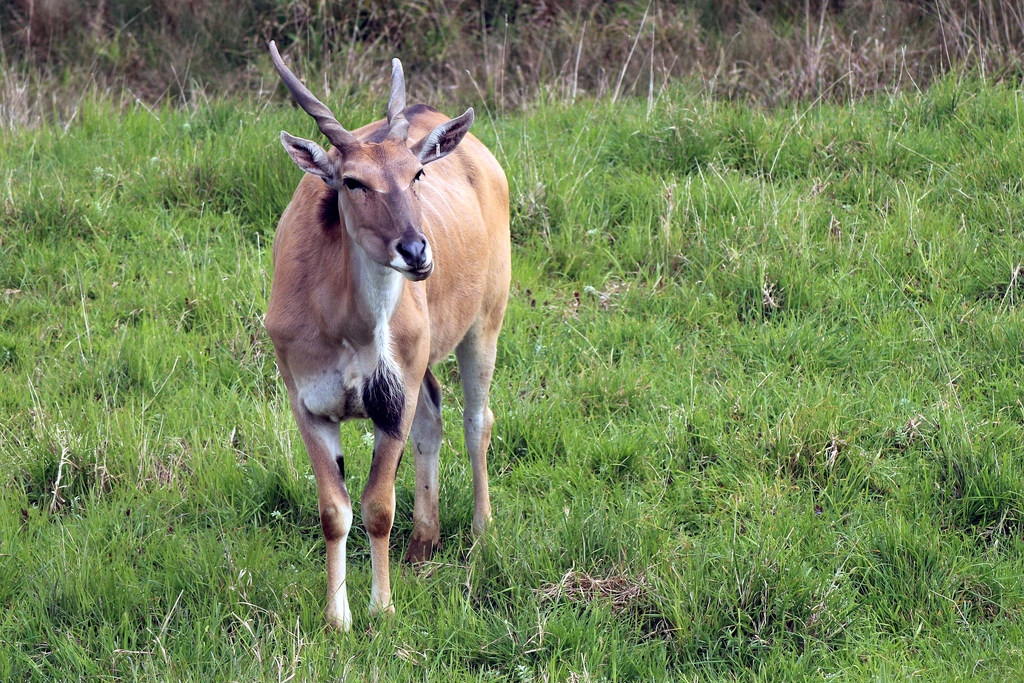
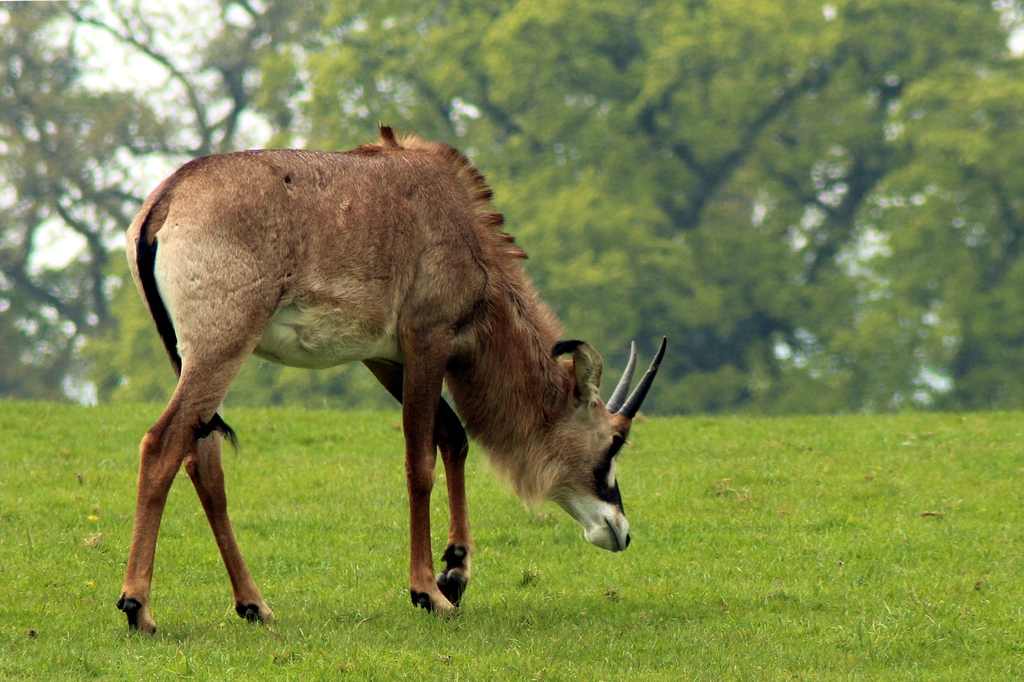
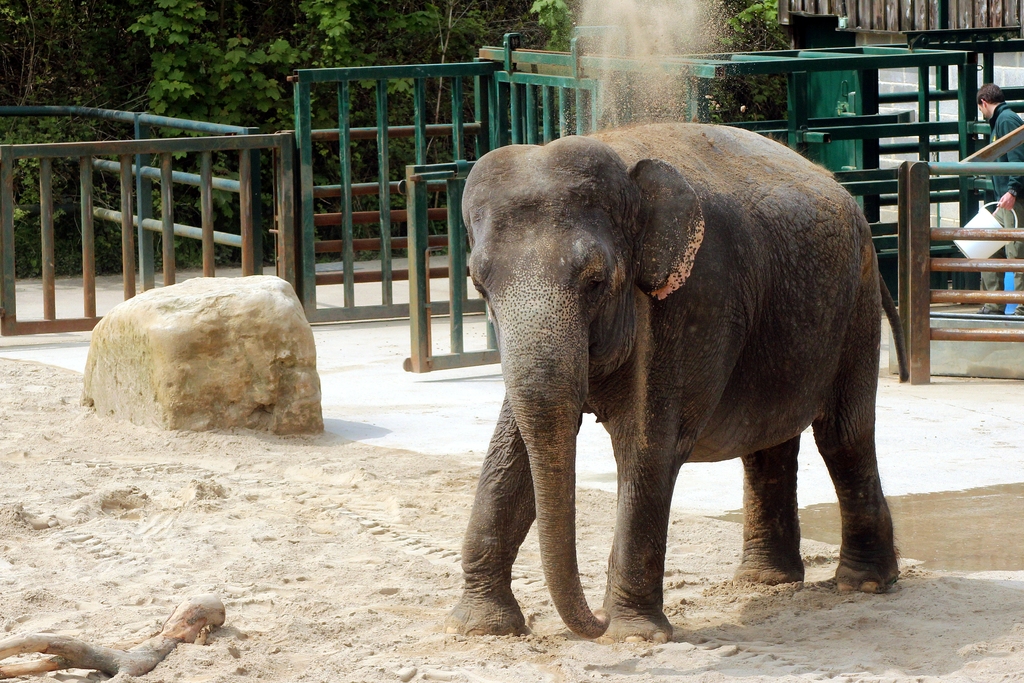
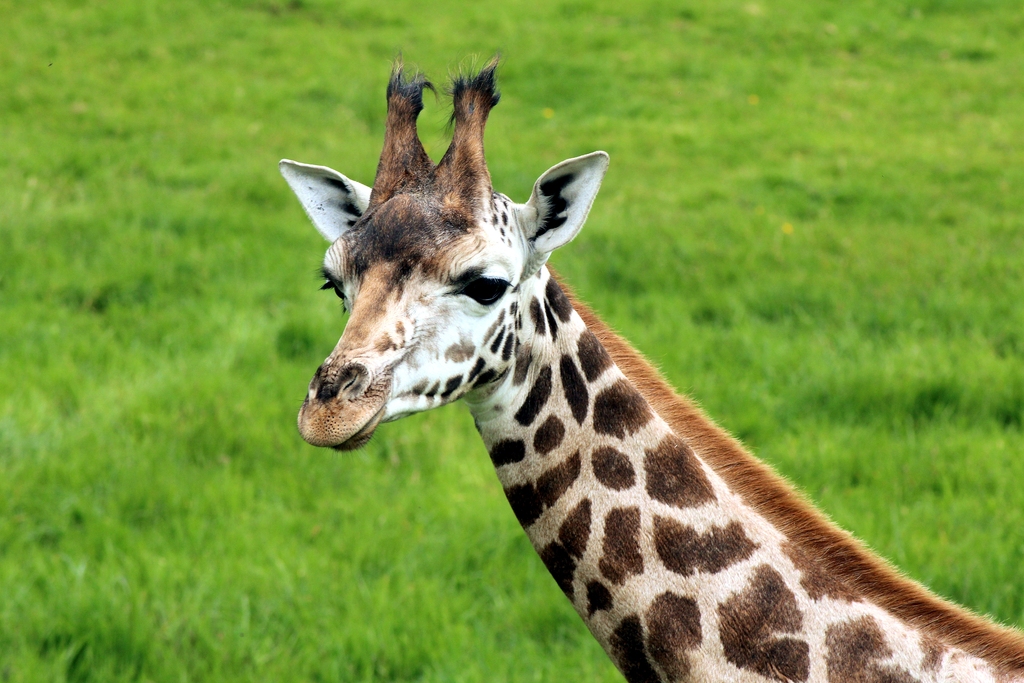
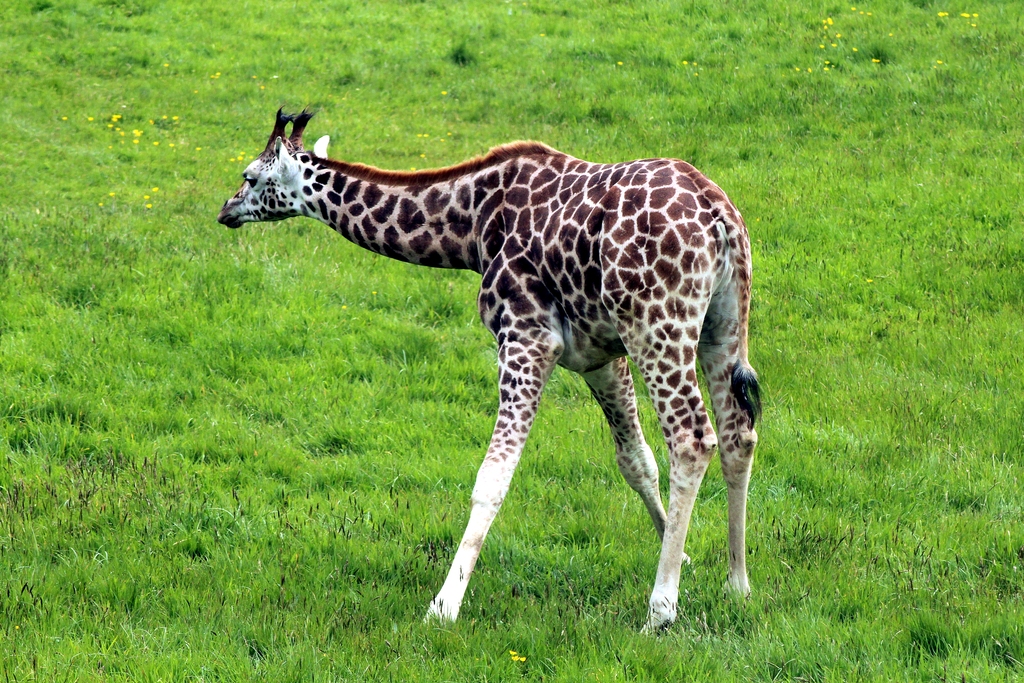
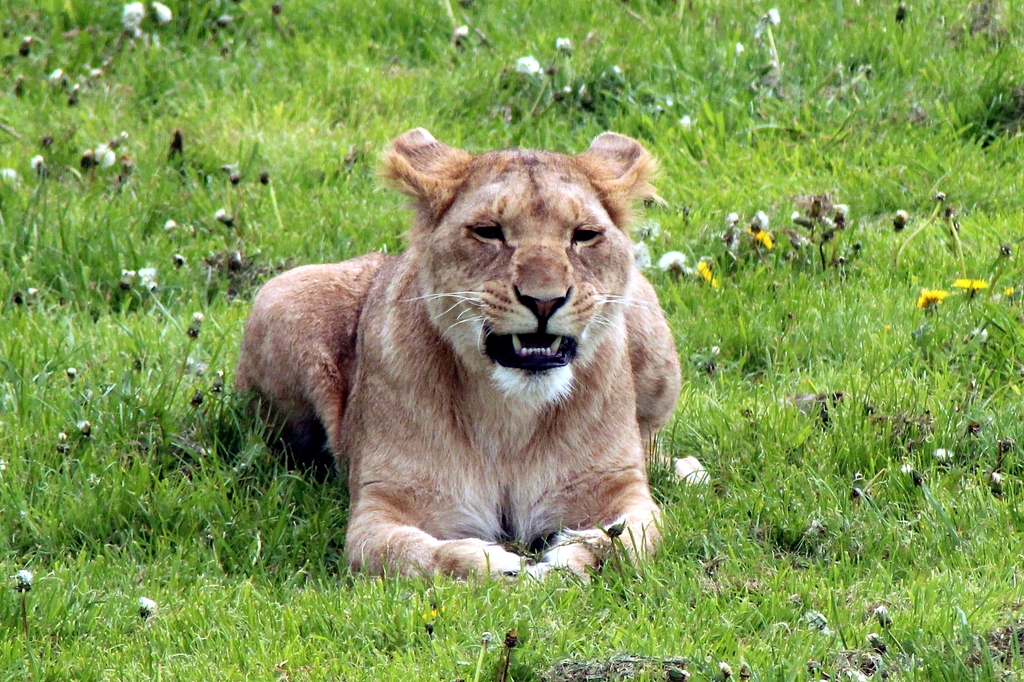
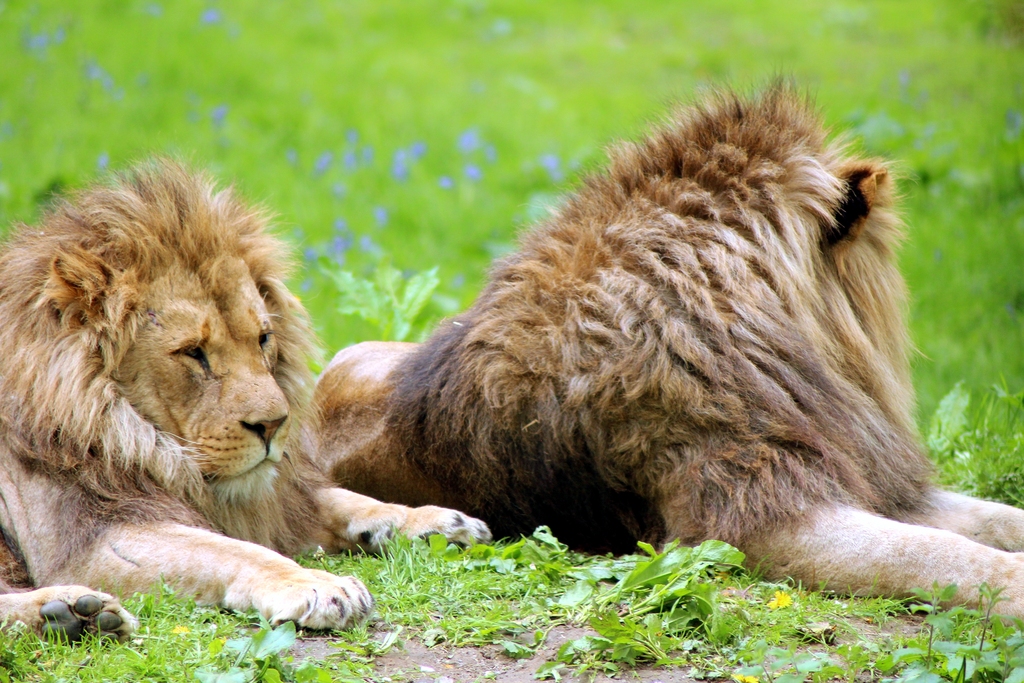
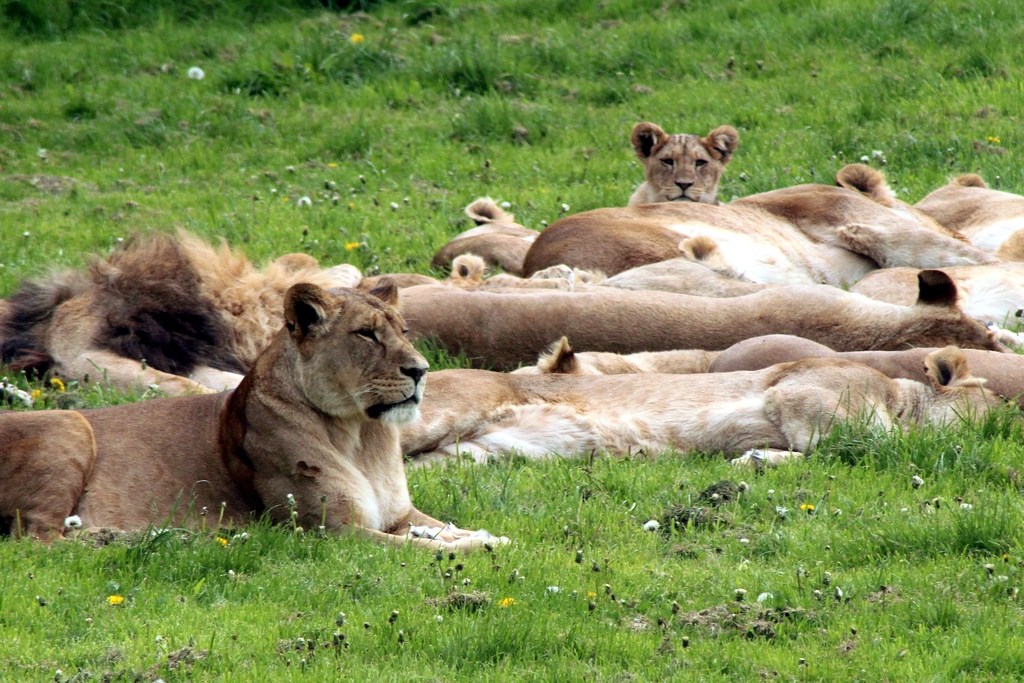
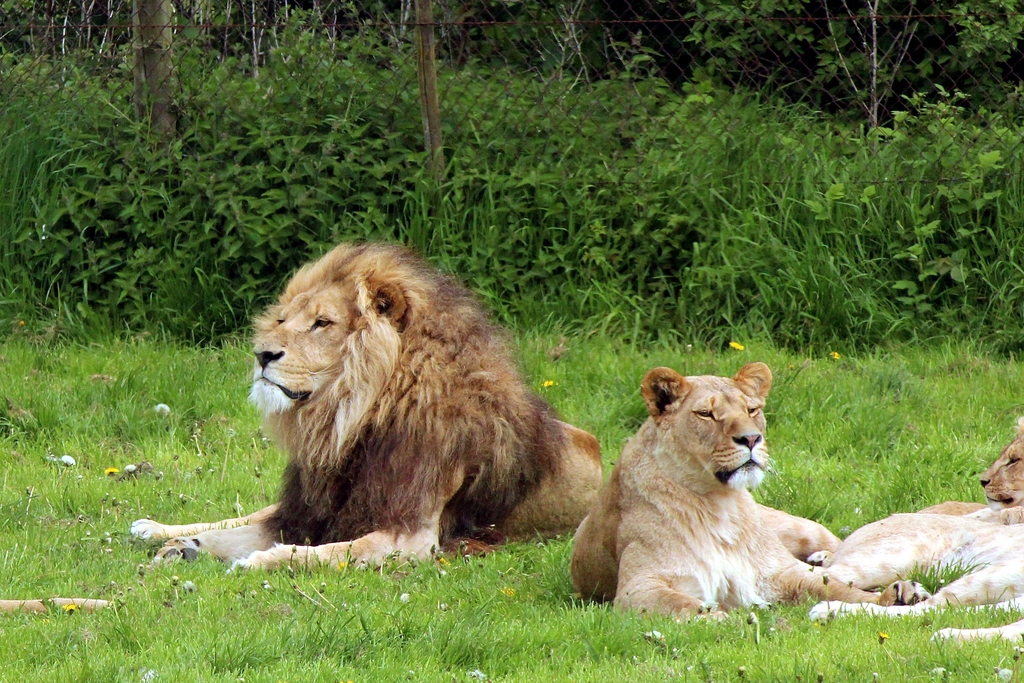
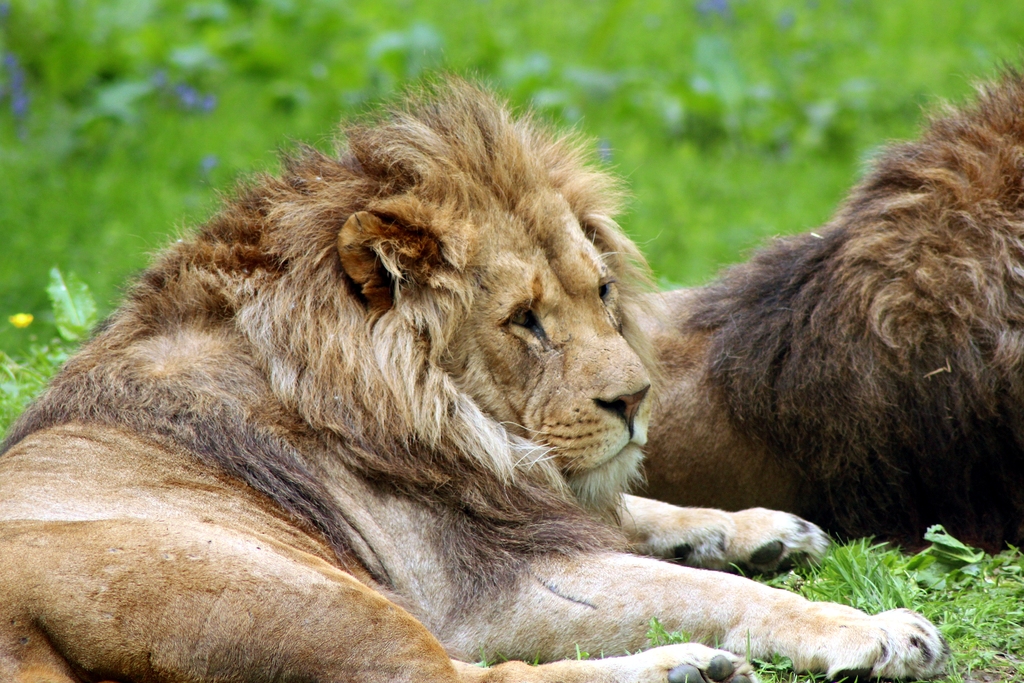
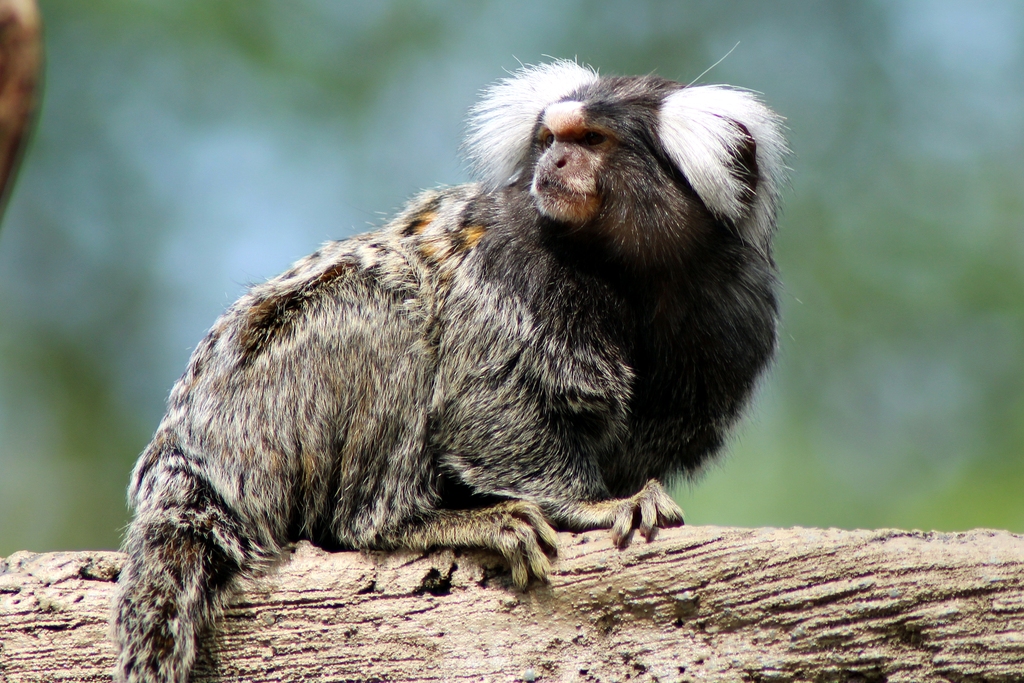
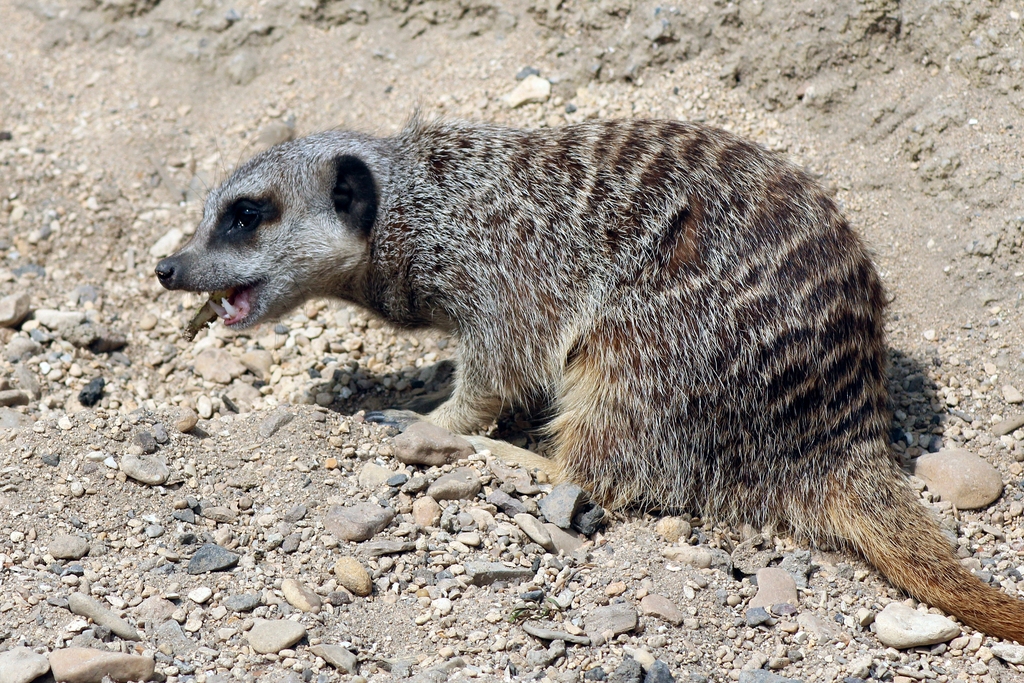
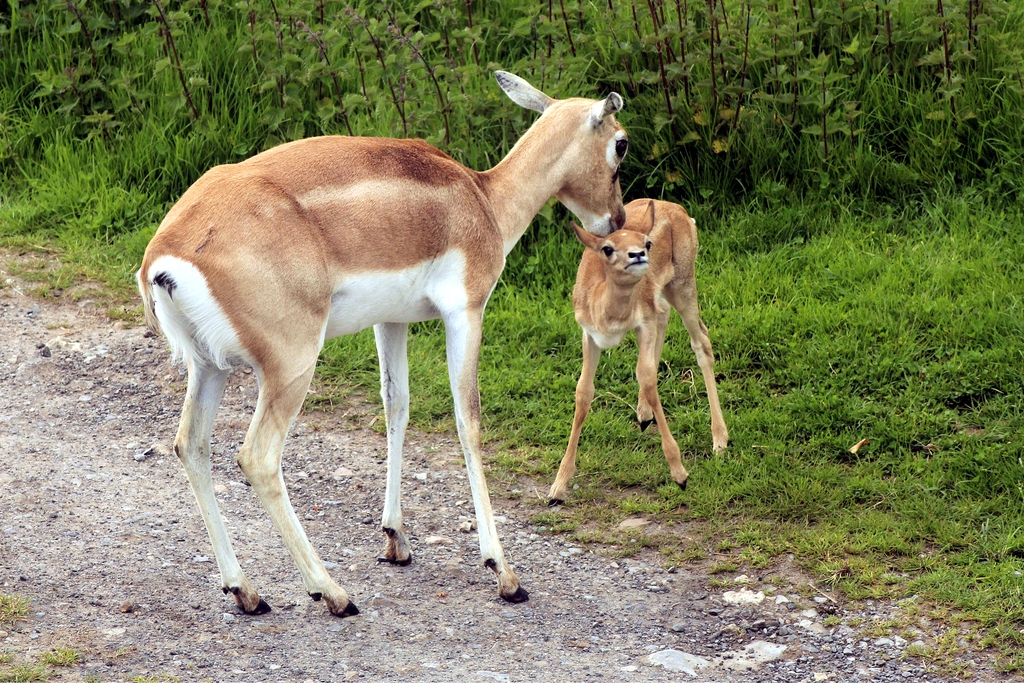
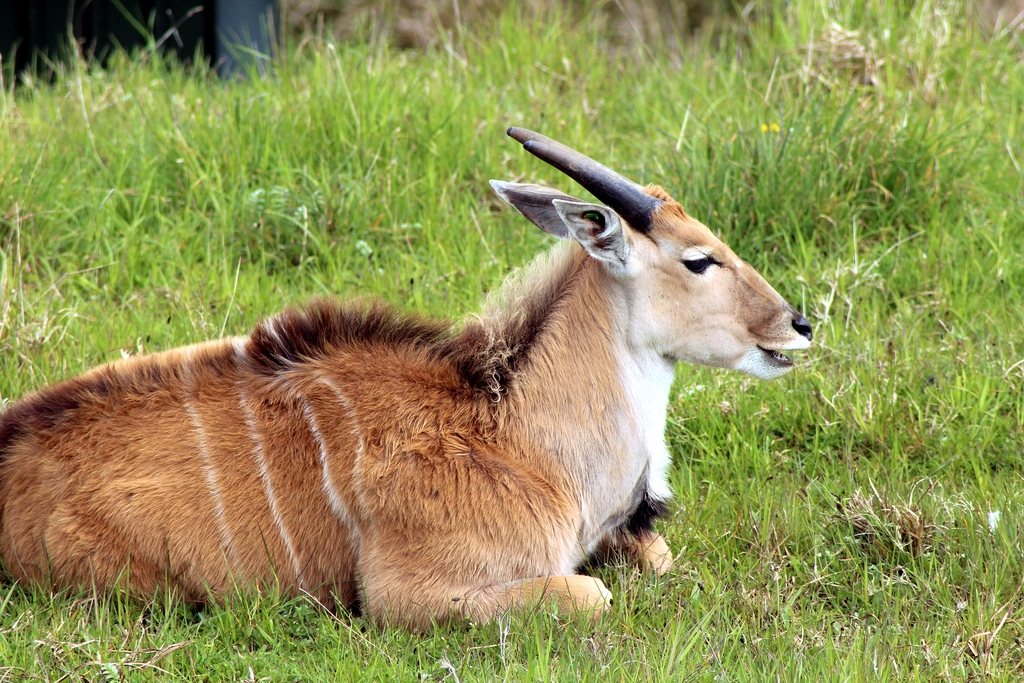
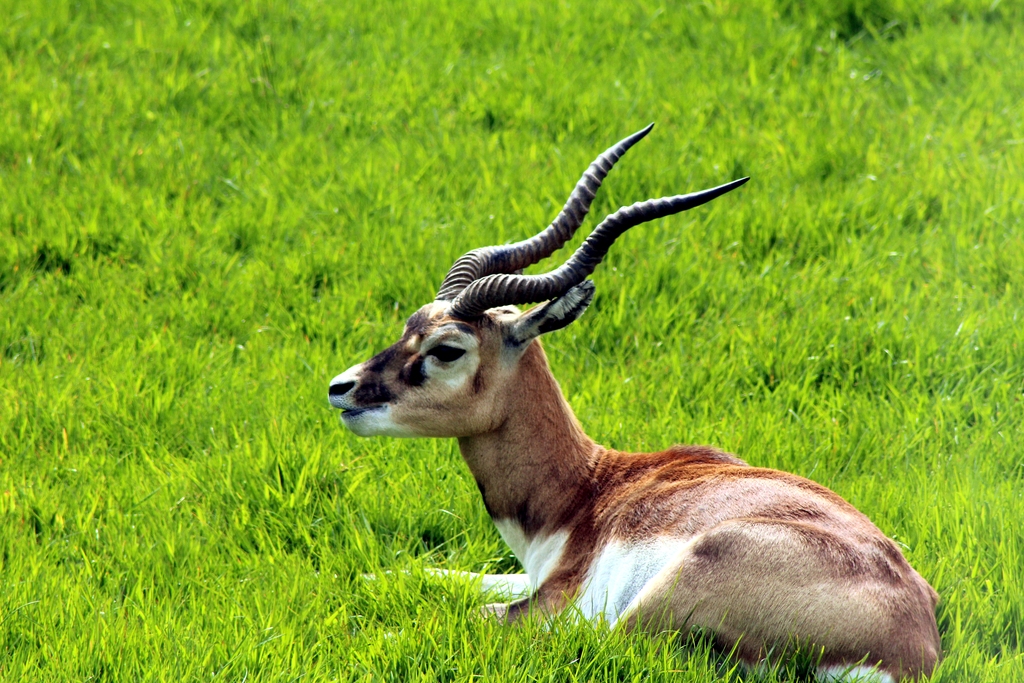
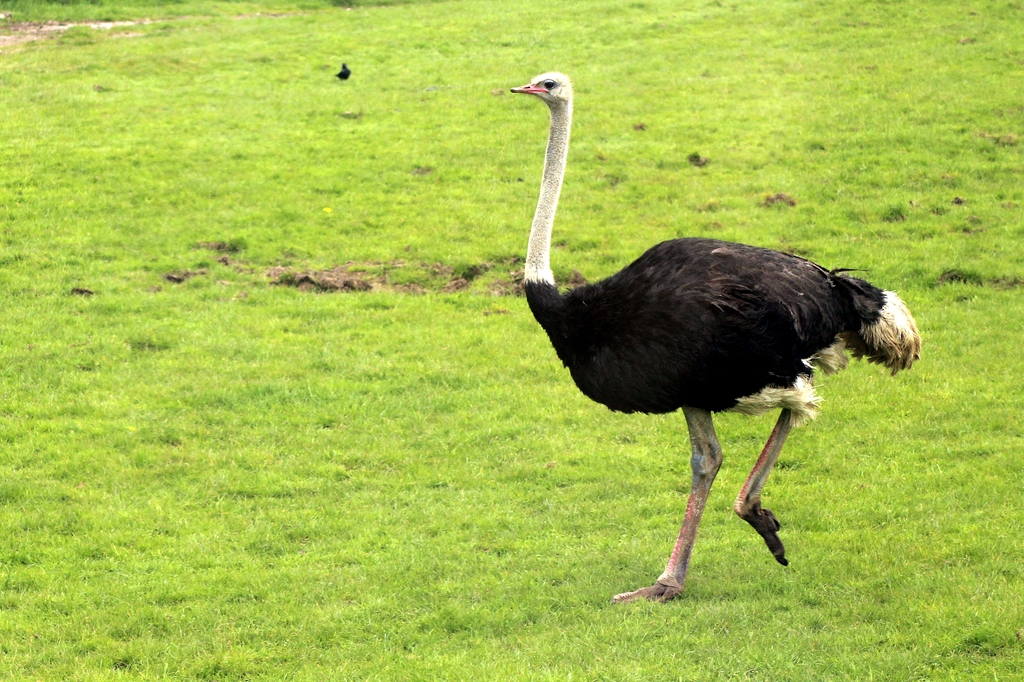
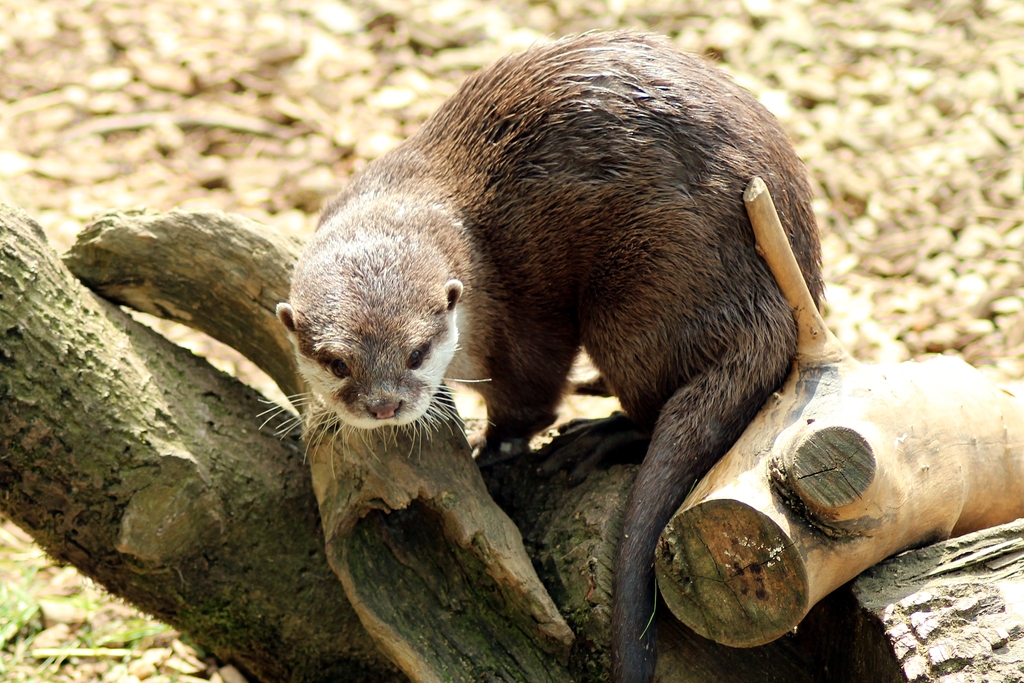
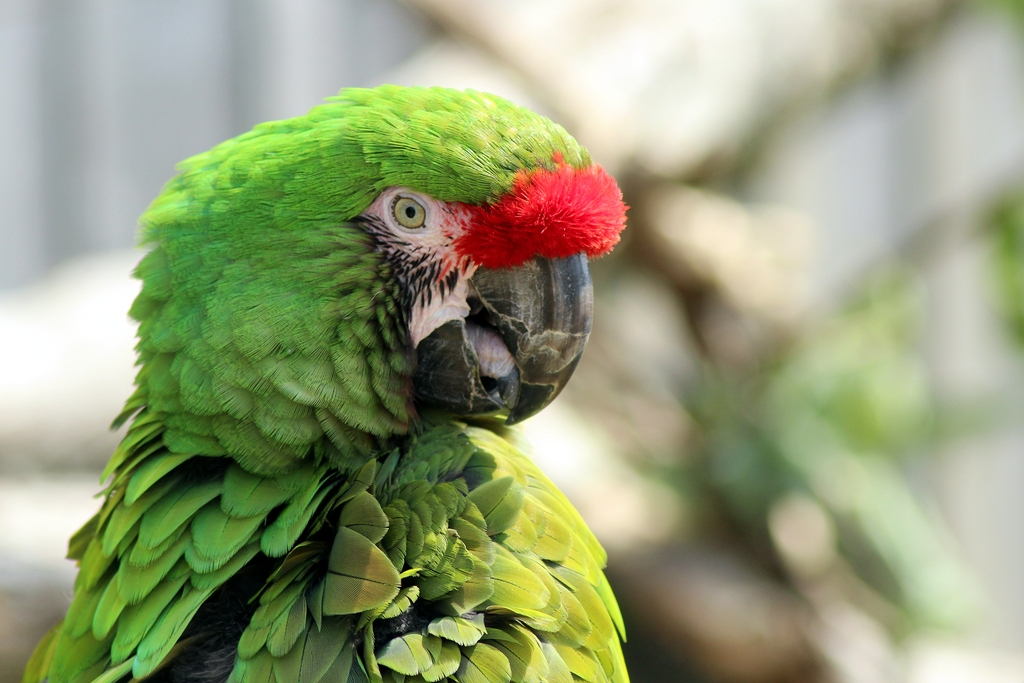
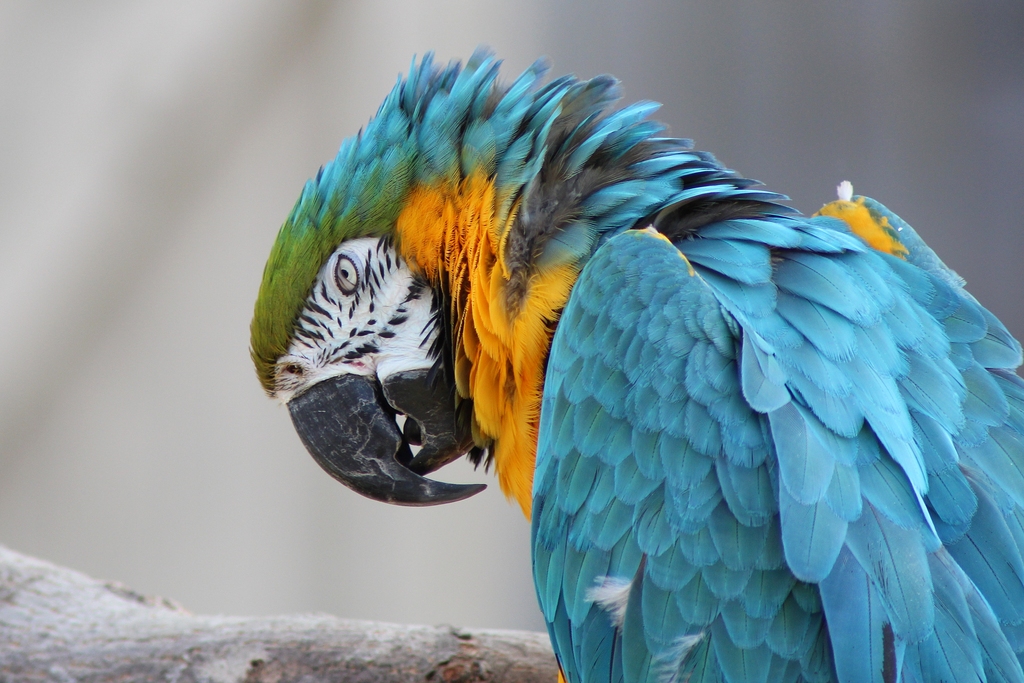
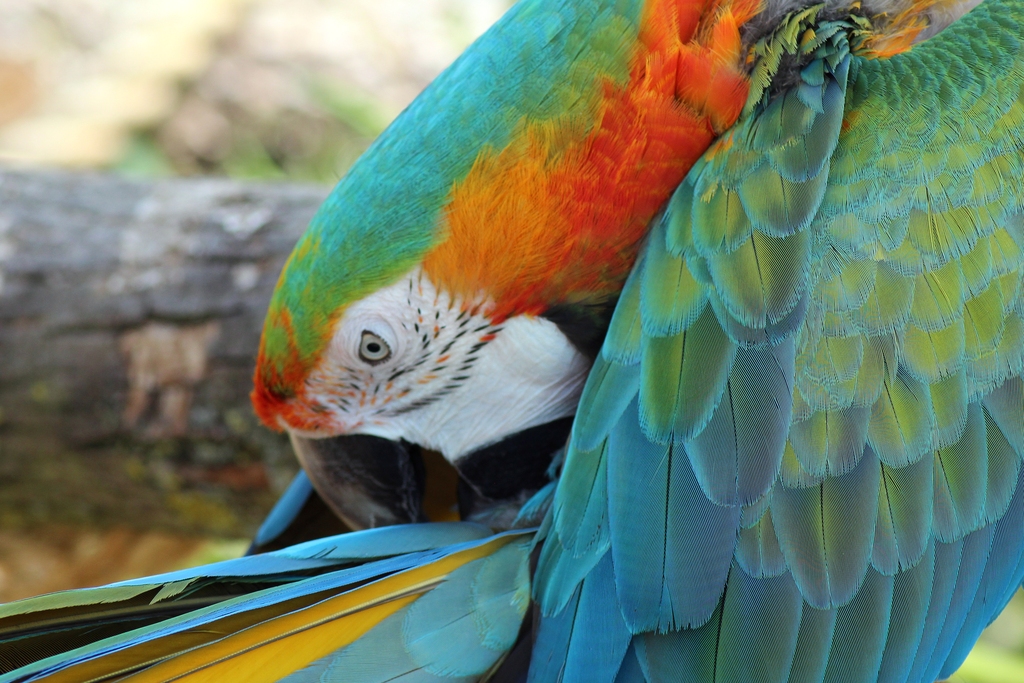
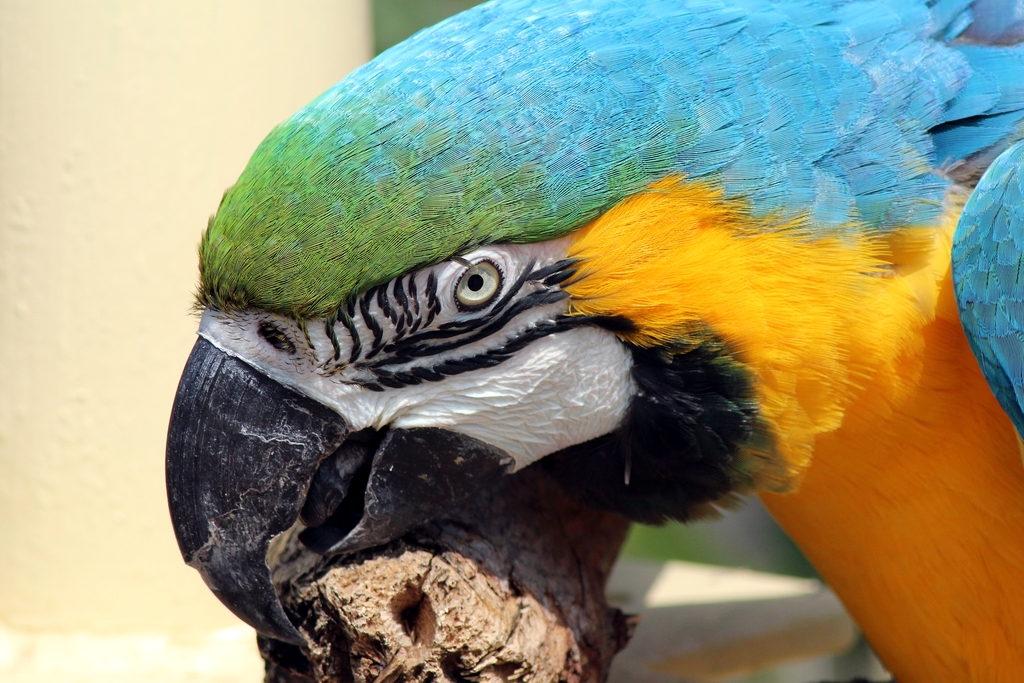
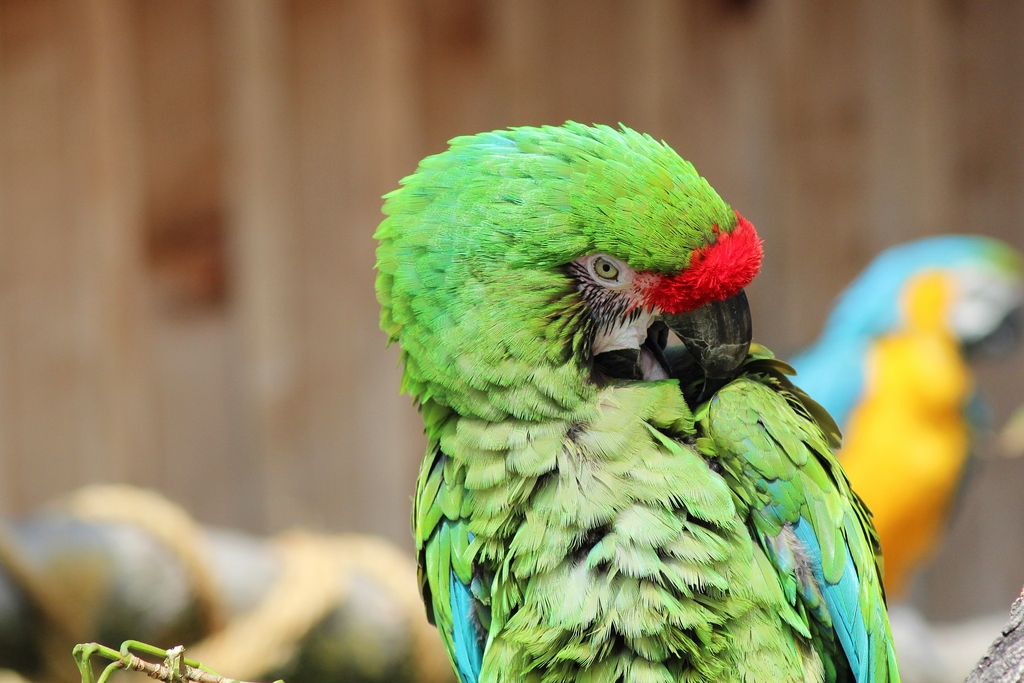
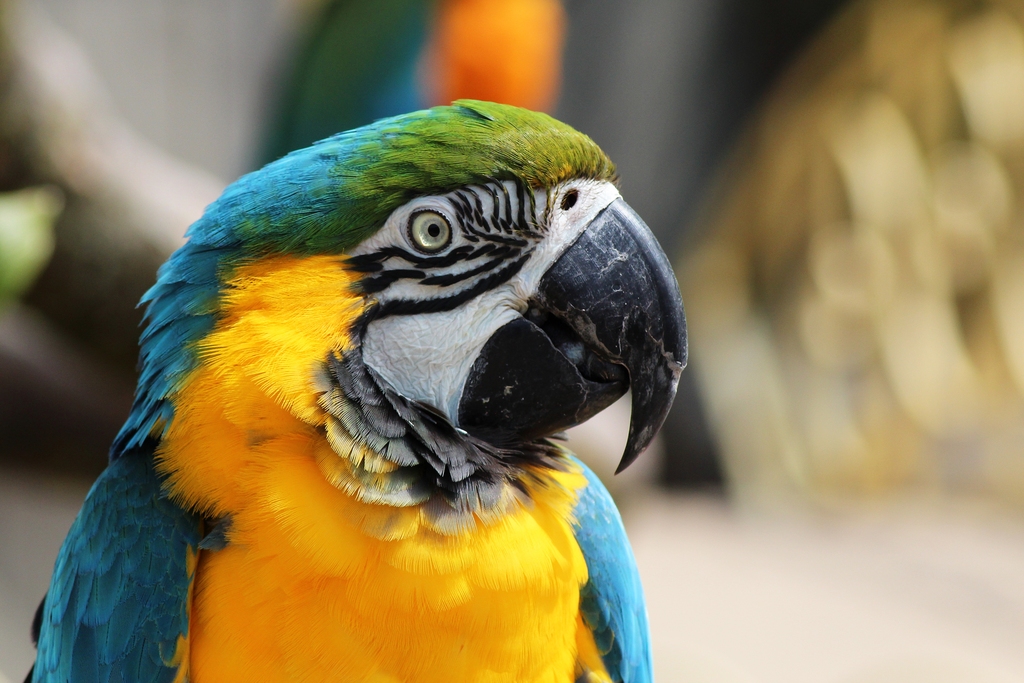
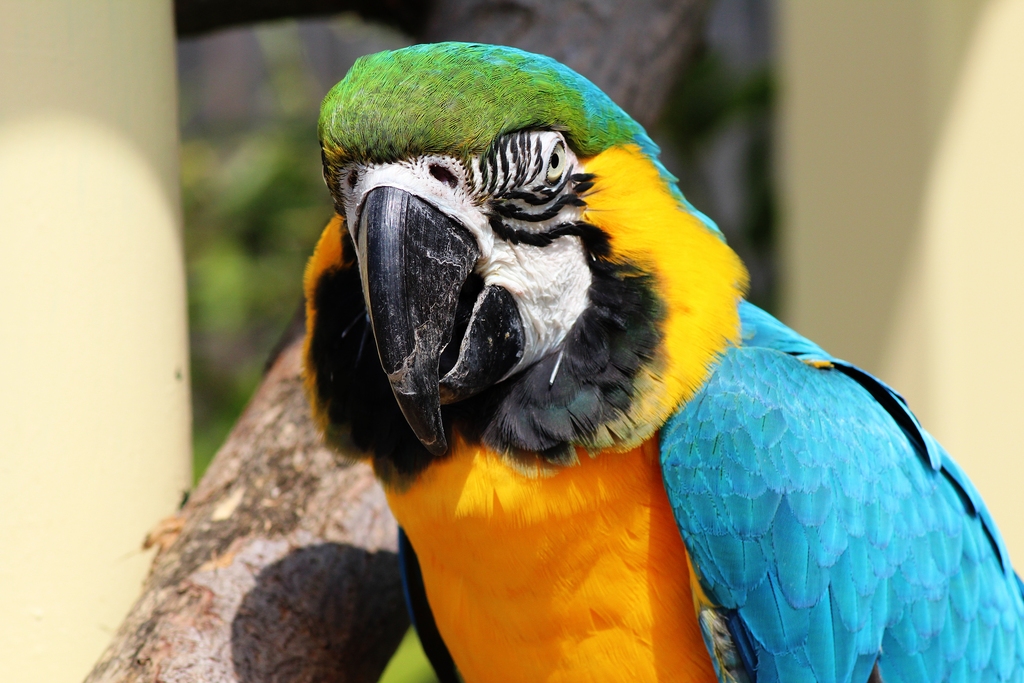
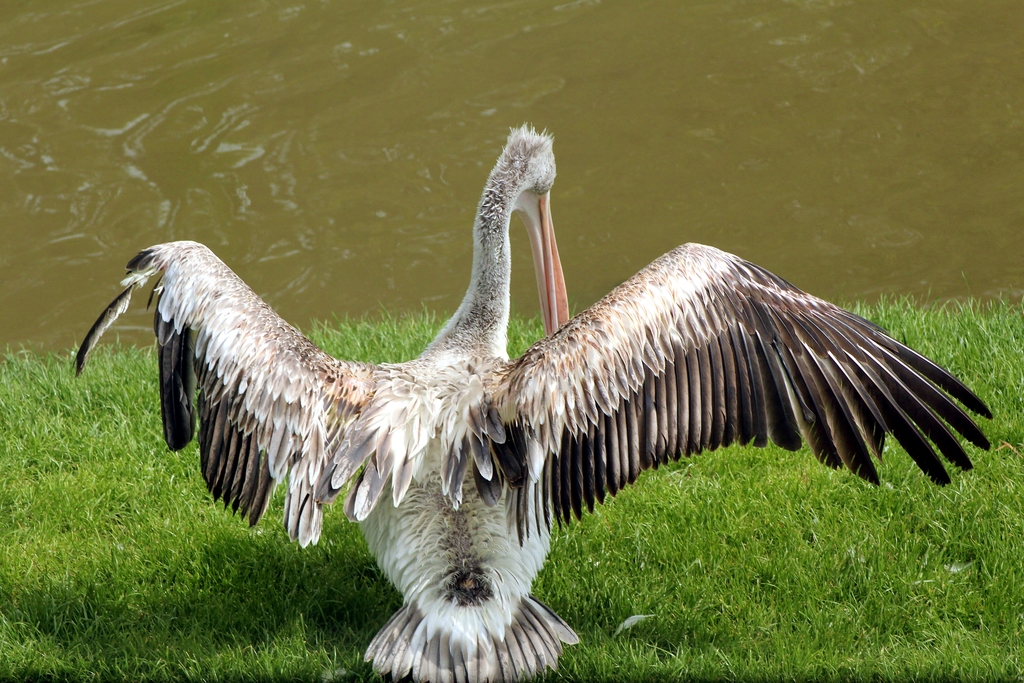
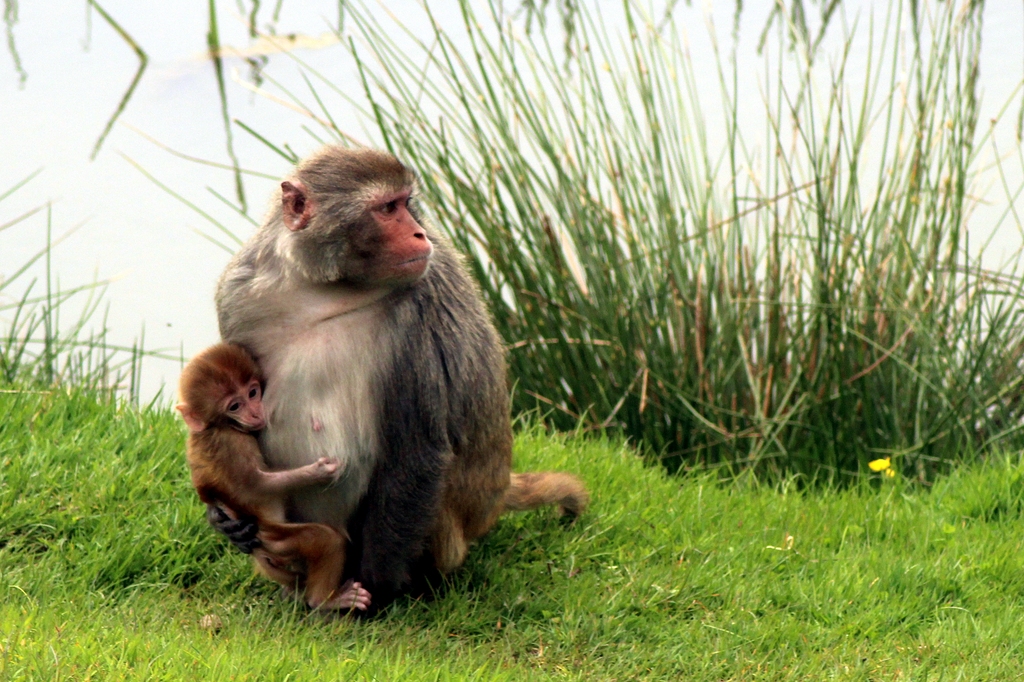
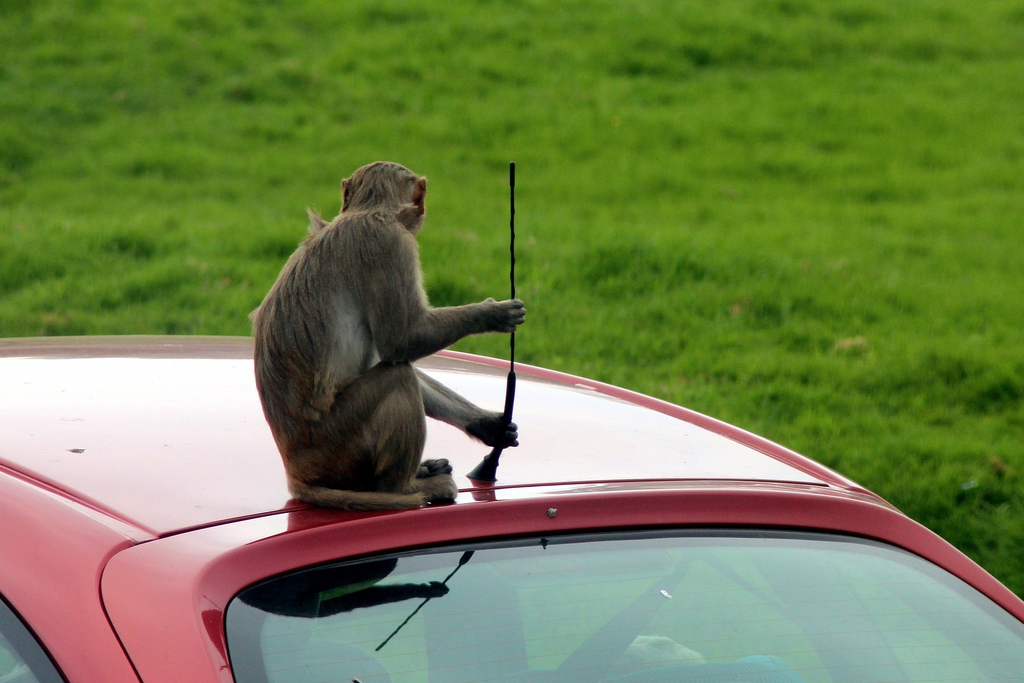
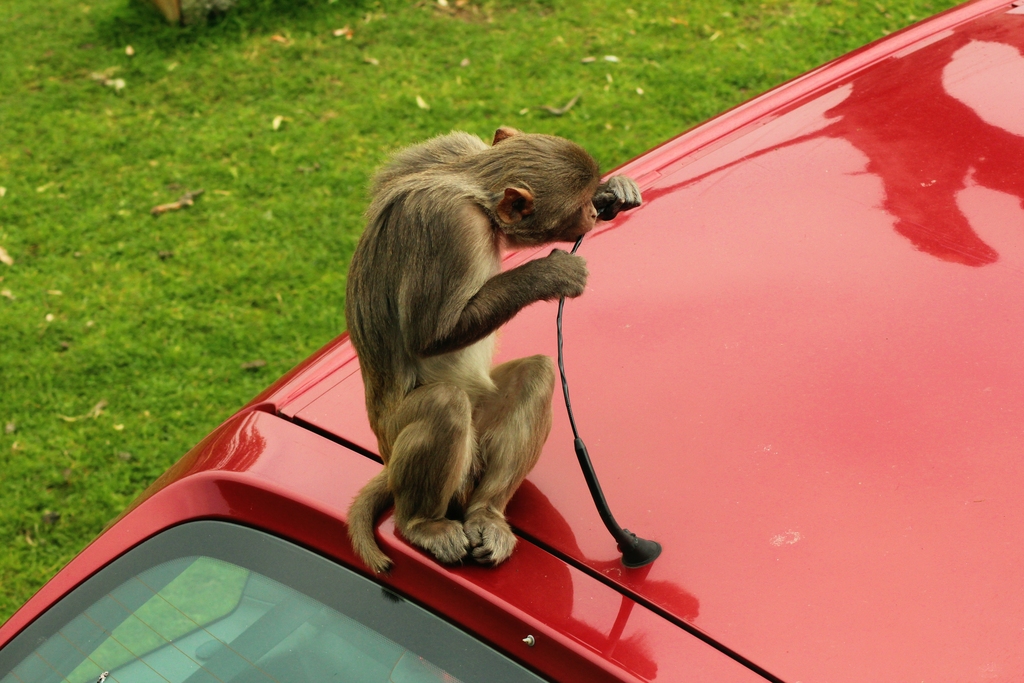
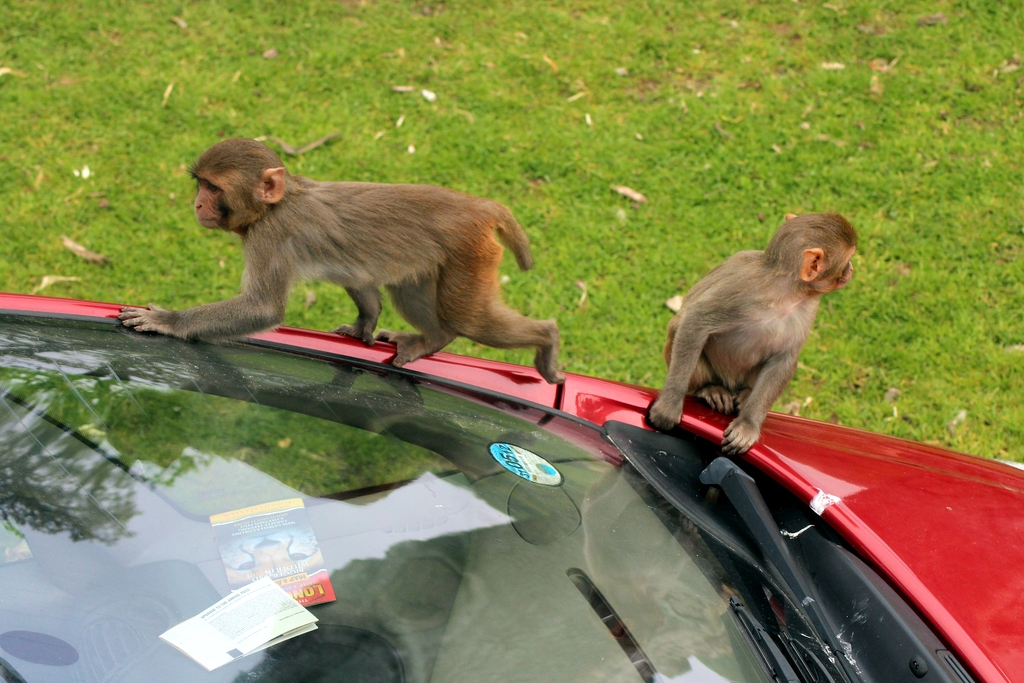
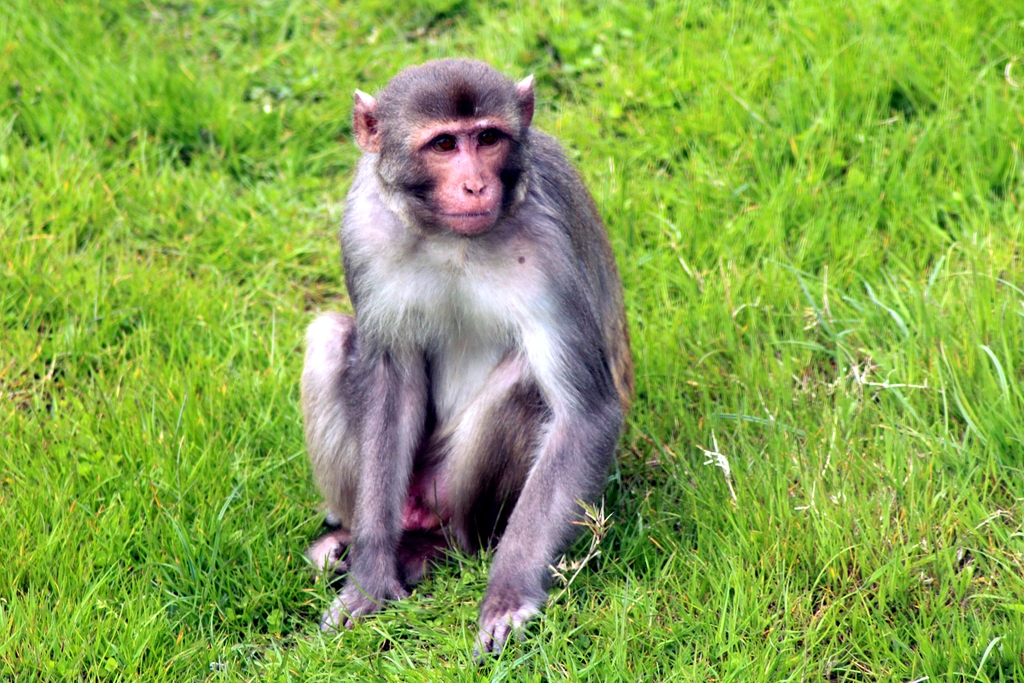
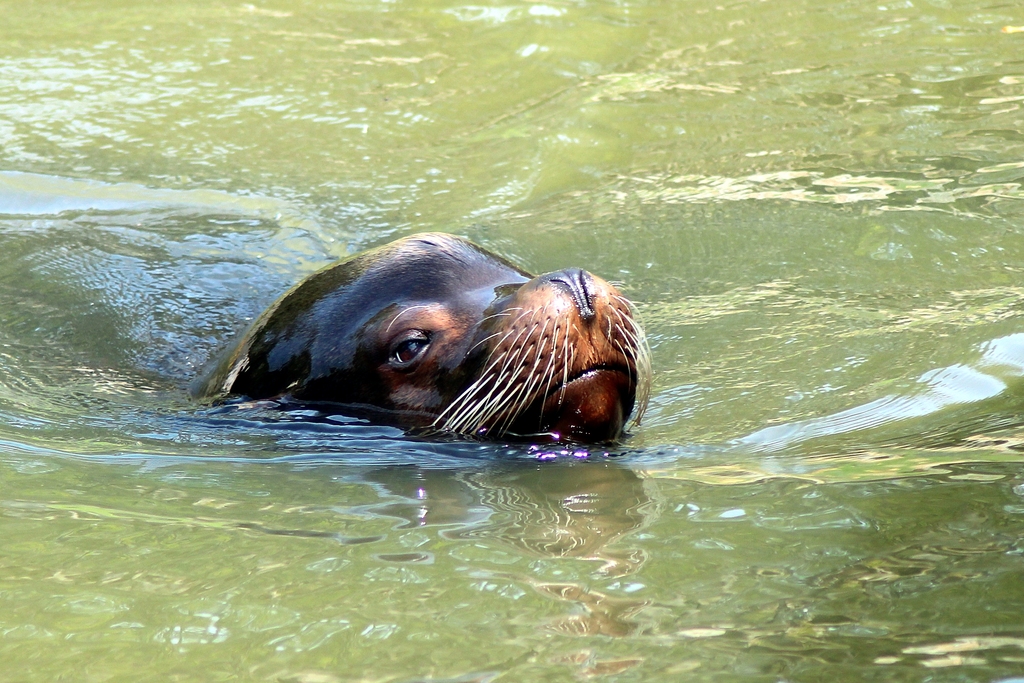
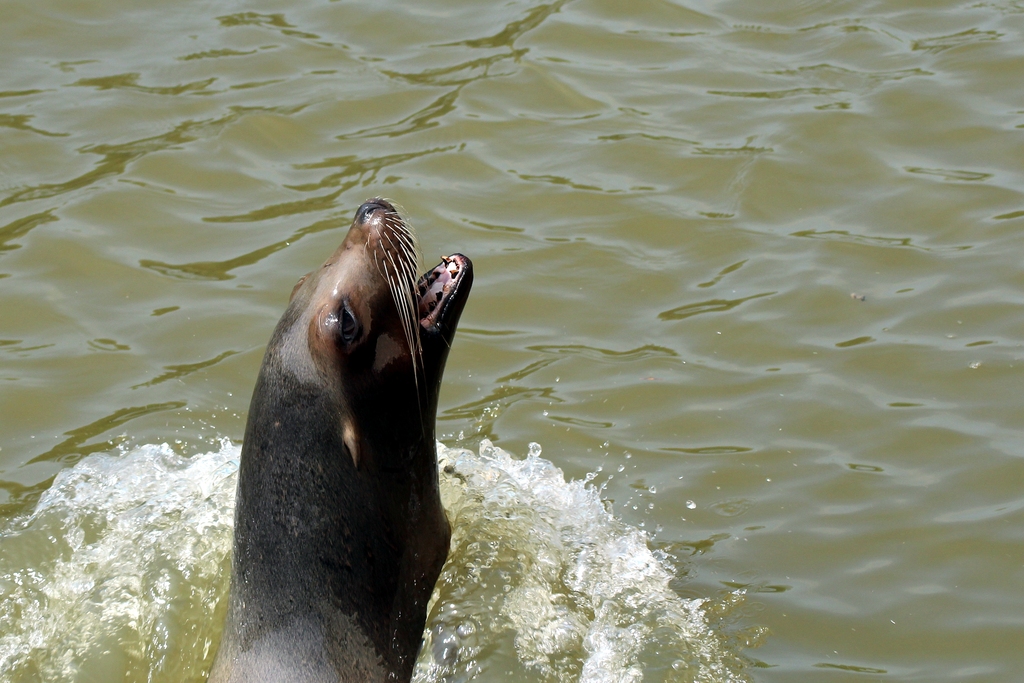
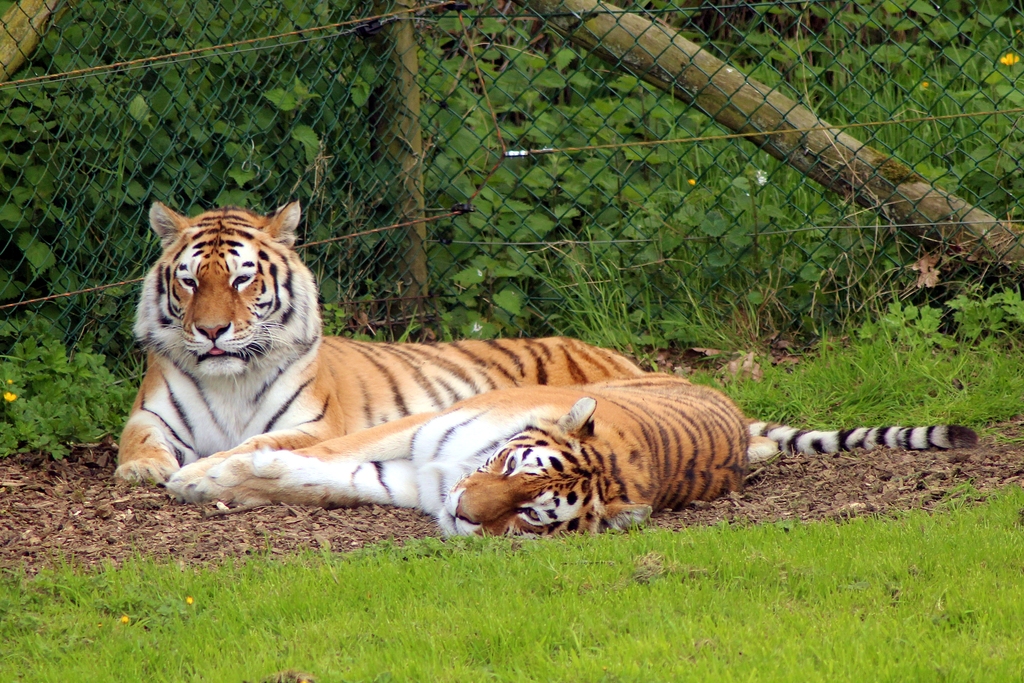
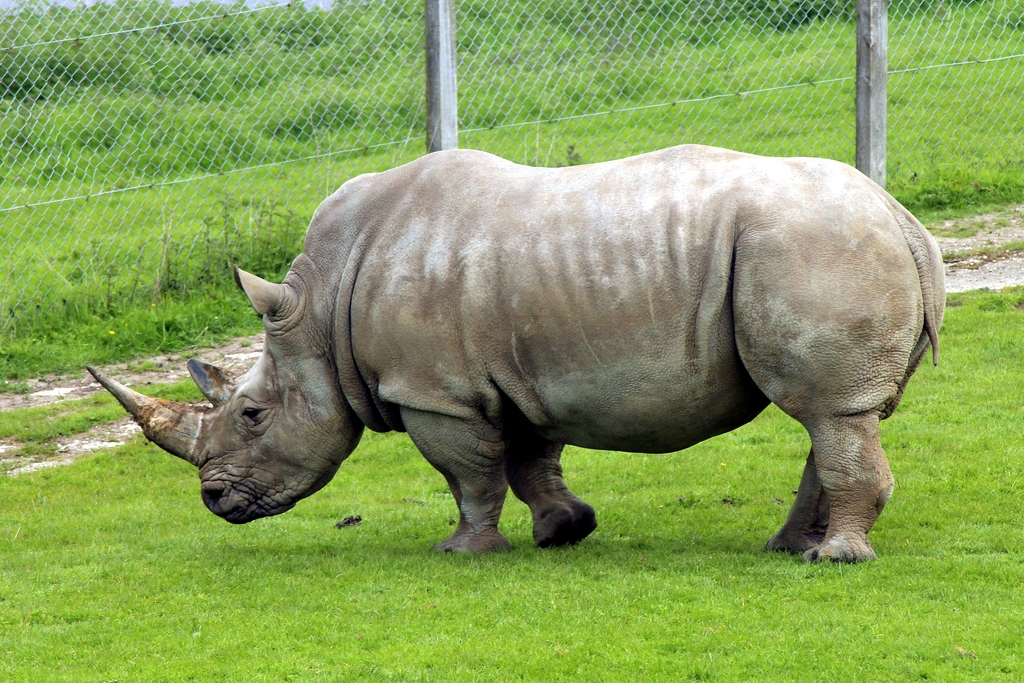
This week, Hannah and I stayed in at Center Parcs in Longleat forest. One of the nearest attractions is Longleat Safari park. I’m not an animal expert but I do admire their beauty, so naturally I took my camera. I ended up taking over a thousand pictures of creatures great and small, ranging from small animals that you can pet, and big ones you really oughtn’t get out of the car for.
I’ve reviewed every single one of the pictures and selected my favourite 57 for your enjoyment. For those who are interested, these pictures were taken on a Canon EOS 600D with a Tamron 70-300mm telephoto lens. It’s a mediocre lens but fortunately the sun was quite bright so I was able to keep the shutter fast and the aperture small, and make the most of the equipment.
For the “safari” part of the day, we opted to leave the car in the car park and take the tour bus. This was a wise decision, since the car didn’t get trashed by the monkeys, we were both able to enjoy the sights equally, and we had the added benefit of a knowledgeable tour guide. All of the photos of big animals were taken through the windows of the bus. For the safer and smaller animals, we were able to walk around and view the animals directly, without looking through cages or windows.
This is the first roll of film I have had processed as slides. I don’t (yet) have the capability to process slides in my darkroom so I decided to shoot a couple of rolls and send them away to a lab to see if I liked the results.
Turns out I love the results. The colours are so bold and saturated, even if the resolution isn’t quite as good as negative film. My scanner hasn’t done these pictures justice – they just don’t compare to viewing them on a projector at home. Nonetheless, these are my favourites.
First there’s the obligatory shot of Troopers Hill. These pictures were taken on and around the hill in the late afternoon when the sunlight was golden.
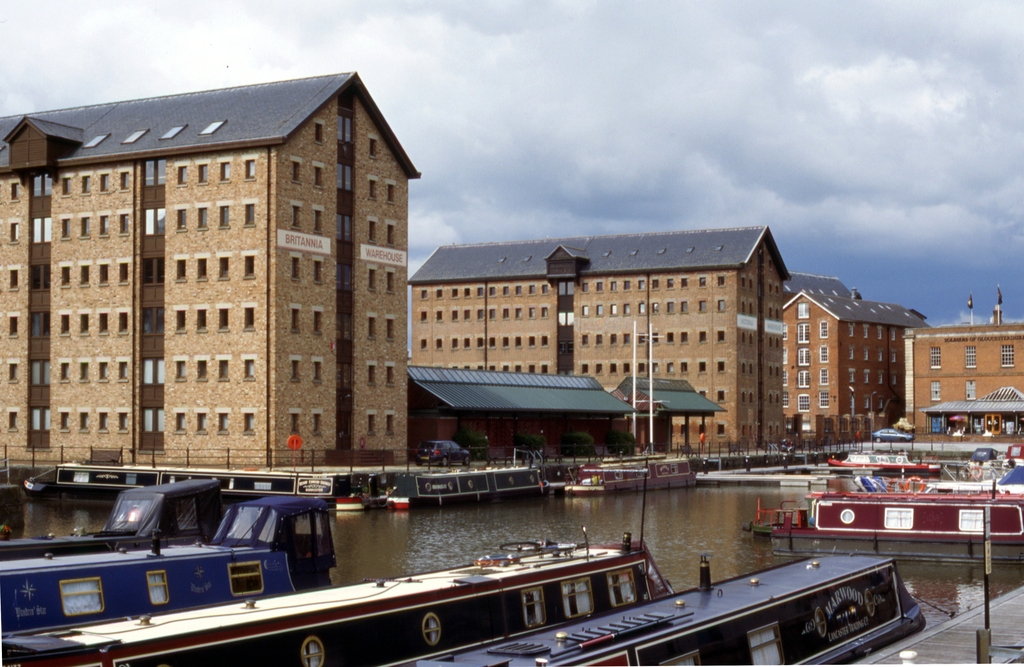
Troopers HillDandelion clockAllotmentsThe rest of these pictures were taken on our recent weekend break to Gloucester. I already published some black & white pictures of Gloucester cathedral & docks, but here are some more that were shot in colour.
Gloucester docksRusty dock buildingThe rest were taken on a ramble in the countryside around the Hempsted area of Gloucester. As country walks go, it was a bit of disaster. We encountered flooding, were chased by cows and Hannah went to hospital after an accident involving a barbed wire fence. (She’s OK!)
St Swithun’s church, GloucesterGloucester countrysideGloucester countrysideGloucester countrysideGloucester countryside
This week’s Photo Challenge was stormy skies. Unfortunately the weather in Bristol has been grey and overcast – lots of cloud, but nothing dramatic. So I decided to resort to abusing the HDR technique to create this image of Cabot Tower on Brandon Hill.
It certainly isn’t realistic, but I don’t think that matters. I like the effect (in small doses). Do you?
Hannah and I spent the Bank Holiday weekend in Gloucester. It rained for most of the time, but I managed to take some reasonable interior shots of the cathedral.
These pictures were taken on Fuji Neopan 1600 film, using a Canon AE-1 Program camera with Canon FD 50mm f/1.4 and Canon FD 28mm f/2.8 lenses. I didn’t quite nail the exposure inside the cathedral (who’d have thought a 30-year-old light meter might be inaccurate?) and the thin negatives didn’t scan well. However, I hope they will print acceptably well in the darkroom.
Gloucester cathedral naveGloucester cathedral stepsGloucester cathedral windowGloucester cathedral naveGloucester cathedral Lady ChapelGloucester cathedralGloucester cathedral cloistersThe rain added a lot of atmosphere to the historic docks, so I walked around there after I had finished at the cathedral. As well as the 50mm and 28mm lenses I already mentioned, out here I also used a Canon FD 135mm f/3.5 for that little bit of extra reach.
I recently saw an article about redscale photography online, and it inspired me to have a go myself. For those who don’t know, colour film is a sort of orangey-brown colour. Usually the light hits the front face of the film which is light-sensitive, and the orange base doesn’t play a part in the picture taking. With redscale, you tinker with the film and put it in the camera upside down, so the light has to pass through the orange base before it hits the light-sensitive side of the film. This gives all the pictures an orange cast, although depending on the outdoor light at the time, it can actually turn out anything from purple to orange.
There are lots of mixed opinions online, but given that my chosen film (Tudor Colour 200, which is actually manufactured by Fuji) has quite a dark base, I decided to give two stops of extra exposure. Perhaps in hindsight I would give three extra stops. In the most under-exposed areas, the pictures seem to have gone blue.
But that’s enough about the technical side – let’s look at the artistic stuff. I’ve visited all of these locations many times before, since I work nearby. But in redscale the scene takes on a whole different feel: somehow nostalgic and autumnal.
Bristol docksideQueen SquareWills Memorial BuildingRoyal Fort GardenOld Park HillRodway CloisterChemistry Building
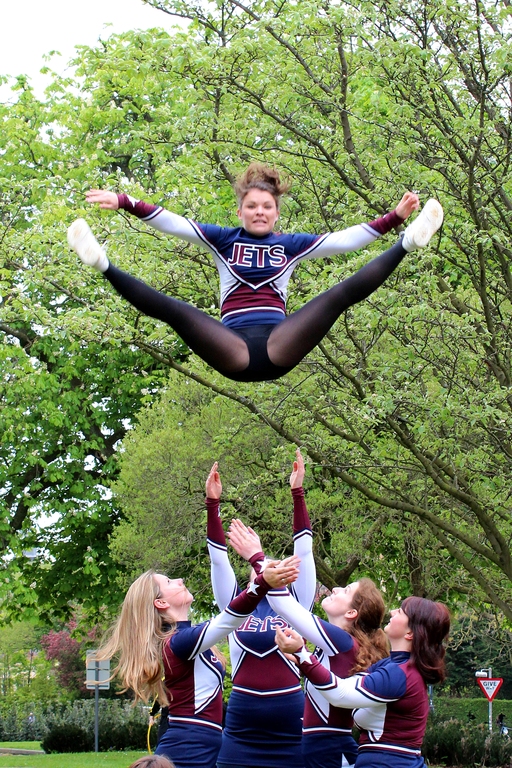
I don’t normally go around taking pictures of cheerleaders, but today the University of Bristol hosted an Olympic-themed street party to celebrate Universities Week and to showcase some sporting talent.
I thought the whole event was a bit lame – no real sports displays, just a few people playing a variety of sports messing about in the street. I think I saw football, lacrosse, frisbee, and cheerleading. The lighting was grey and overcast and I hardly took any pictures. The only one that came out close to OK was this one.
CheerleaderI’m pleased with the timing of the shot, but the exposure is not right, the composition is lacking, the focus is not fully sharp, and due to the relatively dim sunlight the shutter dragged a bit and the cheerleader is blurred in motion.
I’ve often thought about making my own lenses, but unfortunately I’m so bad at making things I’ve always avoided it (apart from making a pinhole “lens”). But this week I was fortunate enough to be left with a broken 35mm slide projector, a Braun Novamat 515 AF-I, to be specific. It had a Braun Color-Paxon multicoated 85mm f/2.8 lens, with the usual screw mount for projectors. What’s the worst that can happen to a broken projector?
Braun Novamat 515 AF-ICanon L lenses(that’s the pro series) have a red ring around them to distinguish them. Perhaps if you don’t look too closely you might think I’ve got an expensive lens here. Red ring? 85mm? Yep, must be expensive.
Braun Color-Paxon MC 85mm f/2.8I dismantled the projector and removed the lens mount from inside it. “Removed” sounds so tidy… I had to use a hacksaw. Then I drilled out a Canon body cap, and glued the projector’s lens mount onto the body cap.
See, I told you I wasn’t good at making things. I believe that anything that can’t be made with a saw and a glue gun can’t be made at all 😀
Canon EF mount for projector lensesThe lens simply screws into the barrel, and can easily be focused like any other manual-focus lens, although the steep thread means it’s hard to focus accurately.
I seem to have cocked up the focal-flange distance and the lens can’t quite focus to infinity. However, a quick zap with a file will allow the lens to slide further back into the barrel and will fix this. I’m not too bothered though – 85mm is traditionally used for headshots.
As the lens screws so far out of the barrel it has very good macro capability too.
Braun Color-Paxon MC 85mm f/2.8Canon 600D with 85mm f/2.8Crucially – how well does it work? Surprisingly well, actually. Unlike camera lenses, projector lenses usually don’t have a variable aperture. This lens is stuck at f/2.8 all the time. This gives narrow depth of fieldand can make it hard to get a sharp picture.
Perhaps more importantly, as this is a projector lens and not a camera lens it suffers from worse aberrations. Stopping down would probably help reduce them. Perhaps in the future I will make a set of interchangeable apertures out of black cardboard. I reckon this lens would look nice at f/5.6 or f/8.
The contrast of the lens is a little low, despite the multicoating. I think it would perform badly outdoors in sunlight, since it just isn’t designed for that. However, the front element is recessed in a sort of hood, which will help.
These photos have had the contrast boosted a little and the white balance fixed (I shot with auto white balance under ugly CFL lighting, combined with golden evening sunlight from the window).
In this photo of the mains plug, you can see how shallow the depth of field is, by how blurry the skirting board goes. But the lens is capable of sharp images – just look at the dots on the plug for my toothbrush.
Mains plugIn this picture of Mittens, the whiskers, eyebrows and hairs on her left ear are quite sharp. I could probably have focused more accurately given some time, but kittens never sit still for long. The black shapes in the background are cables hanging off my computer desk.
MittensAnd finally, this picture is of my jeans. Obviously when doing macro work, you need to stop down a lot to achieve decent depth of field, and that just isn’t possible with this lens. But it’s not too bad.