For those who don’t also read my geeky non-photo blog, I recently discussed Ansel Adams and my interest in his work. With a few sunny days recently, the light from the low sun was ideal to go out and find some high-contrast landscapes.
Last week Hannah and I walked along the River Frome (for the benefit of those not from Bristol, that’s pronounced like broom, not like dome) from Oldbury Court as far as Snuff Mills. On that stretch there are three or four weirs that used to regulate the water flow so it could be used to power the waterwheels of a number of mills. Most of the mills are long gone, but the weirs are still there today.
Today, we went for a walk across the Clifton Suspension Bridge. As the sun was so low, I could only really shoot in one direction – up the Avon towards Avonmouth and the Bristol Channel. I did take many more photos than this, but I didn’t finish the second film so you’ll have to wait until next time.
Sorry for the unoriginal post title – I’m trying to avoid having yet another post entitled stars at night, heavenly bodies, or anything else clichéd.
In Bristol, the light pollution is pretty bad so I’ve been trying to find a decent compromise between somewhere away from street lights and somewhere that’s not a pain to get to late at night. This evening I wandered into the dark field area of Oldbury Court Estate, as it was only five minutes’ walk from my house, but significantly darker than my back garden.
These are two similar photos of the crescent moon setting behind some trees. The first is a colour image, while the second is black & white, having been taken from the green channel of the colour image (where there was least background colour from the orange and blue sky).
Then I used my fisheye lens to capture the horizon and a load of sky. It’s quite hard to find a nice compromise of exposures that includes the horizon and the stars. I think this is my favourite picture of the evening.
This one is a straightforward shot of a dark piece of sky. It’s pretty hopeless at this size, but if you click you’ll get a larger version that has more detail. You can see the constellation Orion in the lower left of the picture.
While I was editing the picture, I noted that if I ramped up the colour curve, many other stars came into view – just like when you stare into the night sky with your eyes and continuously spot new stars. I chose not to include those in this picture since it made it a lot harder to find Orion.
For a while I’ve fancied a Mamiya RB67medium formatSLR. I’d read about the tech specs, the wonderful lenses, the high resolution, and all the other benefits of such a powerful camera, and last week I splashed the cash and bought one. Optically, it was just what I was expecting – but nothing could have prepared me for the size and weight of this beast.
Sure, I’d seen figures online that said it weighed so many grammes and was so many millimetres wide. But that didn’t mean anything to me as an abstract number. Now I have the RB67 in my possession, I decided to take a few photos to put the figures into context. Most other photography equipment websites concentrate on how the gear performs, but I’m going to ignore that and focus solely on size and weight in a light-hearted and unscientific way.
I’ve got several other medium format cameras, although they are not SLRs. I knew the RB67 would be bigger than the others, but here the RB67 dwarfs my Coronet Conway Synchronised – not a small camera itself.
Mamiya RB67 with Coronet Conway Synchronised
And to put this size into a more tangible context for normal people who don’t collect box cameras, here it is with my Canon AE-1 Program – a popular consumer SLR in the 80s. It’s slightly larger and a little heavier than a modern digital SLR.
Mamiya RB67 with Canon AE-1 Program
And then we come to the matter of lenses. The RB67’s lenses have a longer focal length due to the larger film format, but they are also chunkier in every dimension. Here I have photographed a Mamiya-Sekor 50mm wide-angle lens with an equivalent Canon 28mm wide-angle lens for the AE-1 Program.
Canon FD 28mm with Mamiya-Sekor C 50mmCanon FD 28mm with Mamiya-Sekor C 50mm
The Mamiya-Sekor 50mm lens on its own weighs about the same as the whole Canon AE-1 Program camera with a lens. It also weighs about the same as a collection of four Canon FD-mount lenses (135mm, 35-70mm, 28mm and 50mm, if you’re interested).
Mamiya-Sekor C 50mm with FD lenses
A basic RB67 set-up with standard lens, waist-level finder and film back weighs in at around 2.5kg, or about the same as a bottle of Pepsi and a can of soup.
Mamiya RB67 with Pepsi and soup
With a bigger lens and a few accessories, you can easily add a kilo or more to the RB67. Meanwhile, the Canon AE-1 Program with lens weighs about the same as a pint of Pepsi in a glass.
Canon AE-1 Program with Pepsi
Well, I hope this has proved entertaining and possibly even useful to someone who may be considering buying an RB67. It is most definitely a camera for use in a studio, or perhaps on a tripod for landscapes. Don’t even think about sport. 🙂
I offer my apologies for these poor still-life shots of camera equipment. My flashguns are in the loft and it’s cold up there, so I used a single macro LED ring flash, and it seems to have done OK.
I’ve been shooting medium format for a while, but all of my other medium format cameras have one thing in common: they are inexpensive cameras with poor, fixed lenses. To me, 120 film is about high resolution and precision, and you just don’t get that from a Kodak Brownie. So I saved up, and bought a Mamiya RB67, a professional SLR camera with interchangeable lenses.
For those who don’t know, Ansel Adams was an American landscape photographer who was most active in the 1940s. He was famous for his extraordinarily detailed and high-contrast landscape photographs, mainly of Yosemite National Park, and the Grand Canyon. In more geeky ways, he was a pioneer of some principles of photography that are still used today, such as zone metering – as well as some sophisticated darkroom techniques.
Ansel Adams on a car
I think he is my favourite photographer. But why?
Composition and subject
Like Adams, I most enjoy taking photos of natural objects, landscapes or possibly man-made objects (buildings) that I find. When I look at his work, I find the subject matter most appealing. I enjoy studying his photography, and I enjoy taking photographs in that style.
Adams’s work is technically excellent. His photographs are pin-sharp and this makes for an incredibly detailed picture. Being a geek, I can relate to this, and I want to take sharp and detailed photos. I am interested in cameras and how they work, as well as how they can be used to create art. And as I already mentioned, Adams pioneered the zone system of setting the exposure of photographs to have nice highlights, deep shadows and a lot of tones in between.
This is why I collect old and interesting cameras: to see what I can make them do. It’s also worth noting that the large format cameras Adams used in the 1930s were capable of producing images equivalent in detail to a 1000 megapixel digital photo. That’s pretty cool.
Straight photography
Adams was a joint founder of a group called Group f/64. The members renounced manipulation of photographs and instead aimed to capture the beauty of the natural world as realistically and naturally as possible – a style known as straight photography. The name f/64 itself is derived from a small aperture setting on a large-format camera that would give good sharpness from very close to very distant objects – similarly to the way an observer would see the scene if they stood at the same position as the camera.
It might just be a cover for being poor at Photoshop, but I also like to take pictures that are good to look at straight from the camera – be it film or digital.
Darkroom expertise
Adams was a true expert in the darkroom. When using film, taking a photo is only part of the job – you have to process it so it can be seen by people. Of course Adams wasn’t the first person to use a darkroom, but he mastered the art of dodging and burning to mimic the range of tones in his prints that can be seen by the human eye.
I am a mere beginner in the darkroom but I find it fascinating. I want to learn more, and Adams’s book The Print is an excellent reference.
Everyone knows that Coke is bad for their teeth. It’s sugary and acidic.
The acidity is at least partially caused by carbon dioxide (CO2) dissolved in the water, to make carbonic acid. We also know that if you pour a Coke and leave it, it fizzes away as the CO2 comes out of solution and returns to its gaseous state. Does this mean that Coke becomes less acidic if you pour it and leave it for ten minutes before drinking?
Well, perhaps.
It’s also worth remembering that small changes in temperature can cause large changes in the rate of chemical reactions. If we assume our can of Coke was in the fridge at perhaps 3°C, then it will warm up in the time we leave it to fizz away. So even if it’s less acidic, the weaker, warmer acid might be able to react with our teeth faster than the stronger, cooler acid.
I am not a chemist but I want to find the answer to this thought experiment.
After a little research, it seems that dissolved CO2 (carbonic acid) is only one contributor towards the overall acidity. The most significant acid is phosphoric acid. As the CO2 comes out of solution and escapes as gas, the acidity only decreases slightly. On the other hand, when the coke warms up from 3°C to maybe 10°C as it approaches room temperature, the action of the acid will be massively accelerated.
So based on this mini experiment, Coke is worse for your teeth when it goes flat and gets warm. This, of course, neglects the action of the sugar on your teeth and all the other things we haven’t considered, so don’t blame me if you lose your teeth from drinking gallons of ice-cold Coke 😉
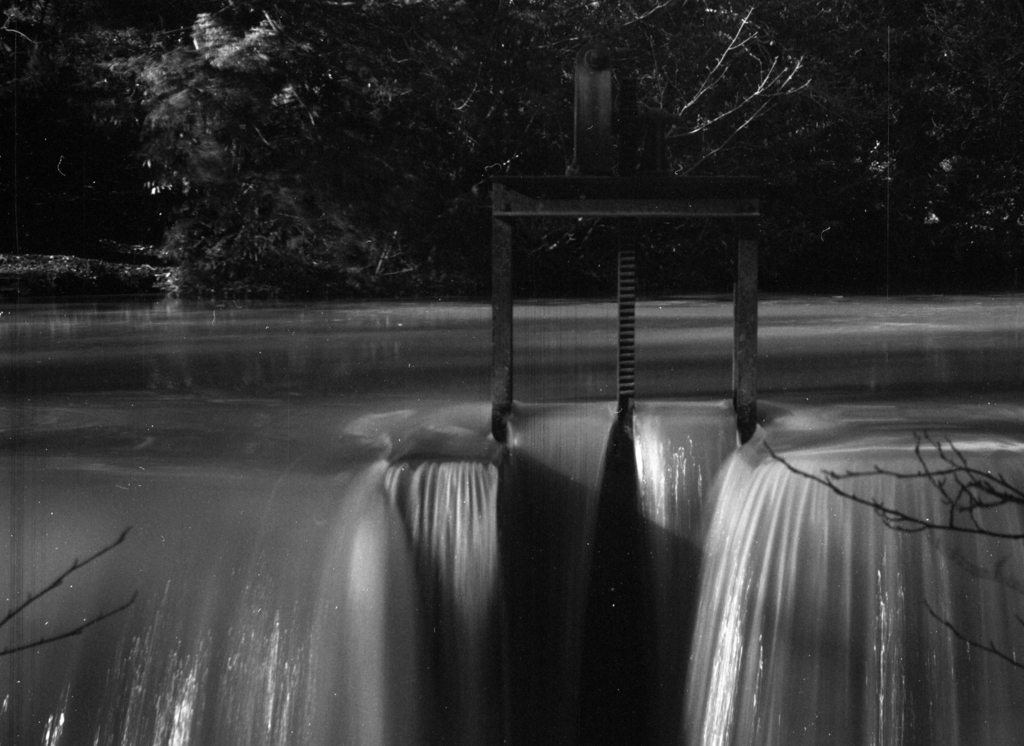
This morning, it rained quite heavily. Soon after it stopped, I headed out to the weir in Oldbury Court because I knew there would be a faster flow of water. I wasn’t wrong. It normally looks like this, with a moderate spill over the weir, and nothing escaping over the sluice gate.
I took my LOMO Lubitel 166 Universal. The focus was playing up a bit and most of the photos came out blurry. These ones were OK.
I’ve been carrying the Zorki with me recently so these photos are from assorted days and occasions.
The first two were taken by the coast at Portishead.
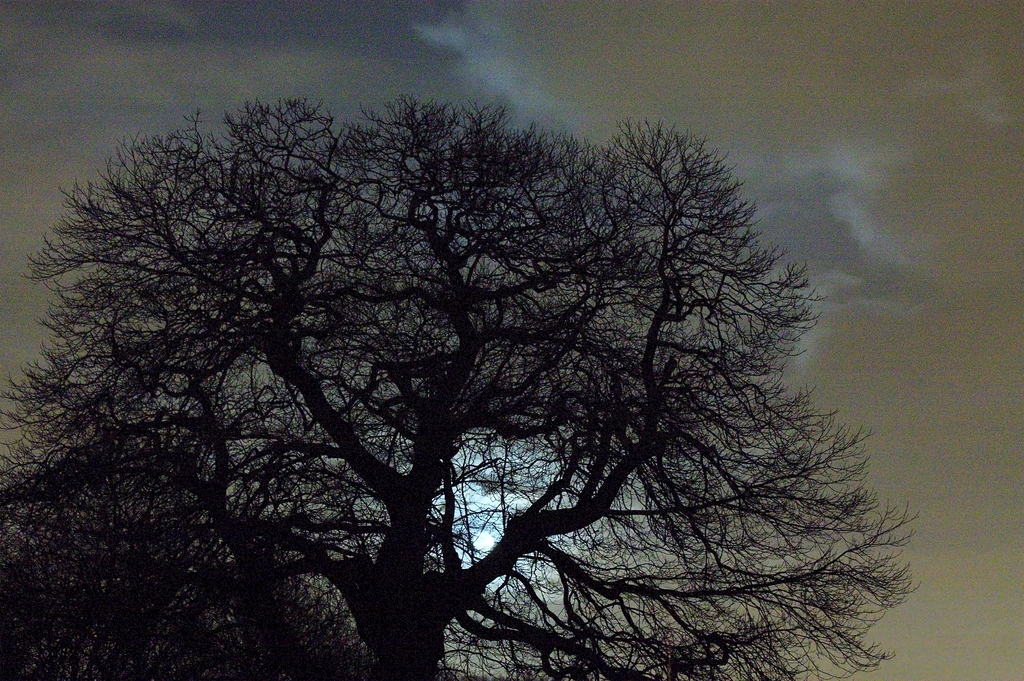
This is my favourite tree. It’s in Oldbury Court, and I think it’s a chestnut tree because it has spiky things that look a bit like conkers (I’m not a tree person).
This is me standing in front of a semi-derelict building in Oldbury Court.
The sun is close to setting over Oldbury Court.
This was originally supposed to be an entry for the age v youthPhoto Challenge but I didn’t get round to developing the film in time. These buildings are in Berkeley Square, Bristol.
These people are enjoying the first sunny day of February in Brandon Hill park.
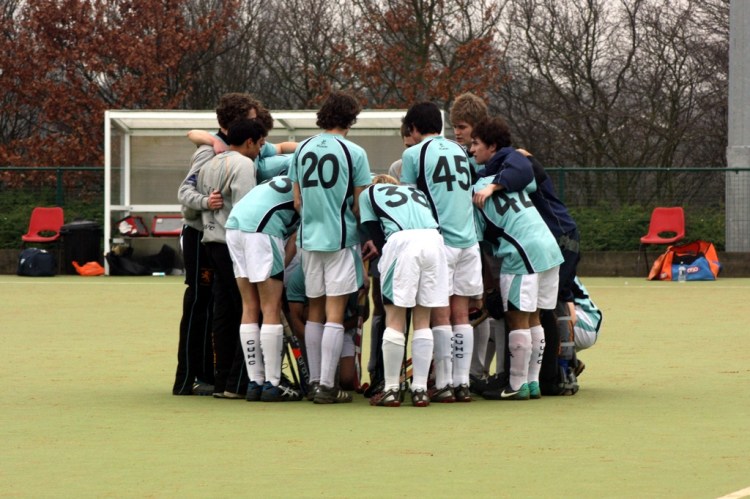
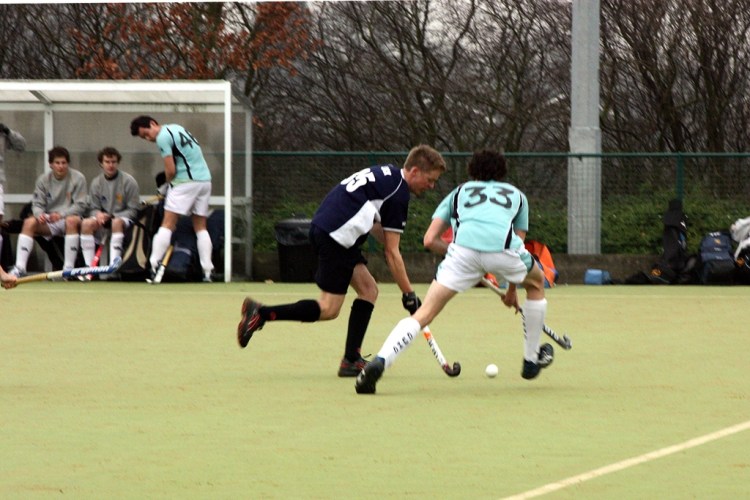
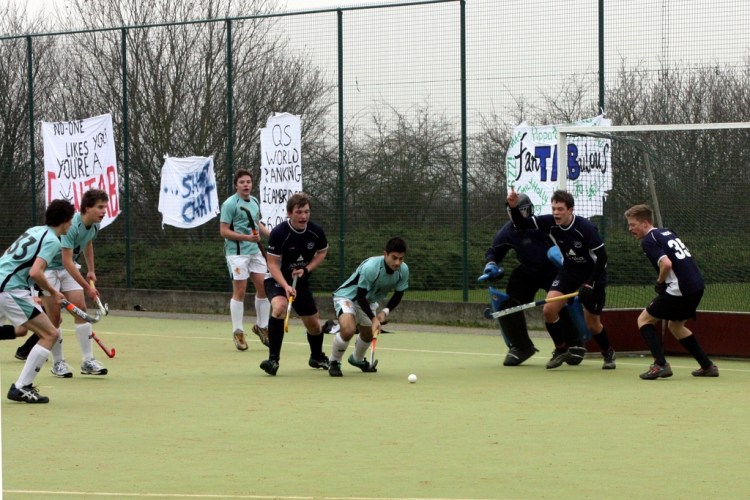
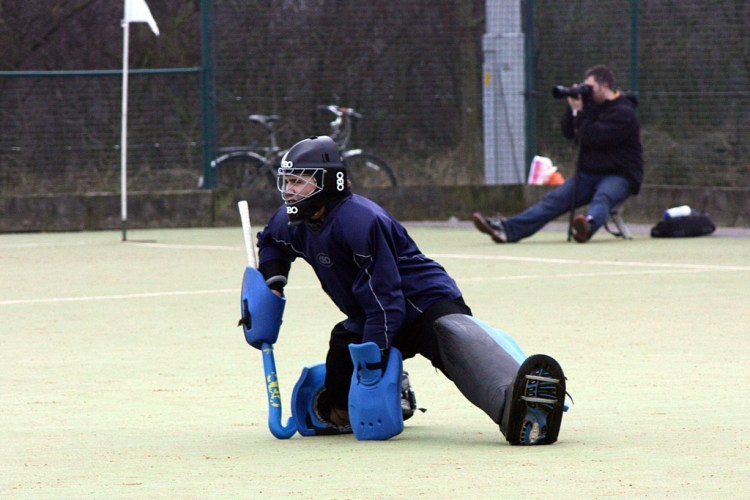
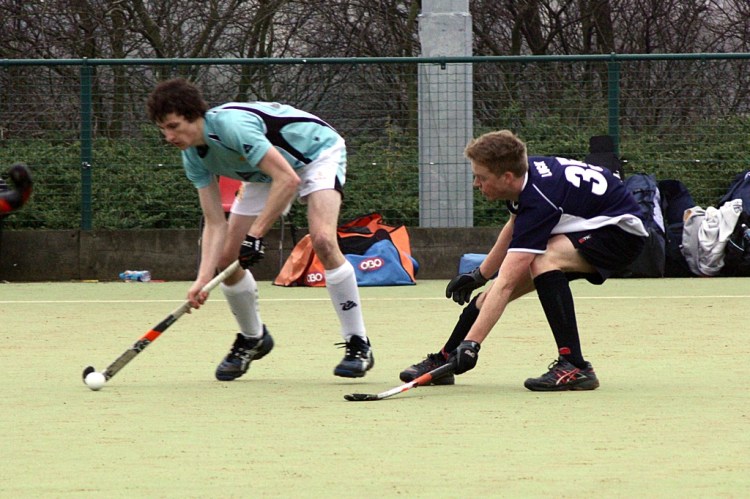
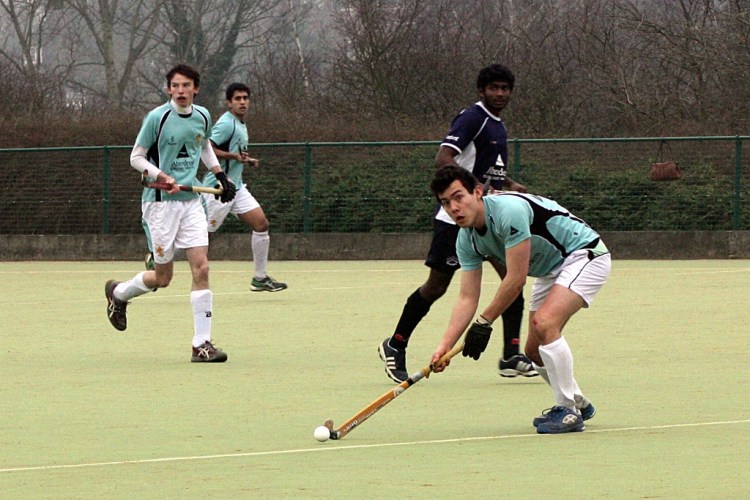
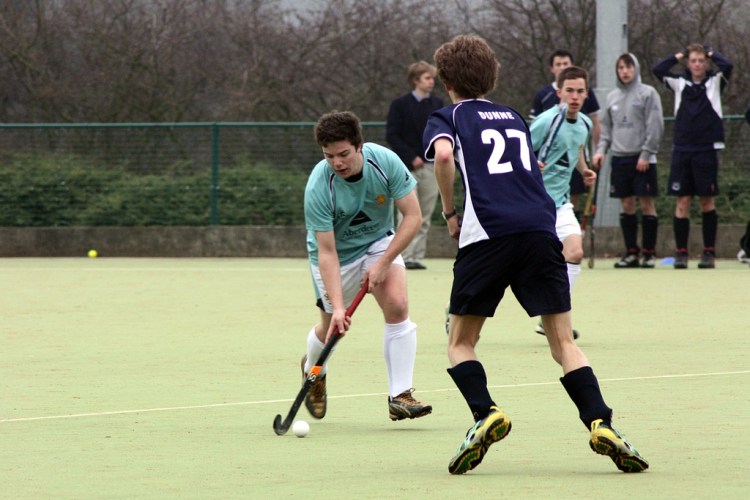
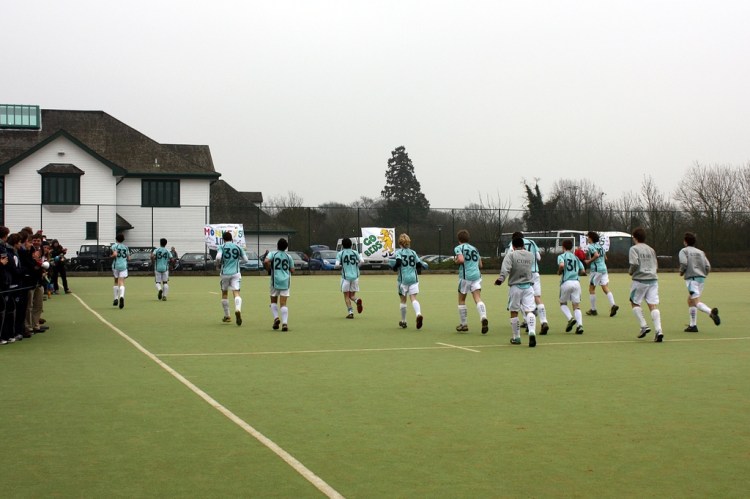
Today I went to Cambridge to watch the Cambridge Squanderers play hockey against Oxford. I don’t really know much about hockey,but I had a vested interest because my brother Oliver was the captain, wearing number 33.
I took loads of photos, and here are the best. You can click for larger versions, or if you are a Cantabrigian and want a full-size copy of any of these photos (e.g. for printing), please hover over the picture to find its number and leave a comment at the bottom of this post 🙂
So here we see the Squanderers having a pre-match team talk.
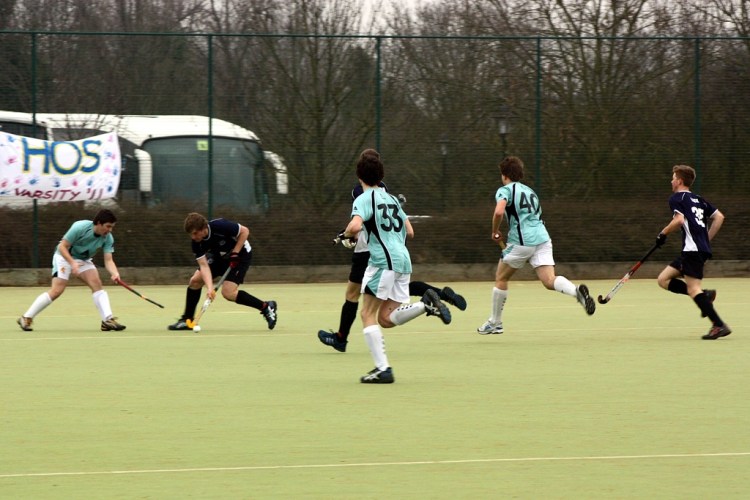
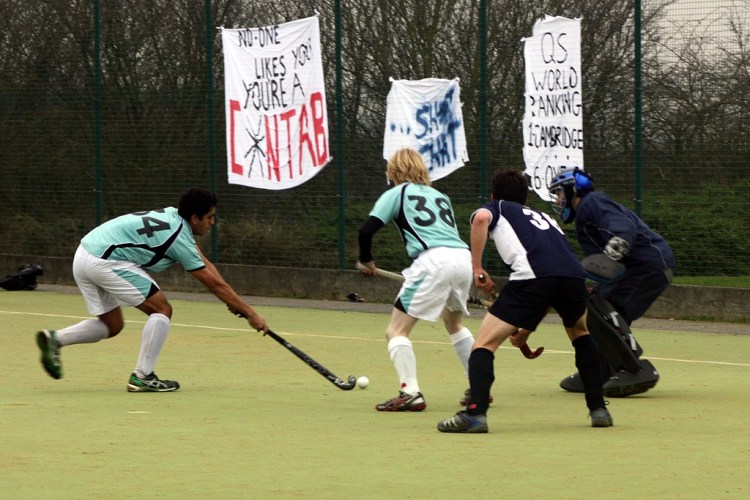
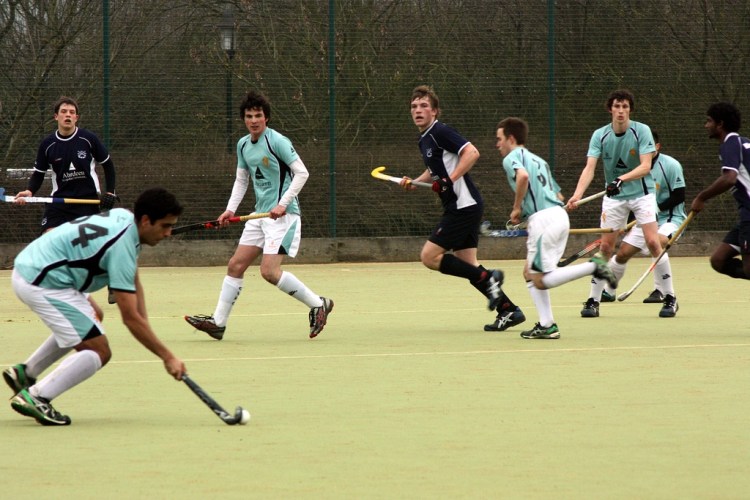
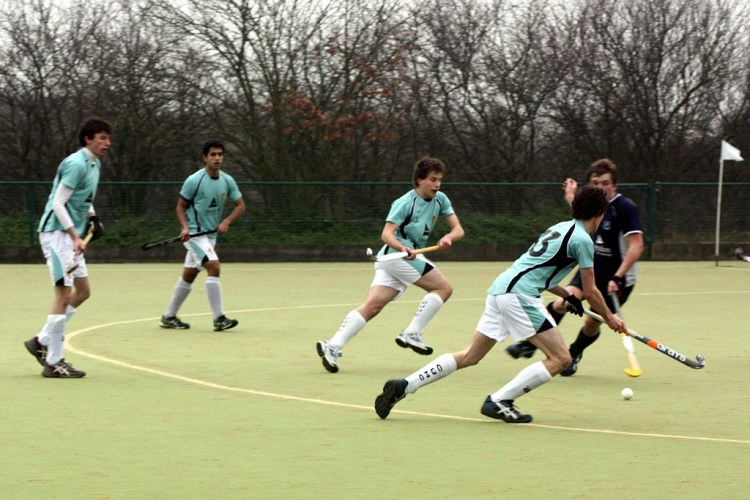
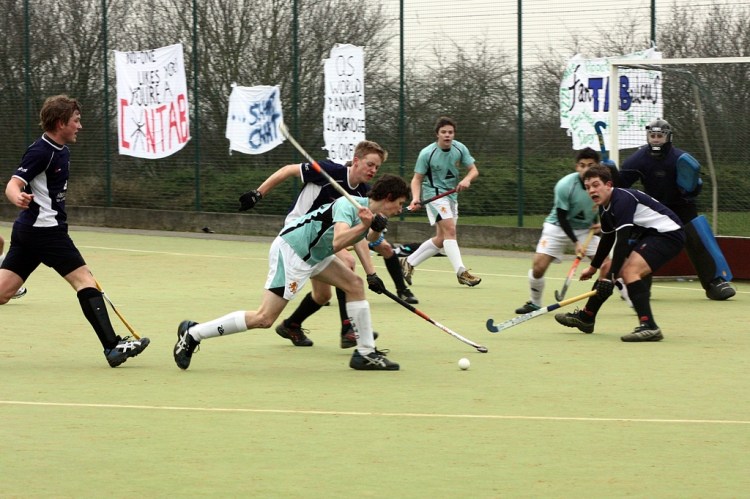
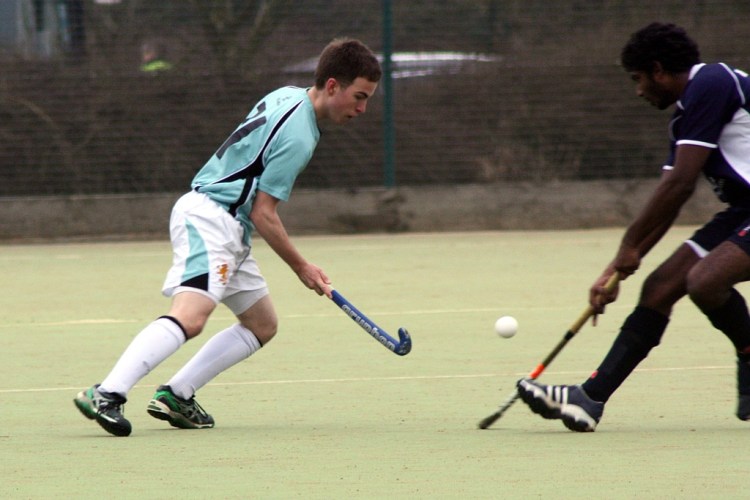
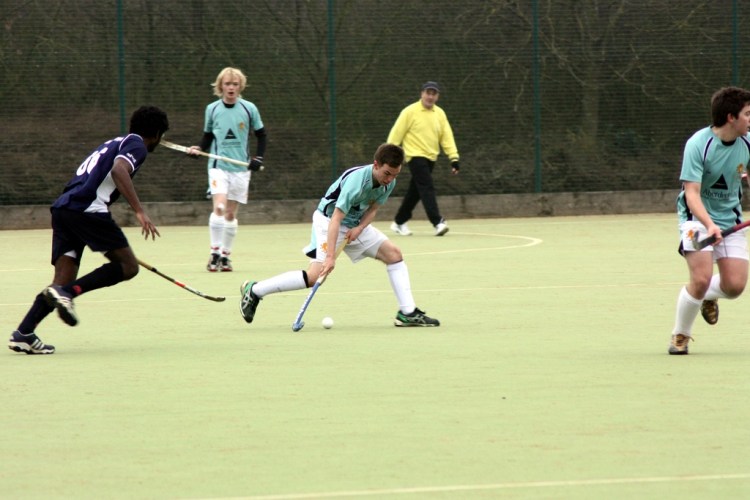
Even after watching 70 minutes of hockey, I still don’t have much of a grasp of the rules, so I shall refrain from commenting on these pictures of the match. If you know more than I do, feel free to comment at the bottom.
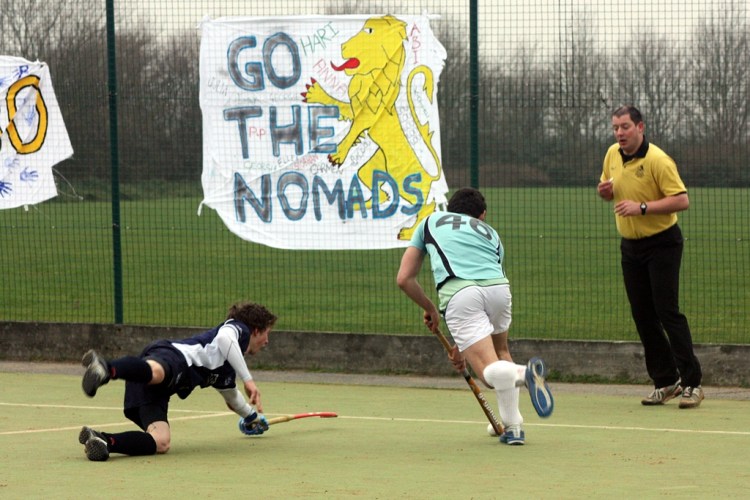
As it turns out, Oxford won by two goals to nil but I thought the teams were pretty evenly matched and that it was an excellent game. Here the Squanderers jog round the pitch after the game, to much applause from the crowd.
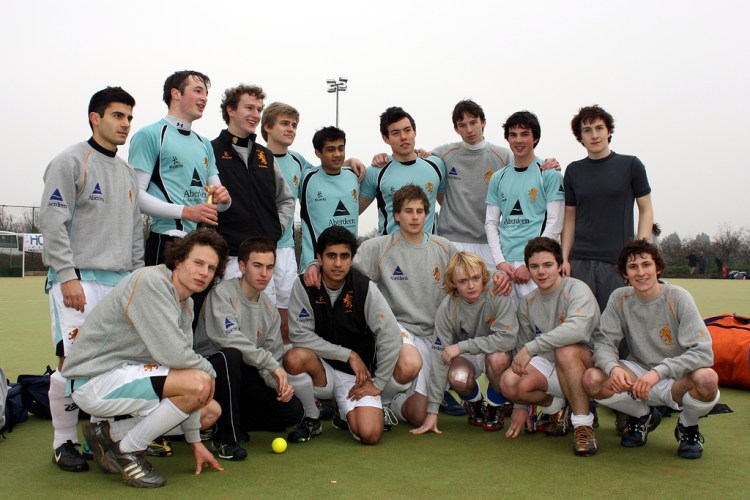
The Squanderers team photo.
And after a quick shower, they re-emerged from the club house as Mafia men. Go figure.
Recently I read about taking exposures at night, lasting perhaps ten minutes, and using nothing but ambient moonlight or the general glow of the night sky. It’s supposed to give a strange feel to photographs – they appear to be lit as brightly as in the day, but something is “wrong” with them. I decided to have a go.
My real night shots were taken on film using the Zorki, but in order to judge the exposure I needed some kind of light meter. I decided to use my digital camera as a meter. I haven’t developed the film yet, so I don’t know if the experiment worked. However, during each of the 8-minute exposures, I had time to play around with the digital camera too.
Digital cameras are not well regarded for their low-light performance but I think the results are still interesting, even if I am expecting the results on film to be vastly superior. As my digital camera doesn’t particularly like exposing for more than 30 seconds, these are all short exposures, and hence don’t capture the same ambience I described above.