This week Paul set the Photo Challenge, and he chose “abstract colour“. The short version is that we have to take some crinkled foil and shine coloured light on it to create an abstract sea of colour.
These are my two favourite attempts at the Challenge. The first one used a blue light source with a star filter on the front of the camera. The second one used two light sources of different colours.
Blue foilBlue foilWhile it has nothing to do with the Challenge, I thought I’d also publish this picture here as it is quite abstract. It’s a super-close up of a 2p piece, using my macro bellows. This image has not been cropped or magnified – this is how it came out of the camera.
Last time Hannah got some new glasses, I photographed them on the table. This time, she was kind enough to let me take her picture wearing them.
Hannah
While the flashes were set up, I asked her to point the camera at me (it’s about time I had a new profile picture!). I wasn’t planning to have my photograph taken, so I hadn’t changed into anything nicer than an old T-shirt or bothered shaving.
This week’s Photo Challenge says we have to take a picture and turn it into a fake magazine cover using one of the many online generators. I’ve had a few ideas but rain has stopped me from shooting most of the them. Here’s what I’ve come up with so far.
They look bad in the square thumbnails, so click and use the arrow keys to view them in their normal size.
When I bought my 450D I started out with the standard 18-55mm lens, and added a 70-300mm to cover most of the usual range of focal lengths. But when I’m on lunchtime photowalks I don’t want to carry two lenses, nor repeatedly change between them. I often miss shots that need a longer focal length than 55mm, so I’ve been sniffing round some longer “everyday” zooms, such as the Canon 18-135mm and 18-200mm. They are pretty expensive – today’s prices are £287 for the 18-135mm and £404 for the 18-200mm, although cheaper offerings are available from Tamron and Sigma.
Canon EF-S 18-55mm f/3.5-5.6 IS
Then I remembered that I have a 28-80mm lens that came with a 35mm autofocus SLR (an EOS 300, actually) that will fit my 600D. It’s not as “zoomy” as I had might have liked, but as I’d never used it before I thought I’d give it a shot and see if I actually used the extra bit of reach.
Canon EF 28-80mm f/3.5-5.6 II
As it turns out, at lunchtime today I quite often used the extra few millimetres. However I was extremely disappointed with the lens optics. Sharpness at all focal lengths and apertures is poor, there is more chromatic aberration than a prism, and at short focal lengths there is more barrel distortion than an actual barrel. I know it’s just a cheap kit lens from the 1990s but it is significantly worse than the present-day kit lenses.
This was just my gut reaction from taking pictures for one hour and casually inspecting them on the computer later on. I haven’t done any scientific tests so I decided to check a few figures online. You can quickly find that it has been slated by professional reviewers and casual users alike.
The Canon EF 28-80mm f/3.5-5.6 II Lens is very soft wide open – especially at 80mm. Stopping down at least 1 f-stop is required to get reasonable sharpness. Corners are soft at 28mm.
Even on a 1.3x FOVCF body, barrel distortion is obvious at 28mm until fading away at 40mm. Slight pincushion distortion is present from 60 to 80mm.
Some vignetting is exhibited with the aperture wide open. Color and saturation are not wonderful.
The Canon EF 28-80mm f/3.5-5.6 II Lens has a focal length range that falls within the normal, general purpose zoom range. I recommend, if possible, purchasing one of the lenses suggested on the Canon General Purpose Lens Recommendations page.
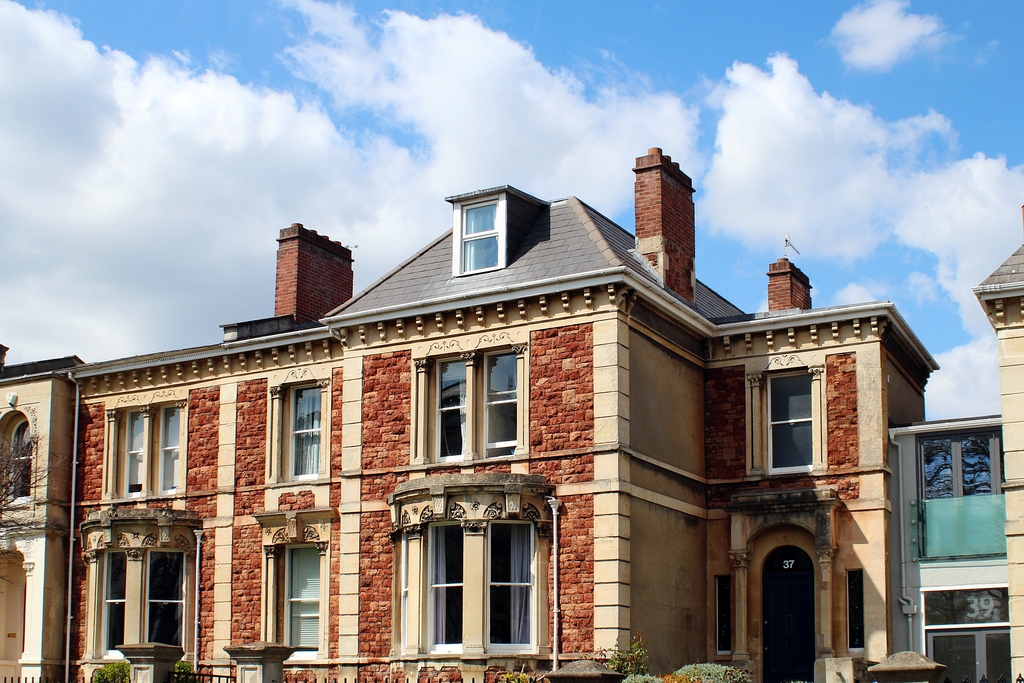
In the meantime, I’ll stick with the 18-55mm kit lens, and save my pennies for one of the newer Canon zoom lenses. Below I’ve included my favourite few from today’s photowalk around Clifton. Don’t look too much at these photos for the faults I described above – I’ve mostly corrected the distortions, sharpened them, and where the colour fringes were too bad, made the pictures black & white! You also can’t get an accurate look at the low resolutions on this site, although they were clearly visible to me when inspecting the JPGs on my computer at “fit to screen” – not even zoomed in for pixel peeping!
Gate hingeClifton houseFront door and windowChurch doorVictoria Rooms
In theory, the Horseman 6×9 cameras such as the 970, 980, 985, VH and VH-R can take normal large format lenses – obviously with the caveat that the smaller film format means the angle of view is narrower for a given focal length.
However, these Horseman 6×9 cameras have small lens boards and can’t accommodate large shutters. Also the bellows are reasonably slim and lenses with large rear elements might not fit.
Komamura have compiled a list of lenses that are known good and known bad with these Horseman cameras. For some reason it didn’t show up in several searches and I don’t like the formatting, so I have recreated the information here. I’ve also presented the same information as a spreadsheet if you wish to download it or print it.
Recently I took into my possession my grandad’s Voigtländer Vito II, dating from 1949. I loaded it with some black & white film and over a series of office lunchbreaks I took it for walks around various parts of central-ish Bristol – Clifton, Redland, and Cotham. All week the weather was overcast and the lighting was quite flat. Most of the photos I took have a “street” feel about them, which is not usually my favourite style of photography.
The camera was last used in 1992 at the latest (it was still packed up from when my grandparents last moved house) but it probably hadn’t been used for some before then. It was clean and appeared to work sufficiently well so I went out shooting. Now I’ve seen the film, it looks as though the shutter might be a little bit slow – quite a few of the photos are over-exposed. I’ll know for next time!
You quite often see pictures shot on 35mm film that include the sprocket holes. To do this, you need a camera that takes bigger film than 35mm film – such as 120 film.
I’ve tried using 35mm film in my LOMO Lubitel before with reasonable success, except that the red window fogged the film in a few places, even though I taped it up. This week I decided to try again with my Mamiya RB67, which does not have a red window. The film would be kept in complete darkness, although it would need to be unloaded in a darkroom.
I followed this guide which explains how to modify standard 35mm film cartridges to fit in a 120 camera. It’s a pretty simple procedure, and basically involves chopping up an old 120 spool to make “plugs” that pad out the 35mm cartridge. The guide also explains how to wind the film back into a second 35mm canister if you want to unload in the light send it off to be processed, but I wound the film onto a bare 120 spool and unloaded in my darkroom.
Modified 35mm film with a 120 spool
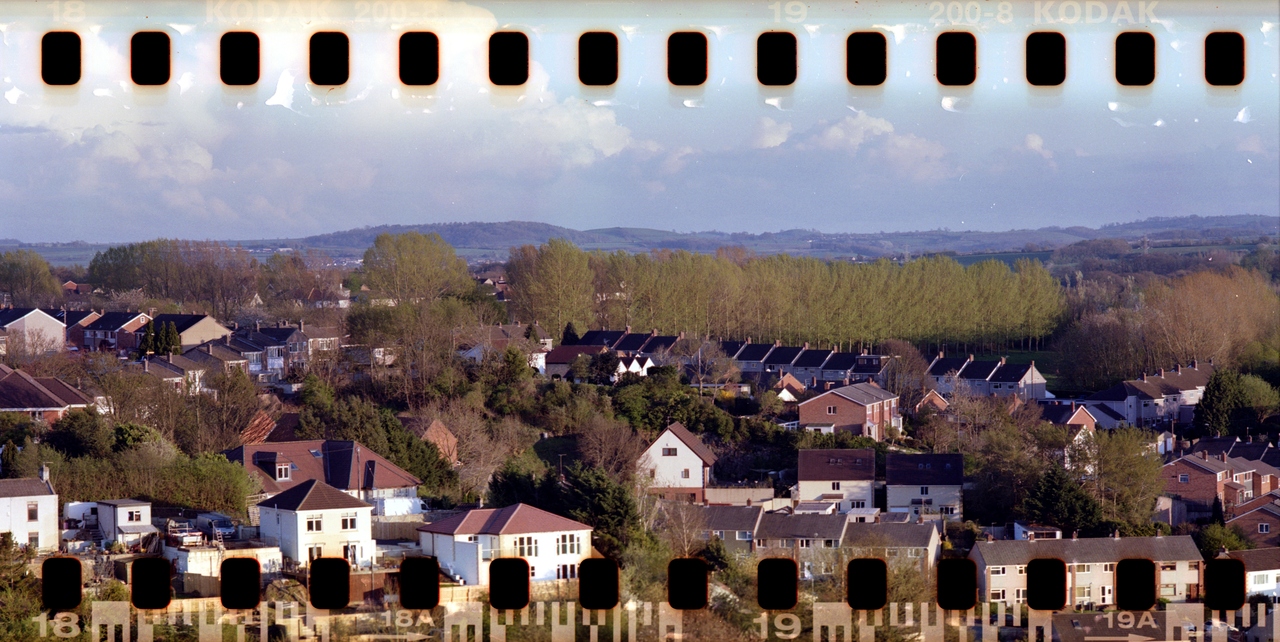
The RB67 usually takes negatives that are 70×60mm in size. The 35mm film is 35mm tall, so when you string it across the centre of the RB67’s film gate, you end up with a wonderful 2:1 panoramic negative that is 70×35mm in size if you include the sprocket holes, and an even wider-format 3:1 70×24mm negative if you choose to crop out the sprocket holes. On this occasion I decided to leave the sprocket holes in the picture.
Unfortunately it seems my C-41 stabiliser has gone off, and it made sticky marks across the tops of most of the negatives. It doesn’t seem to be easy to remove without damaging the film. It wouldn’t dissolve in warm water and I don’t want to smudge or scrape it off. While the iPhone and Android users are bickering over Instagram, I’m in my darkroom doing it properly! 😀
Nonetheless, here are the best shots from the roll. I went up Troopers Hill in the evening, hoping to catch the sunset for the Photo Challenge, which is “into the light” this week. But with the “wrong” film in the camera, the film counter tells lies and I ran out of film before the sun actually got too low in the sky. Never mind – I know how to use the technique now, so I shall return another evening this week and shoot into the sun, through the hazy urban atmosphere.
View from Troopers HillView from Troopers HillView from Troopers HillView from Troopers Hill
This week, the Photo Challenge was a surprise to me, because Paulset it. It’s a nice feeling, because I get to participate like everyone else. The Challenge was called the 5 Minute Photoshoot:
What I want you to do, is find a location (any location, it doesn’t matter. It could be your front room, your garden, a local park or the top of Everest if you happen to be in the area!) set your timer or alarm for 5 minutes. Then start shooting!
Take as many different photos as you can in that 5 minute period.
When the timer goes off, stop shooting and put your camera away (no over running!) When you get home, go back through what you’ve shot and show us the one you like best.
I decided to challenge myself by attempting an area of photography that I rarely venture into – still life. Once or twice in the past I’ve entered the Photo Challenge with a picture shot on film, and I managed it again this week. Shooting with a macro lens on film is hard because you can’t see how it looks, so I was pretty much flying blind. Here’s what I did:
I set up a mini studio area using a large piece of white paper and two flashguns
I took a couple of test shots on a digital SLR to make sure the exposure was right in the centre of my lighted area, and then I put it away
I loaded a roll of Ilford FP4+ at ISO 125 into a 35mm SLR, I mounted a macro lens on it, set it in full manual mode, dialled in a shutter speed of 1/60s and aperture of f/8
I started the timer for 5 minutes and shot a whole roll of 36 frames, changing the subject camera every few frames
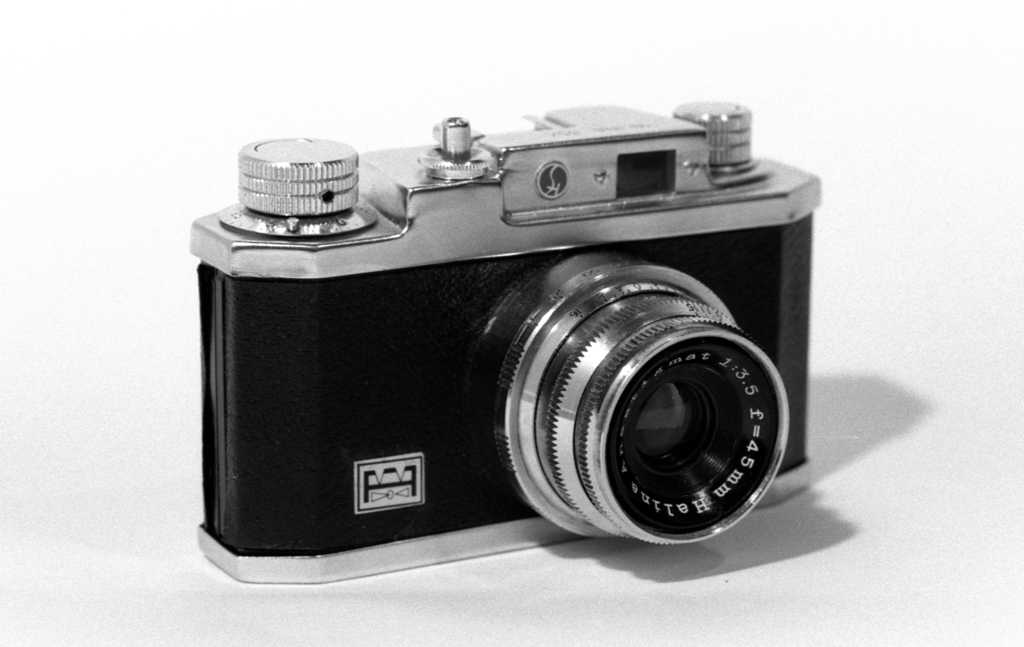
Halina 35x
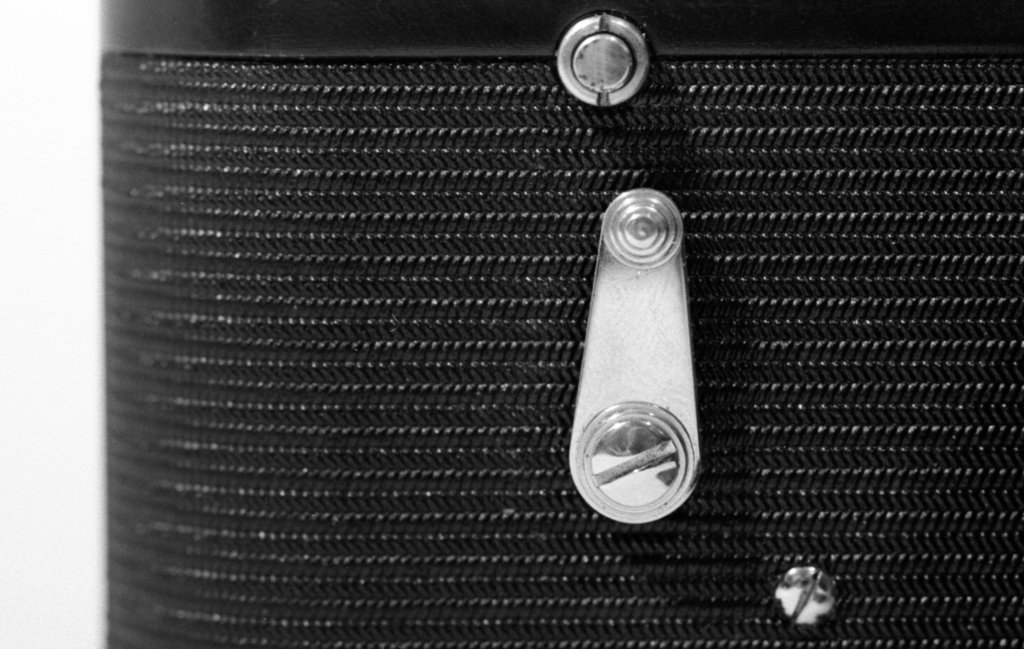
Advance knob on Halina 35x
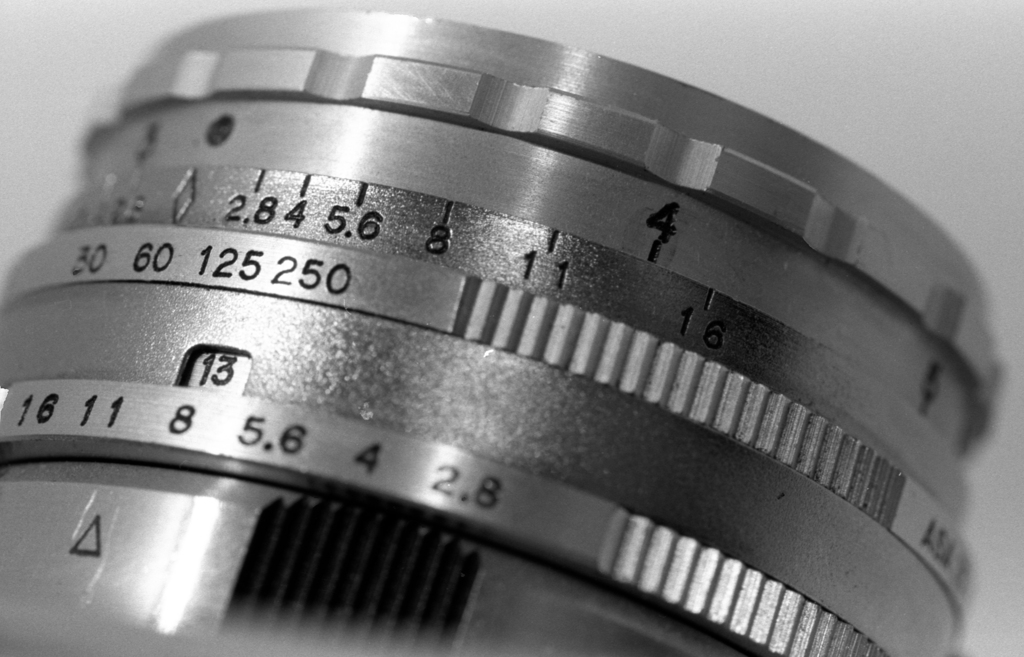
Aperture control on Ensign Ranger
Topcor 90mm lens and shutter
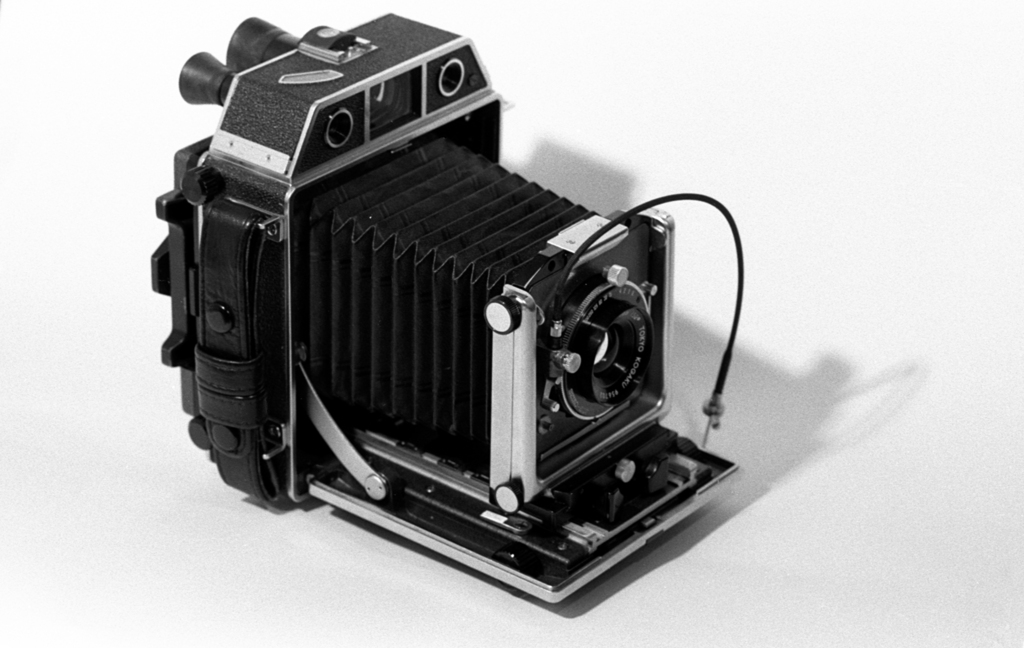
Horseman 980
Self-timer lever on KMZ Zorki-4
Jupiter-8 lens on Zorki-4 camera
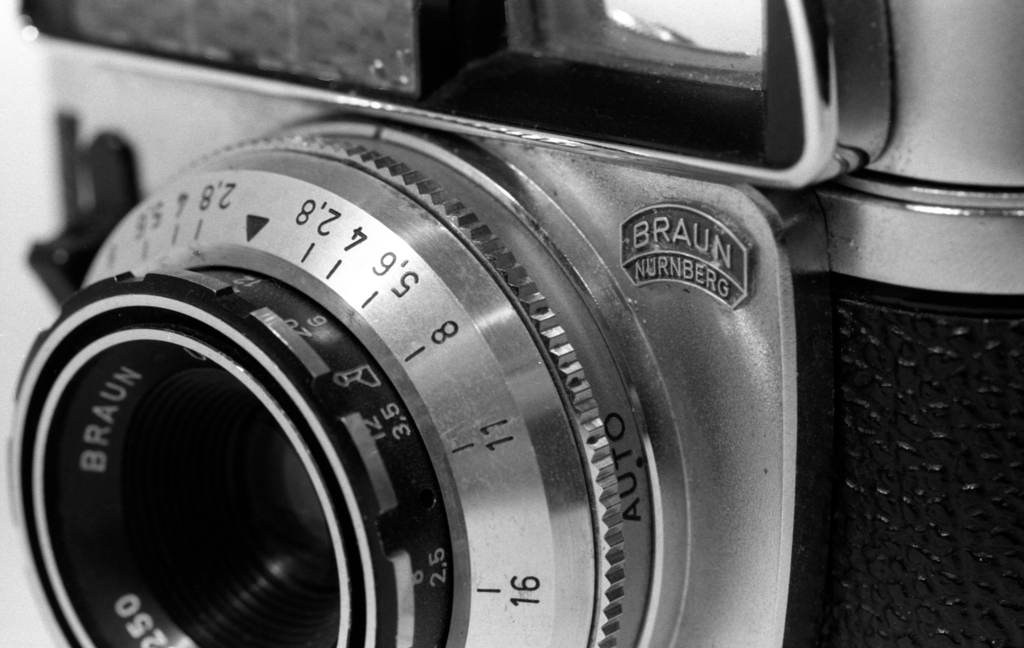
Braun Paxette Electromatic II
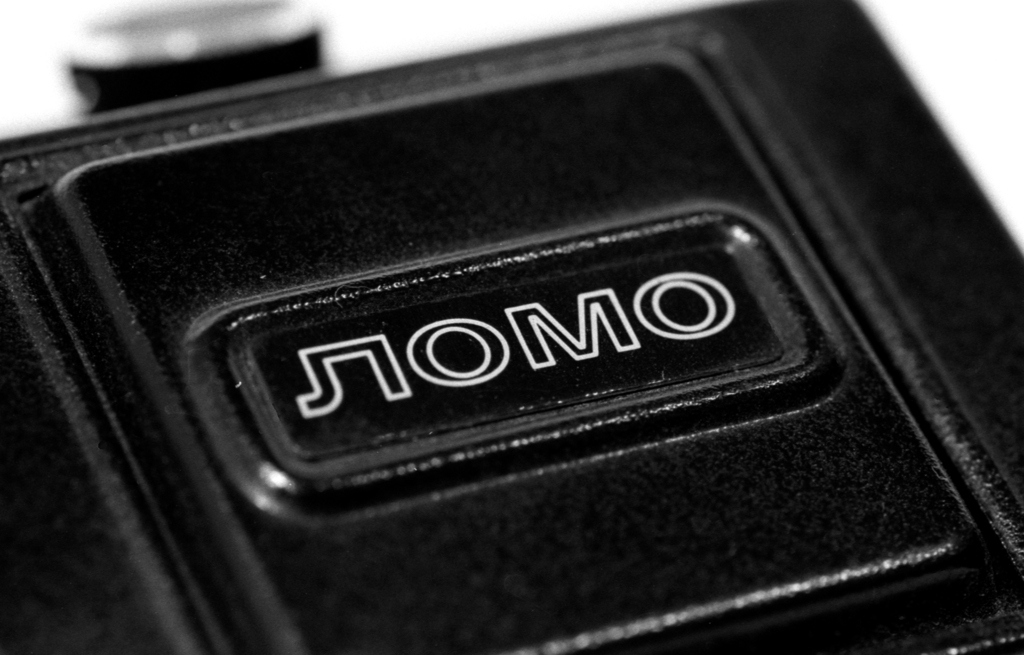
LOMO nameplate on Lubitel 166 Universal
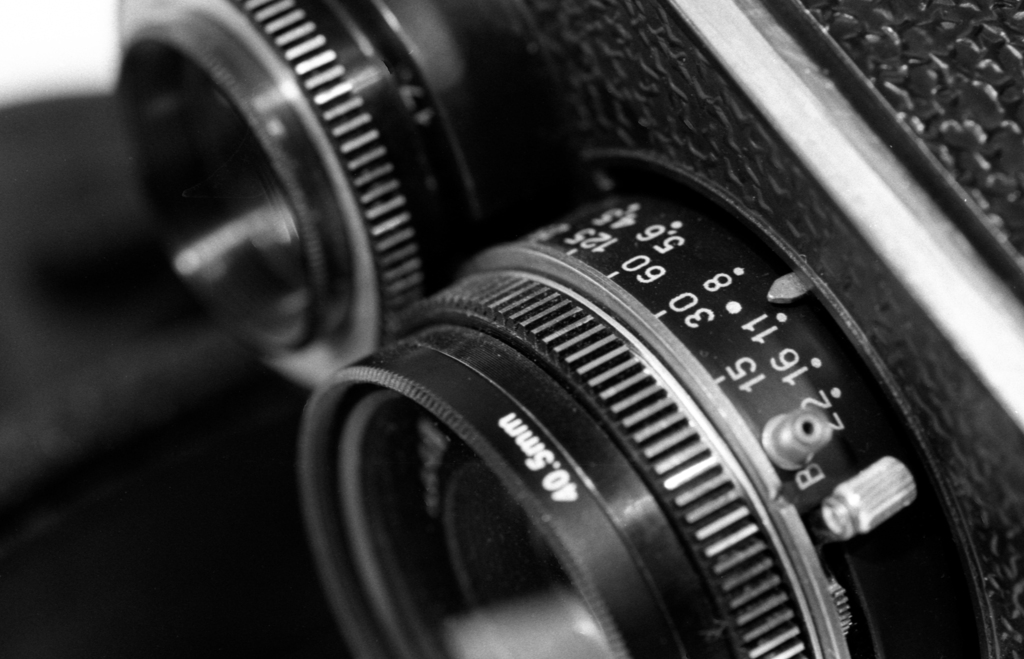
Lenses on a LOMO Lubitel 166 Universal
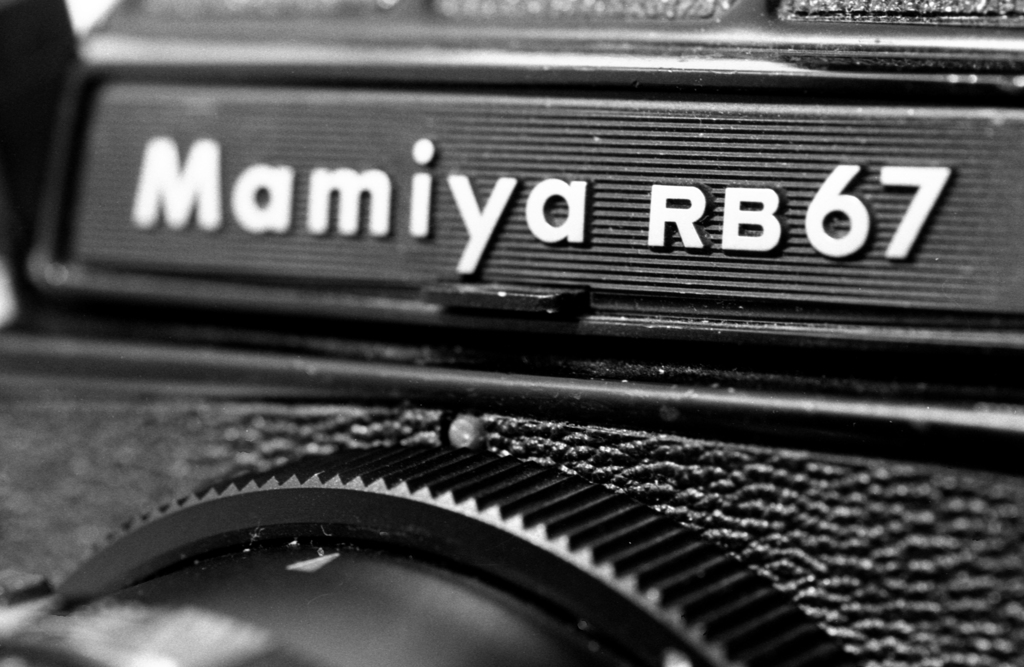
Mamiya RB67 Professional
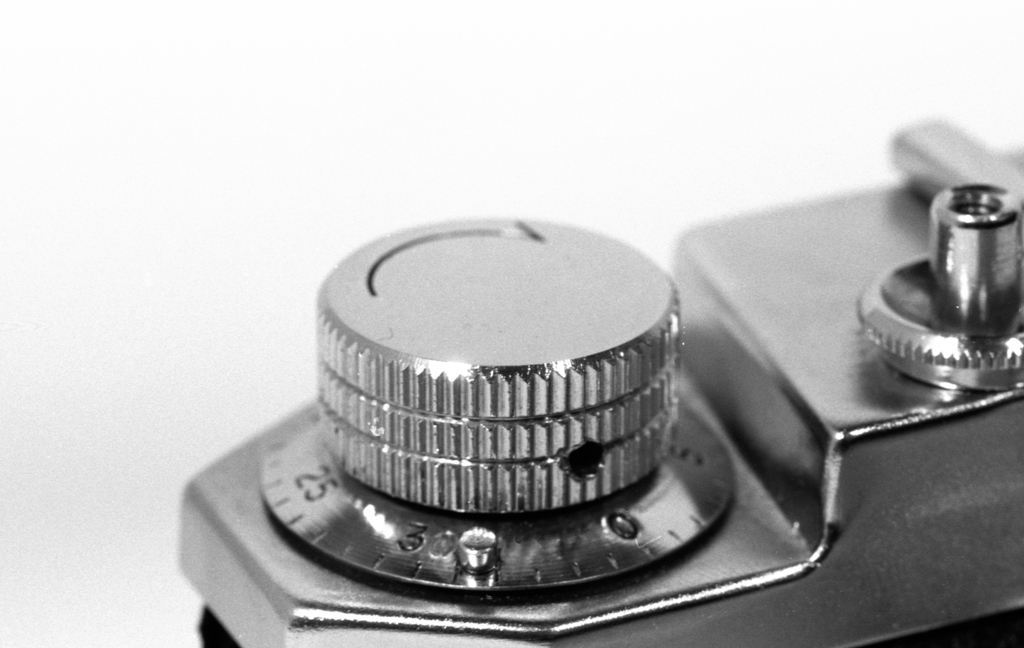
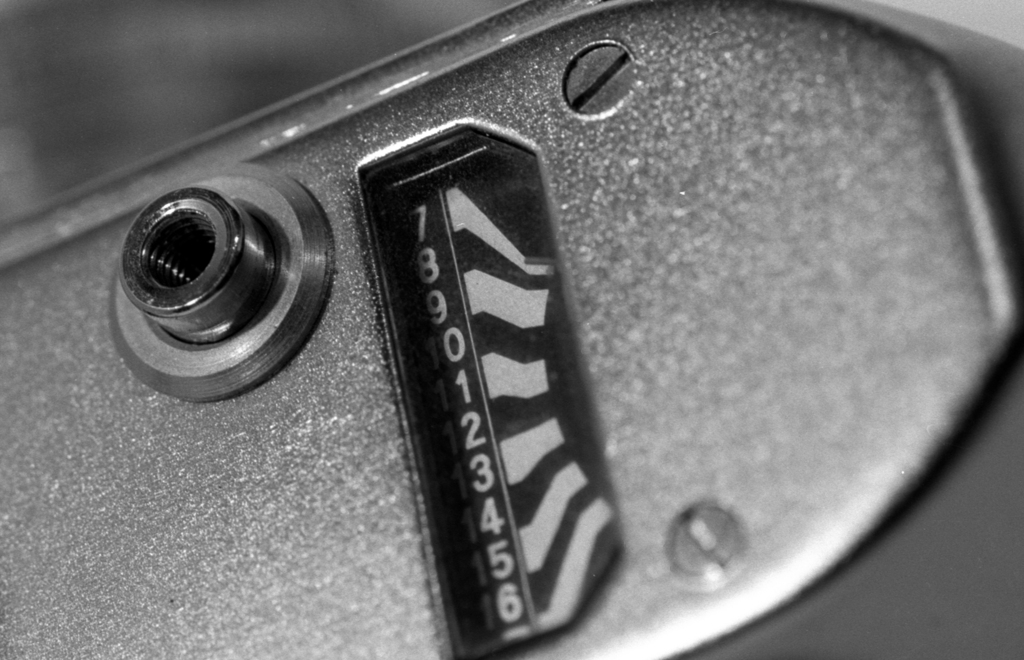
Light meter dial on Halina Paulette Electric
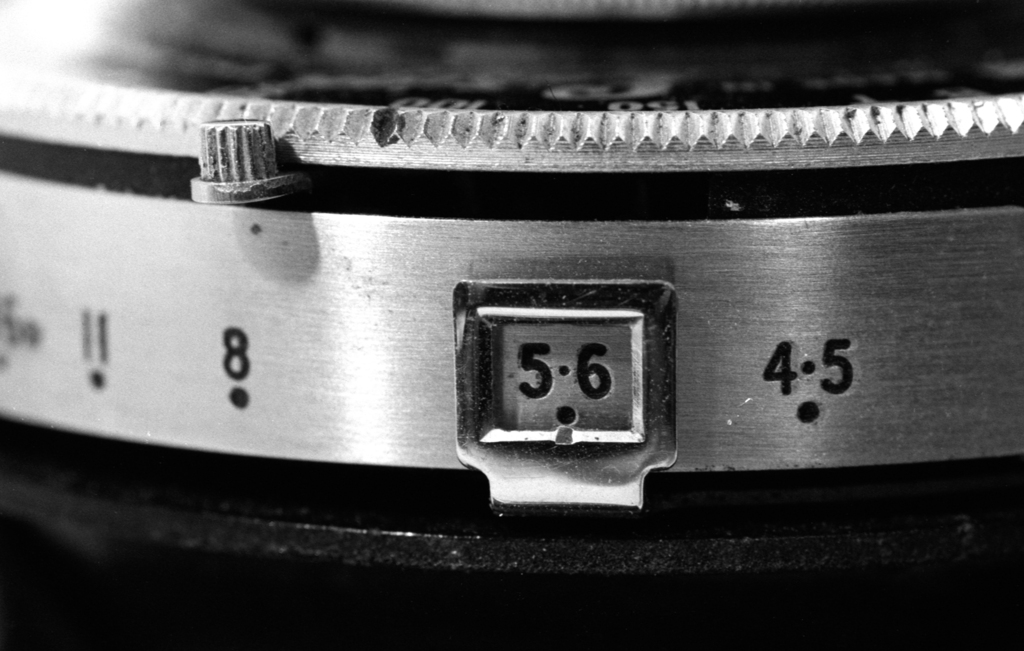
Lens barrel on Halina Paulette Electric
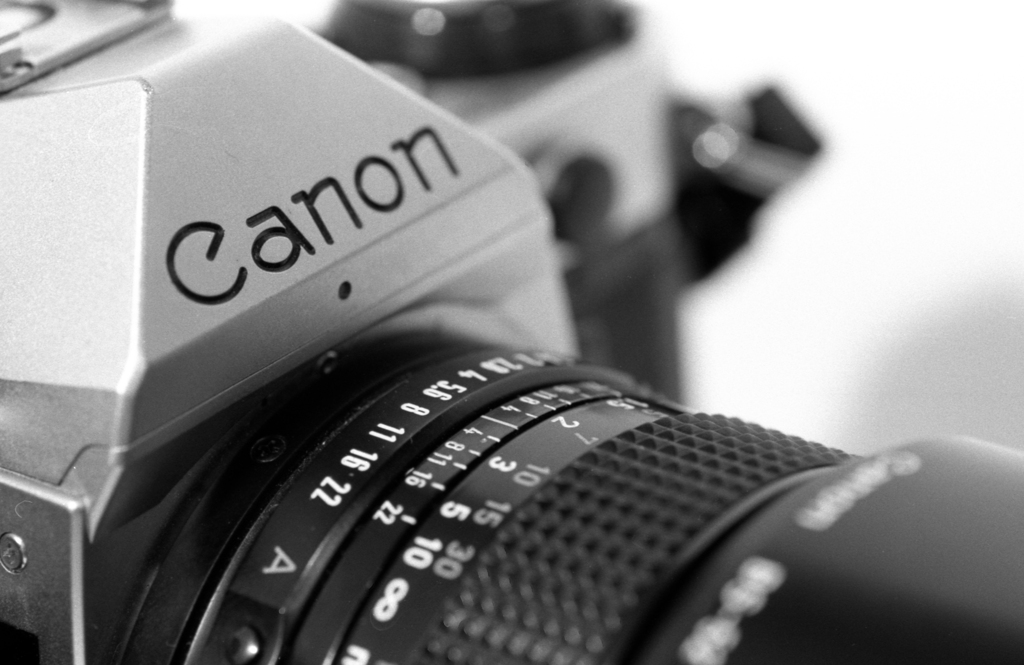
Canon AE-1 Program
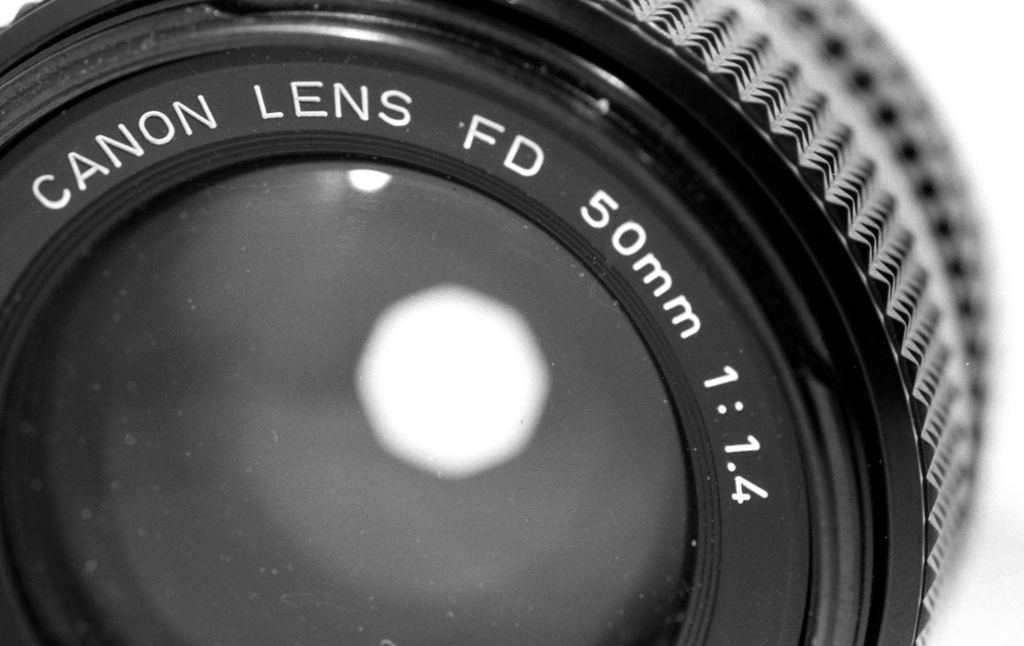
Canon FD 50mm f/1.4 lens
I hadn’t planned any particular shots in advance, so each shot was done in a very free and easy way. I just placed each camera on the backdrop in turn, and looked at it, trying to pick out an interesting feature. I rattled through 36 exposures in under 5 minutes so there wasn’t long, but I don’t think the photos look hurried.
I love the grainy look of the film, and I’m pleased with the subject matter and the way they’ve come out. Out of the 36 I took, I thought 15 were good enough to publish here – that’s a hit rate of 42% which is significantly higher than what I’d expect from shooting digital. There are even some picture here that I plan to print, frame, and hang on my wall.
I’m pleased with the lighting, too. No real disasters, but there are some bits of glare here and there that could have been avoided if I had been shooting digital – although not within the 5-minute window we were allowed for this Challenge!
However, I did learn some lessons from the experience:
Even if the cameras look very clean to the eye, the macro lens will see all kinds of dust you never even noticed
My film squeegee seems to be scratching films lately, so I decided to dunk the wet film in anti-surfactant, shake it and let it dry naturally in still air. Now it has water marks all over it. I think I need some new squeegee blades!
It’s hard to hand-hold a macro lens. It’s not about camera shake (the flash duration is so short) but holding it steady enough that the shallow depth of field falls in the right place. I wasn’t too far off with host of these, but some had to be discarded because the camera moved.
I was playing about with the spark plugs on my cooker, and my Tamron 90mm macro lens. I’m quite pleased with the results.
Spark plug
Unfortunately the sparks themselves are slightly out of focus. They looked OK on the camera’s screen and it wasn’t until I viewed them on the computer that I realised. Oh well, next time!
The crop factor is related to the field of view. To achieve the same angle of view as a 35mm camera, an APS-C sensor needs a shorter focal length while a 6×7 sensor needs a longer length. For more details, have a look at my article “focal length on different formats“.