Yesterday I posted excitedly about my newest (and oldest) camera, the Instantograph. I discussed three options for getting film into it: cutting down glass plates, cutting down film, or cutting down printing paper.

I don’t currently have large enough film to cut down, and I found that the glass plates I had hoped to use don’t cut properly with a glass cutter. So I went with option 3, and cut up some regular 8×10″ resin-coated photographic paper. I did a little research online and found the speed of Kentmere VC Select is rated at approximately ISO 6. With that number to hand, I was able to take light meter readings in the usual way.
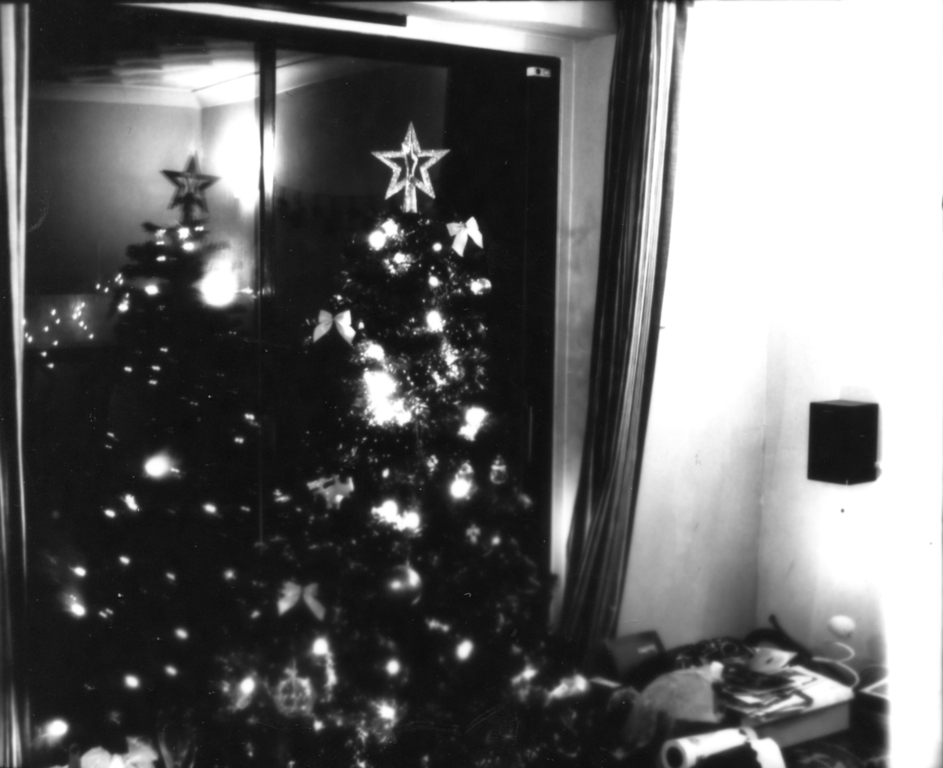
This exposure of my Christmas tree was made with the lens wide open at f/10, requiring an exposure time of 4 minutes! It is inverted left-to-right, because it is an opaque paper negative that has to be looked at from the side that was facing the Christmas tree, rather than looked through like a transparent negative, from the side that was facing away from the Christmas tree.

The negative has a bit too much contrast. This is probably because photographic paper has a lower dynamic range than film. In future I can get less contrast by using a yellow filter over the camera lens at the time of exposure – just as you can get less contrast in the darkroom by using multigrade filters.
As it is an opaque paper negative, it isn’t possible to print it like a traditional negative – by projecting it onto light-sensitive paper using an enlarger. I tried two methods of making a positive image. The first method is cheating – I simply inverted the negative scan above, to make it positive. Easy with a computer, but still cheating!

The second attempt was made by making a contact print – pressing the paper negative against a blank piece of printing paper, holding the two together using a sheet of glass, and shining a bright light through for a few seconds. This one was made with my enlarger lens wide open at f/3.5, and with the multigrade filter set to strong yellow to achieve grade 00 and soften the image a bit. It took about 5 seconds exposure to make a reasonable print.

Contact prints made from paper negatives lack some of the fine resolution due to the diffuse texture of the paper so inevitably the final print is not quite as sharp as the paper negative, but perfectly acceptable. With a bit more careful measurement of exposure in-camera and in the darkroom, I reckon I could get a really nice print.
So there you have it – a photograph from a camera that’s almost 120 years old, made using traditional techniques. Next time I take a picture, I promise it will be more interesting than my Christmas tree! That was just a test, and now I’ve proven the technique, I plan to take some pictures of historic sights around Bristol – probably starting with the floating harbour.
