
I’ve moved house a few times over the last 10 years and at each place I’ve set up my own darkroom. I started with a rented flat, where I would develop film in the bathroom sink but there was no room for printing. At a later rented house, I made a makeshift darkroom in the loft, and then when we bought a house there was already a windowless utility room in the garage that was ideal. We’ve now moved again, and there is nowhere suitable. So I set out to build my own darkroom from scratch in the garage (which is just a junk store).

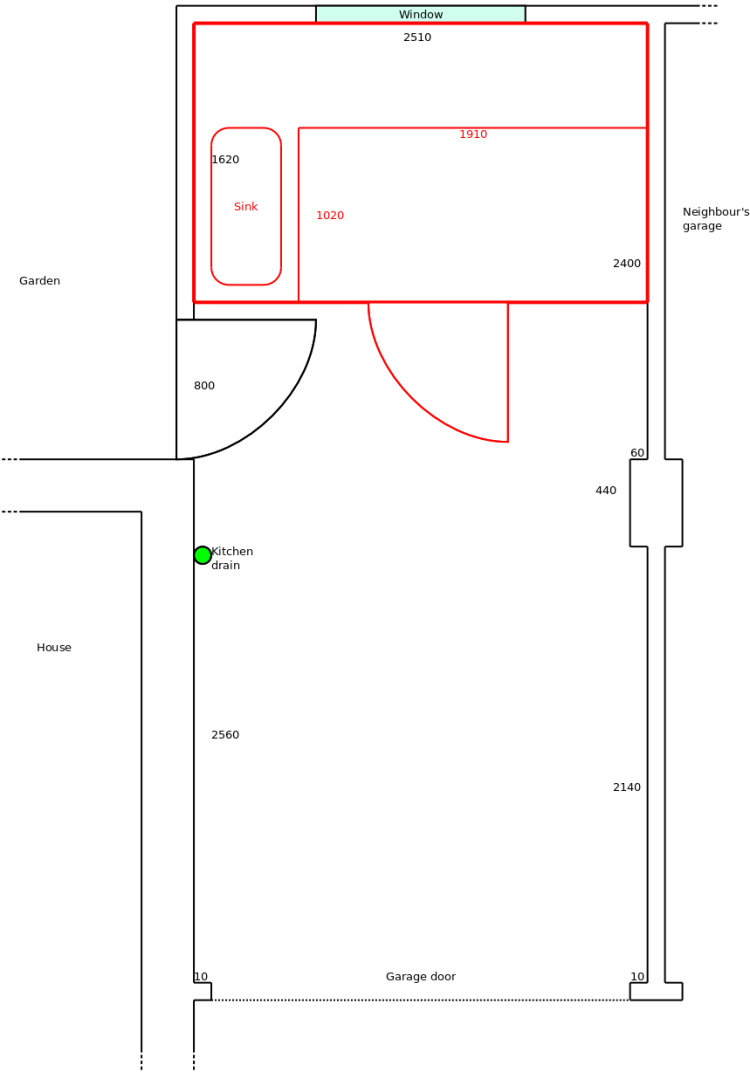
I took measurements and drew up a design. The darkroom is going to be at the opposite end of the garage from the large garage door, so I can still use most of the space for storage. The annoying constraint is the side door into the garden, which is just 1.6m from the end wall. The red lines show the proposed darkroom boundaries and layout of the workbench and sink.
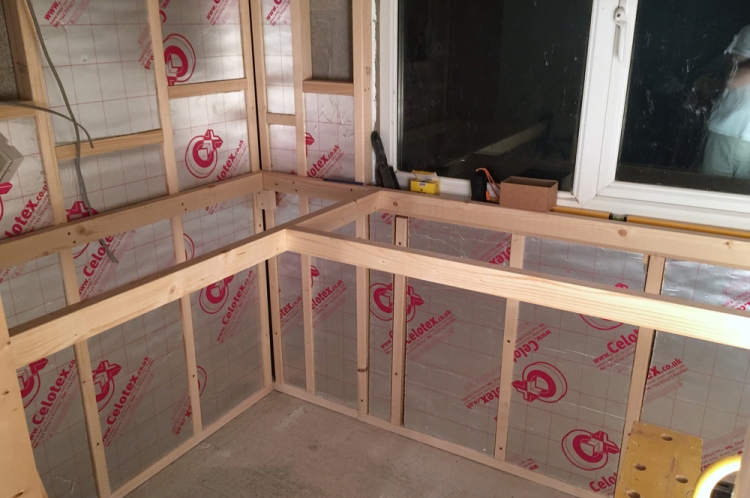
I’ve never done anything like this before, but I wanted to learn all the skills needed and do everything myself. I spent a lot of time watching YouTube videos of garage conversions. The garage is built from single-thickness blocks and needs to be insulated. I was initially hesitant because adding insulation takes precious usable space away from the darkroom, but I didn’t really have a choice in the UK climate. So I added CLS timber framing (38x63mm) to the three masonry walls, and filled them out with 50mm Celotex foil-backed insulation panels. Any gaps were filled in with expanding foam to prevent air currents.

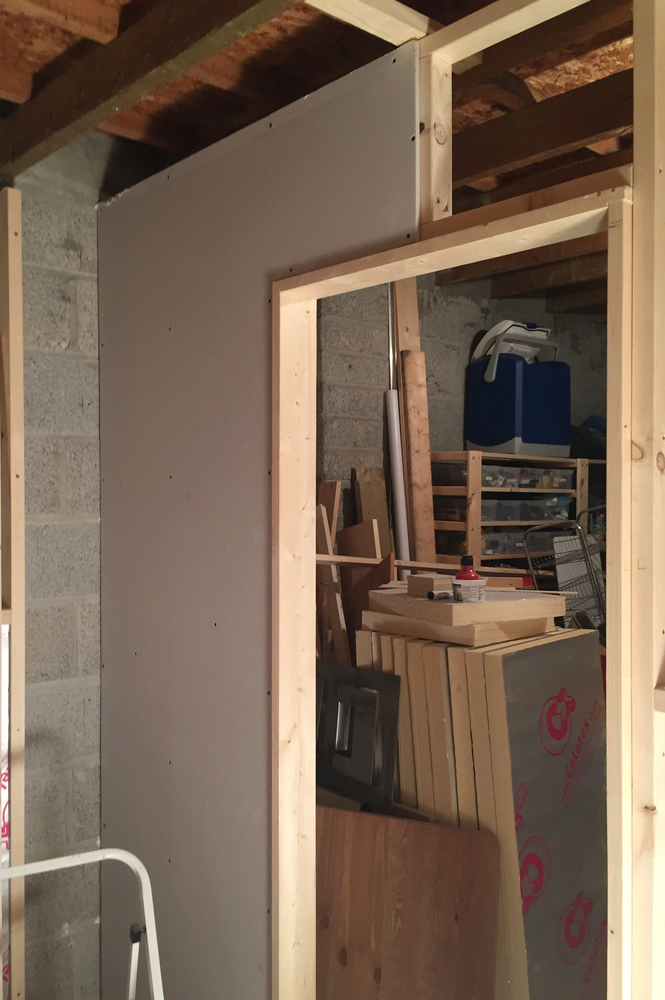
I started work on the partition wall, also built from CLS timber and insulated with Celotex.

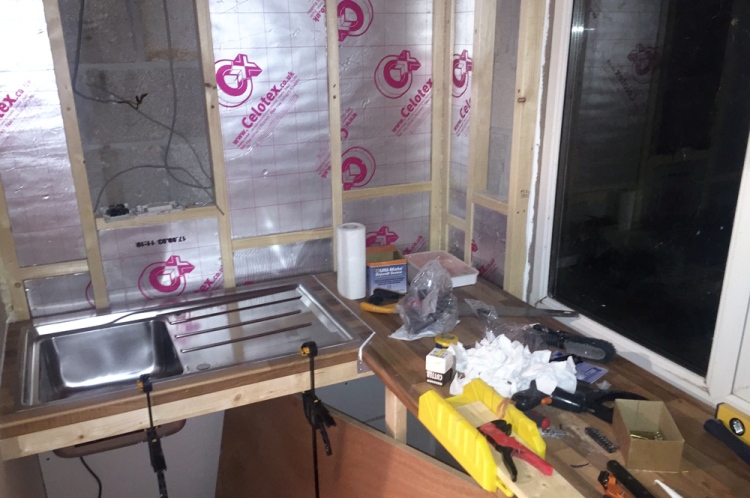
I had planned for the workbench to be the same length as the longest wall, but I was also worried about manoeuvring the long piece of bench in the tight space, especially with the partition wall now up. I decided to attach the workbench to the studwork before putting the plasterboard up, and plaster round it afterwards, to cover any rough edges or gaps. This should also make it pretty strong.

My darkroom sink is just a kitchen sink that I got from a clearance sale. I’ve never had a proper darkroom sink in the past and I didn’t feel the need to splash out on one this time (pun intended). I’ll use my trays on the workbench and wipe up any spills after. The sink itself is clamped into the hole with clips and sealed with silicone.
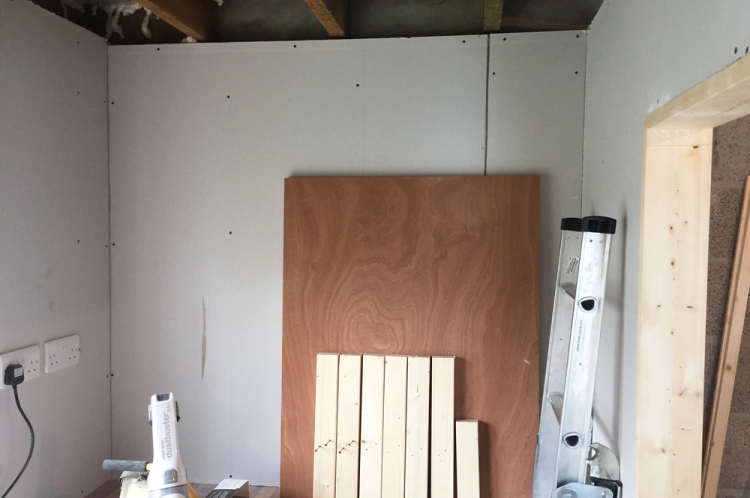
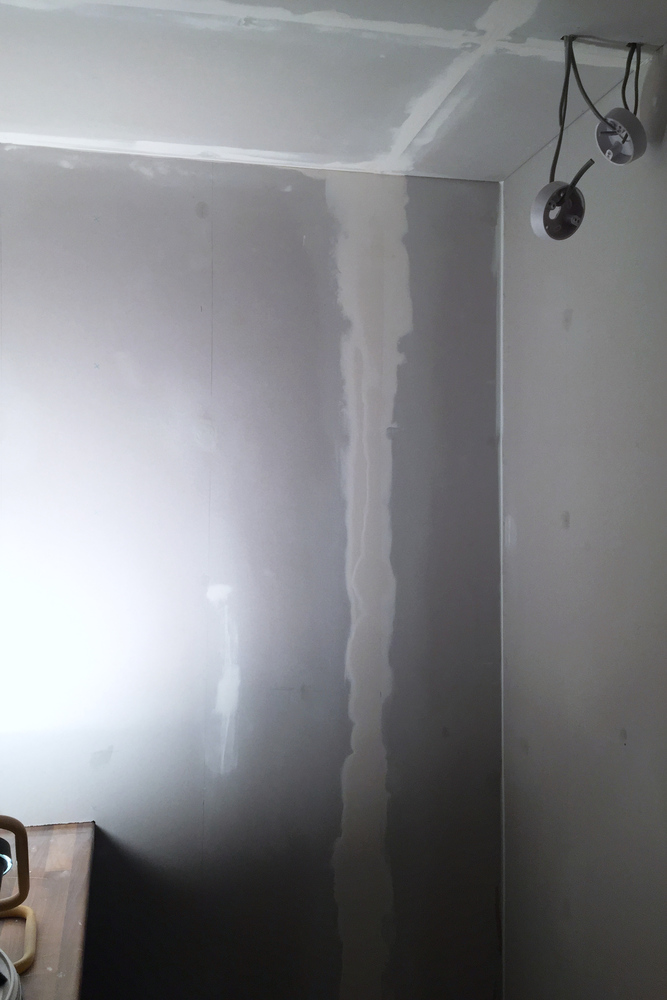
At this point I also placed electric cables in the walls for future lights, sockets, etc. The garage already had lights and several sockets, so I just needed to add a few. Then, I started work fixing plasterboard sheets to the timber. I used ordinary 12.5mm Gyproc WallBoard but if I did this again I would probably consider the special bathroom type which is supposed to be more resistant to moisture.

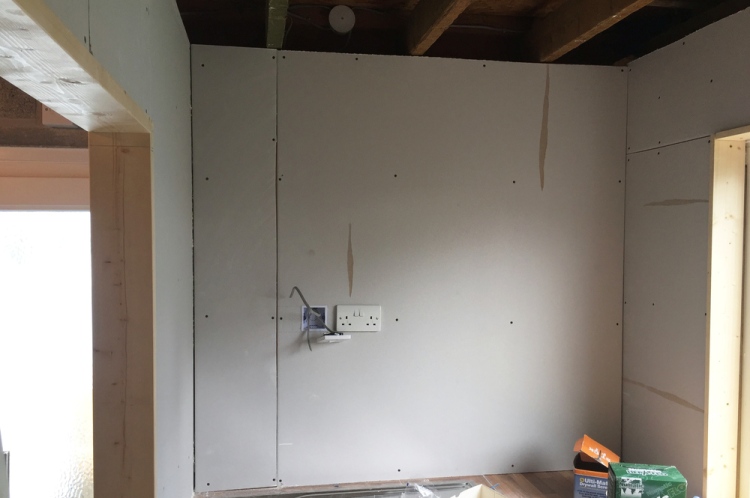
For electrical points, I used dry-lining boxes which attach to the plasterboard and clamp themselves in place – no need for any additional support from behind. These four sockets will be behind the enlarger.

With the walls ready, I turned my attention to the ceiling. It definitely needed insulating as the roof is made of a single sheet of OSB, coated with tar and roofing felt. It has basically no thermal insulation properties but also becomes very hot in summer with the sun shining on it.
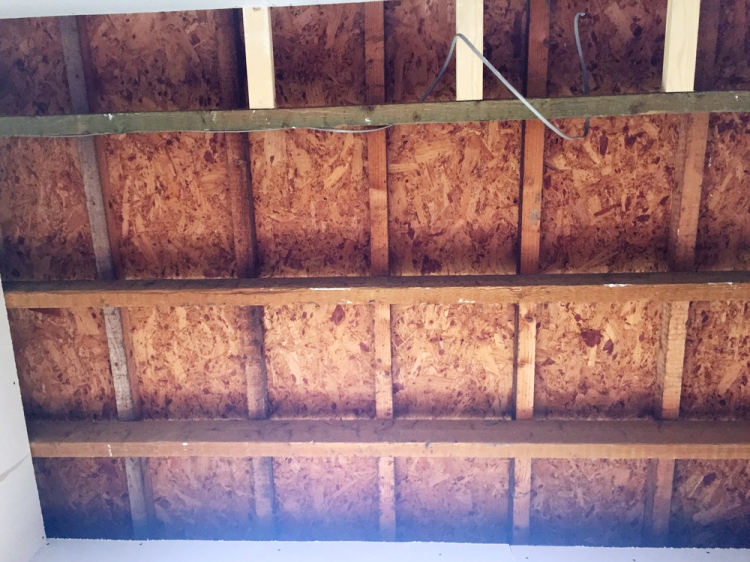
I used thicker Celotex (100mm) to insulate the space between the rafters. I also realised that the rafters are too far apart and not close enough to the edge to properly support the ceiling plasterboard. So I used a load more CLS timber to create ceiling support beams at 90 degrees to the original rafters. It was then easy to attach the ceiling plasterboard to the beams in sections, as a single sheet was too big to get in the door.

With the room fully boarded, I filled in all the recessed screw heads, caulked up the edges where the walls and ceiling meet, and used plasterer’s jointing compound to cover over the joins. I didn’t skim the entire face of the plasterboard as the cosmetic appearance is not too important. However the joint seams do stand slightly proud, so I should have used tapered-edge plasterboard rather than square-edge.

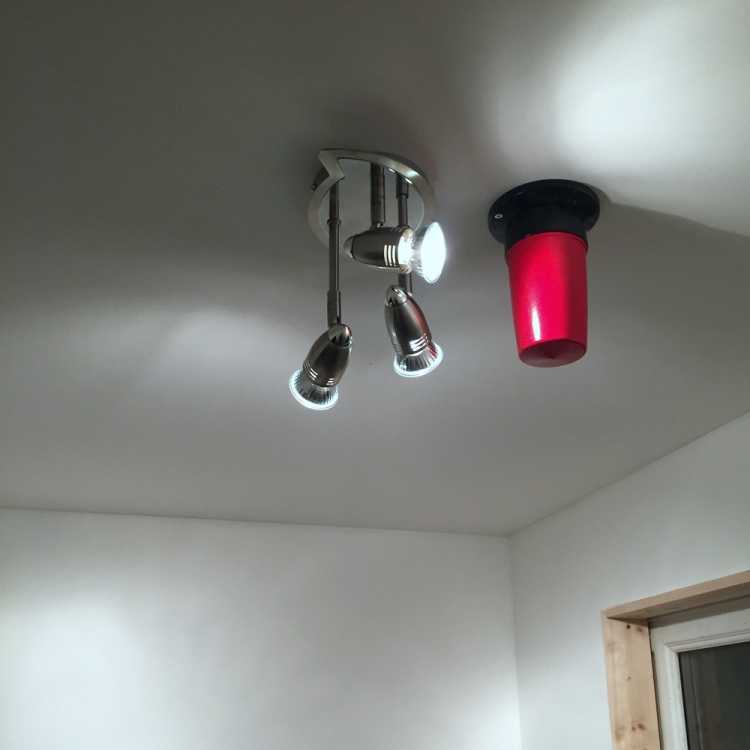
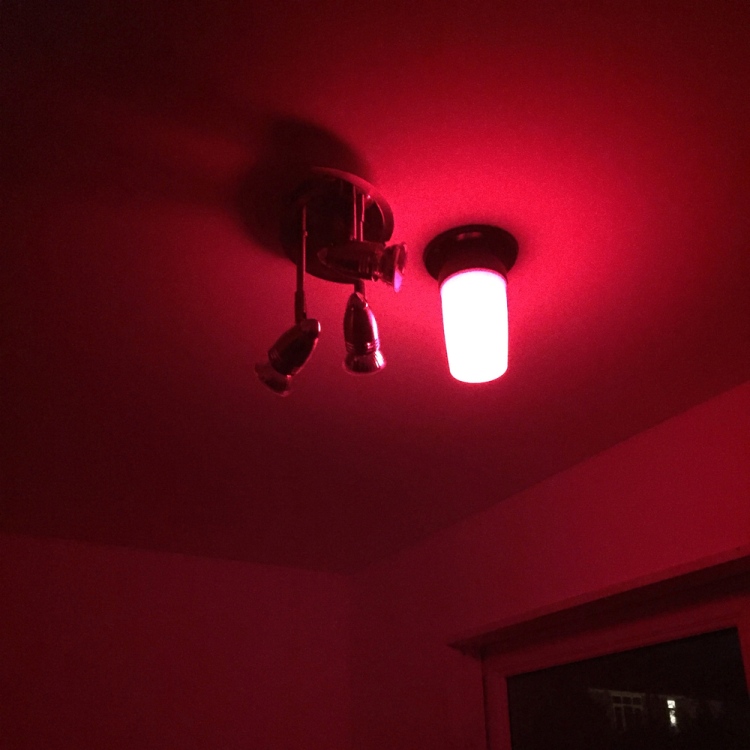
With the seams sanded smooth and three coats of cheap white emulsion applied, I was able to install the light fittings and cord-pulls. I’m using a cheap kitchen light fitting and an old Paterson safelight. I wanted the whole room to be white so the safelight is reflected around and diffused as much as possible. This means you get maximum benefit from the safelight without needing to increase its brightness.
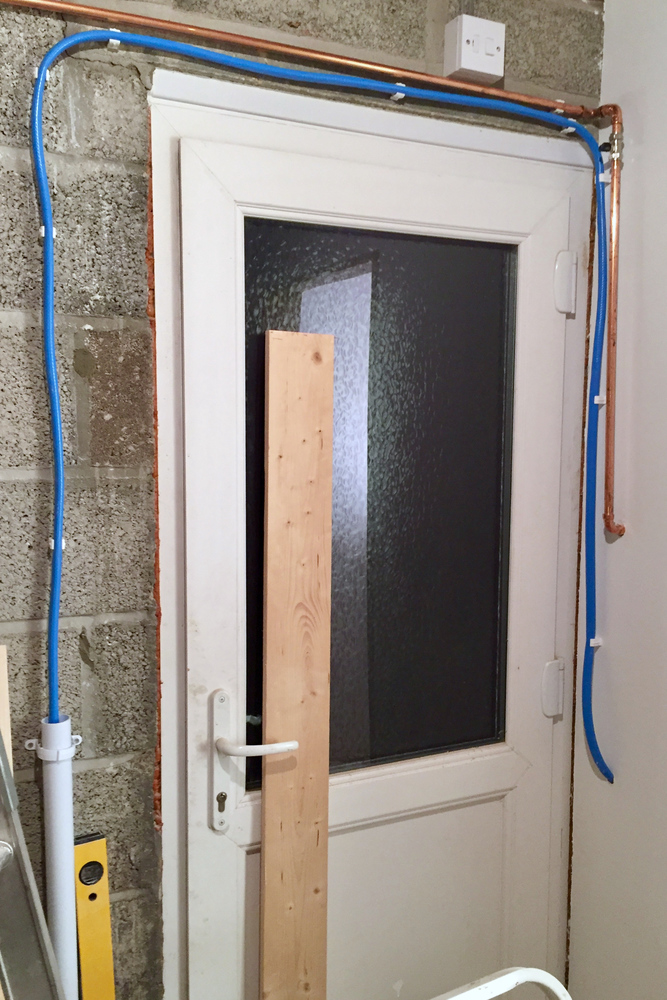
Now I’d finished bringing large materials into the room, it was safe to hang the door and complete the door frame.
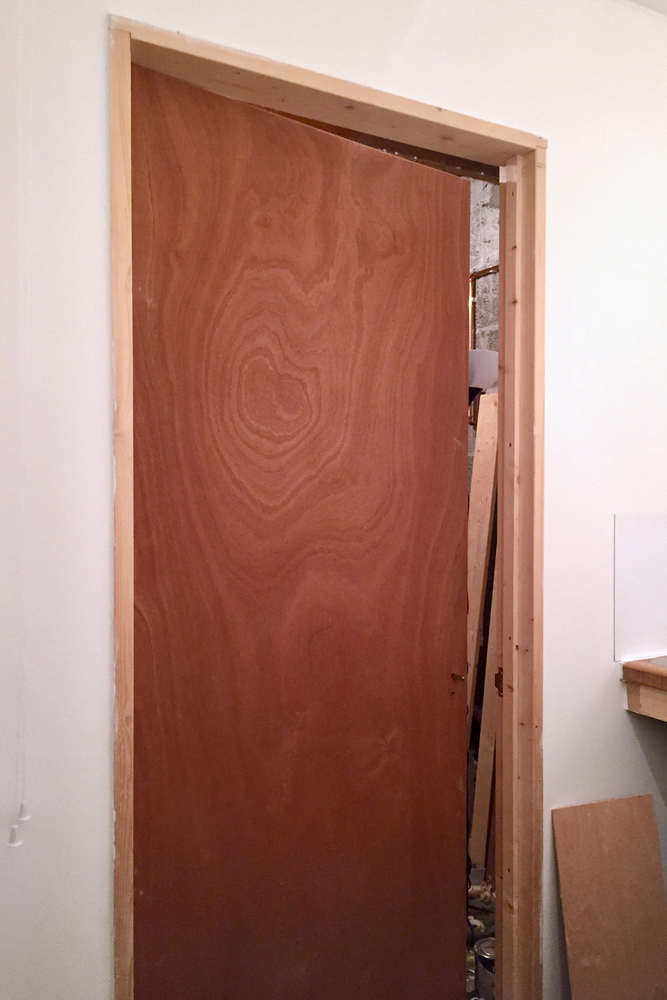
It’s just an ordinary door with no special facilities for light-proofing, so I painted the edges of the door and the insides of the door frame flat back to improve the light seal. The bottom edge of the door has also been fitted with a brush strip.

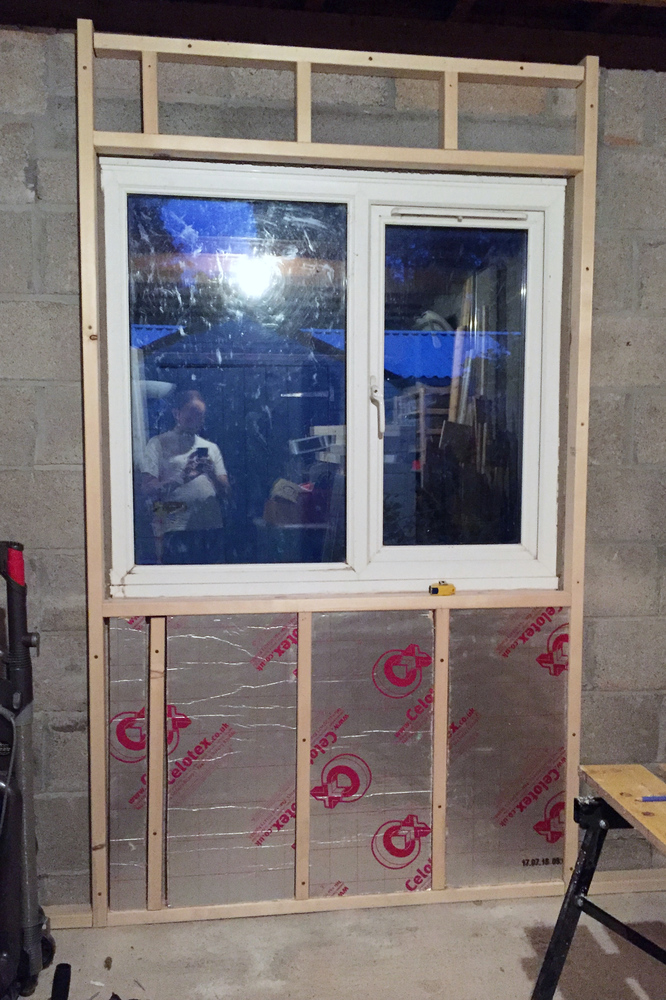
I also boarded up the windows with 5mm plywood panels to ensure a proper light seal. The panels are stuck onto the UPVC window frames with silicone sealant to ensure a light-tight seal, with a few screws to hold the panels tight. I boarded each window pane individually, so you can still open the window for ventilation if necessary. The plywood is also painted white on the outside to reflect back any sunlight and prevent it from getting hot in summer.

With the door now in place, I know exactly how far the flooring will need to extend. I put down some polystyrene insulation tiles that were left over from fitting laminate flooring in the house and then covered it over with textured polystyrene floor tiles. I’ve used these before and I found them very comfortable to stand on for prolonged periods of time, and they should help insulate the concrete floor. The edges of the floor were concealed with softwood skirting boards. This is probably a bit of an extravagance!

While I had wanted to install tall laboratory taps, they proved to be too expensive for my low-budget darkroom. In the end I decided on wall-mounted garden taps as they are very cheap, can be installed high up and can be fitted with removable hoses or connected to print washers, film washers, etc, using quick connect hose fittings.

I completed the sink with self-adhesive vinyl splashback tiles. The garage backs onto the kitchen, so it was easy to drill through the wall and get a cold water feed. The tricky bit was the waste. While the kitchen drain does actually go through the garage, the garden door is in the way and there isn’t enough room underneath it to run a drain pipe. In the end I decided to install a waste tank underneath the sink for it to drain into, and an inexpensive pump to pump the waste water over the door and down into the drain via a flexible hose dropped into a washing machine trap. The pump is activated by a switch on the wall.

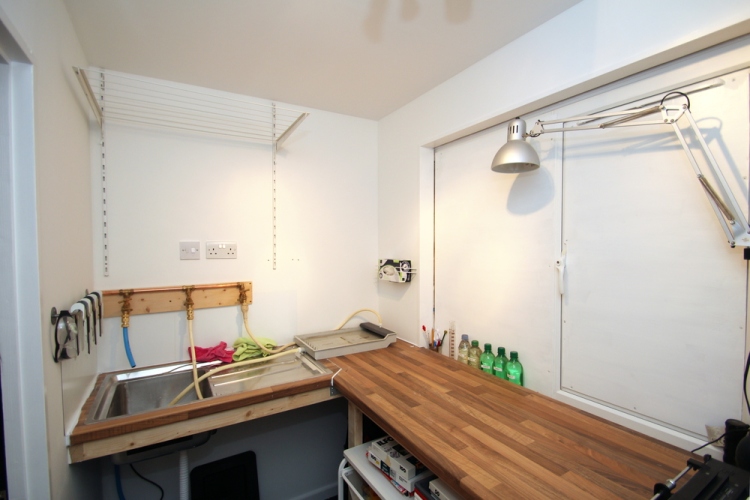
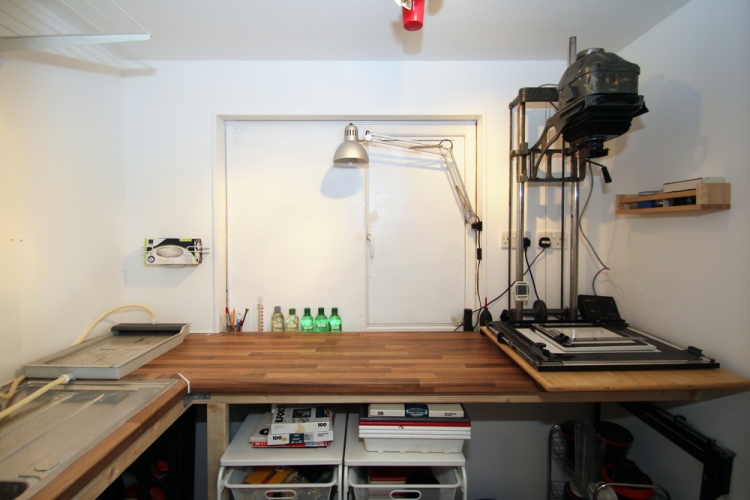
Finally, let’s have a look at the finished darkroom, equipped with a De Vere 54 enlarger which can handle negatives up to 5×4″. I have enough space on the bench to process prints up to 16×12″ in trays and up to 24×20″ in troughs. The first picture also shows a wall-mounted rack to store enlarger lenses, a swivel work lamp, and a trolley of film processing tanks and reels under the bench.

Looking the other way you can see the sink, now equipped with removable hoses, and the third tap hooked up to a Paterson 16×12″ print washer. To the left of the sink there’s a rack of tongs and safety glasses for the nasty chemicals, above the sink there is a hanging rack for finished prints and on the right there is a glove dispenser.
This central view from the door gives a more balanced idea of what the space is like.
From start to finish, this build took about two and a half months, although I did most of the work on my own in my limited free time. In total I bought over 100m in length of timber, nearly 30m2 of plasterboard and goodness knows how many screws.
Huge thanks to everyone who helped out, including Vassili (carpentry), Hannah (plastering and overall permission), Oliver (plumbing/flooding), Stuart (workbench), Matt (ceiling plasterboard), Edmund (fetching building materials), Drew and Paul (donations of equipment) and of course, all the Kickstarter backers who pledged funds in return for a reward – including friends and strangers.
Now the room is ready, I can’t wait to get back into darkroom craft! I’ve been without a darkroom for 11 months, although I’ve still been shooting film during that time. I need to develop the backlog of film and get printing so I can deliver the rewards to the Kickstarter backers. It’s going to be fun!

thanks for the detailed information, I am building one for me and my granddaughter.
LikeLike
Great! Let me know how you get on – it’s always great to share “proper” photography with new people!
LikeLike
Thanks for sharing your project Jonathan. I’m planning a similar “in garage” darkroom and wondered what you did about ventilation.
LikeLike
I didn’t build in any ventilation. In a previous darkroom (which did have basic ventilation) I found I almost never used it, so I didn’t bother building it in. The film & paper chemicals I use seem fine. There are one or two toners that aren’t very nice to work with, so for those I open the door because they don’t need to be used in the dark.
LikeLike
Thanks for the detailed write up Jonathan. This has been an inspiration for me to finally get water into my garage darkroom.
Do you have any advice about the pump for waste water? I’ve been searching online for a pump that can be plugged in but I can’t find one. Do you have any recommendations?
LikeLike
Glad to be an inspiration. I used a cheap pond/water-feature pump from Amazon. The only restriction is that the “head” of the pump has to be at least the height that you need to pump the water. In my case, the waste water hose has to go over a door, about 2m, so I got a pump rated for 3m.
The pump I got had a mains cable but no plug at the end as it is supposed to be hard-wired in, but you could easily just wire on a 13 amp plug.
The waste water container I’m using is just a plastic storage box, think it holds about 100 litres. The pump can empty it in a few minutes. I am careful never to put anything down the sink that could damage the pump. Pond pumps are pretty resilient anyway but I never put anything gritty or corrosive down – never dispose of chemicals. It’s really just for waste water.
Finally I am careful to bleach the waste water tank occasionally, otherwise weird stuff starts to grow.
This is the one I decided to get and it’s been reliable. There are many models available though: https://www.amazon.co.uk/dp/B005G3WOMS/ref=cm_sw_r_cp_api_i_pM2kDbV9ZBVMG
LikeLike
Thanks for the thorough write up! That’s great to know – about to purchase on amazon 🙂
LikeLike
Good luck! Don’t blame me if you flood your darkroom 😉
LikeLiked by 1 person
Great site, Jonathan. I’m planning a quite similar “in house” darkroom. Do you have specific measurement numbers . Mostly interested what the level you placed the sink and the tableheight for the enlarger. Sorry for my bad English. ☺ I live in the Netherlands. Thank you.
LikeLike
I can’t remember exactly what height I chose – maybe about 1.00m. I will measure for you tomorrow. I chose the height simply by standing and testing the height of my elbows, to avoid stooping. Hope this helps 🙂
LikeLike
This has inspired me to build a dark room and get back into film! I took a few film courses in college back in 2013 and it was my dream to build a darkroom since.
Your’s is amazing and designed beautifully! Hope you don’t mind me trying to mimic it!
LikeLike
Glad to have inspired you! Hope to see pics of your darkroom when it’s finished 😃
LikeLike
I will! If you don’t mind me asking, did you build the countertop yourself?
LikeLike